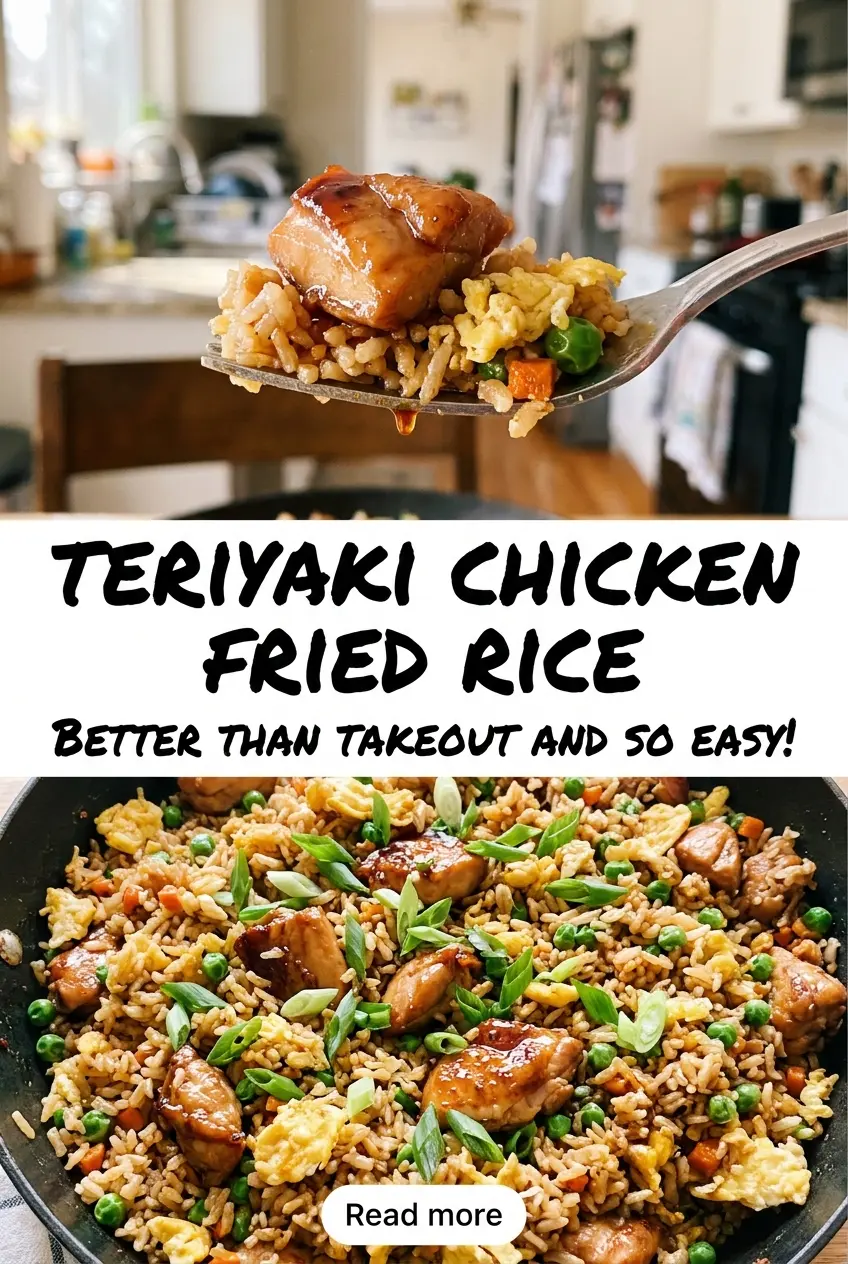
The chicken starts to brown at the edges while the soy, mirin, and brown sugar wait together in a small bowl. Then the cold rice hits the skillet, and a quick stir-fry gives the grains a chance to heat through before the glossy sauce goes in. That order is what makes this Teriyaki Chicken Fried Rice feel like fried rice instead of a bowl of soft rice with sauce pooled at the bottom.
I like how much flavor comes from a short list of pantry staples. Chicken thighs stay tender, frozen peas and carrots save prep, and fresh ginger and garlic make the skillet smell warm and savory in seconds. Cornstarch gives the teriyaki sauce just enough body to cling to the rice and chicken, while scallions and toasted sesame oil finish the pan with a fresh, nutty edge.
Kitchen Note
Bake, Serve, Wear the Vibe 👕
Editor-picked tees our Oven To Fork readers love.



We may earn from qualifying purchases at no extra cost to you.
Take the skillet off the heat before you stir in the toasted sesame oil. Its aroma stays distinct, and the scallions keep their fresh bite instead of cooking down in the hot pan.
Save this Teriyaki Chicken Fried Rice for a night when you want browned chicken, tender vegetables, and a glossy homemade teriyaki coating in one skillet.
Why the Teriyaki Sauce Waits Until the Rice Is Hot
It’s easy to think the sauce should go into the skillet early so every grain has time to soak it up. That’s the wrong order for this dish. The rice needs a few minutes in the hot pan on its own first; that gives it time to heat through and lets you break up clumps before the liquid sauce arrives.
The teriyaki mixture contains cornstarch, so it thickens once it meets the heat. Add it after the rice has had its stir-fry, and it turns into a light glaze that clings to the grains instead of making them wet and heavy. Keep tossing as it cooks so the sauce doesn’t sit in one spot at the bottom of the skillet. When the rice looks evenly coated and the sauce has thickened, the chicken and vegetables are folded back through it. That little bit of timing is what keeps the finished pan glossy rather than soupy.
The Ingredients That Give the Glaze Its Body and the Rice Its Texture
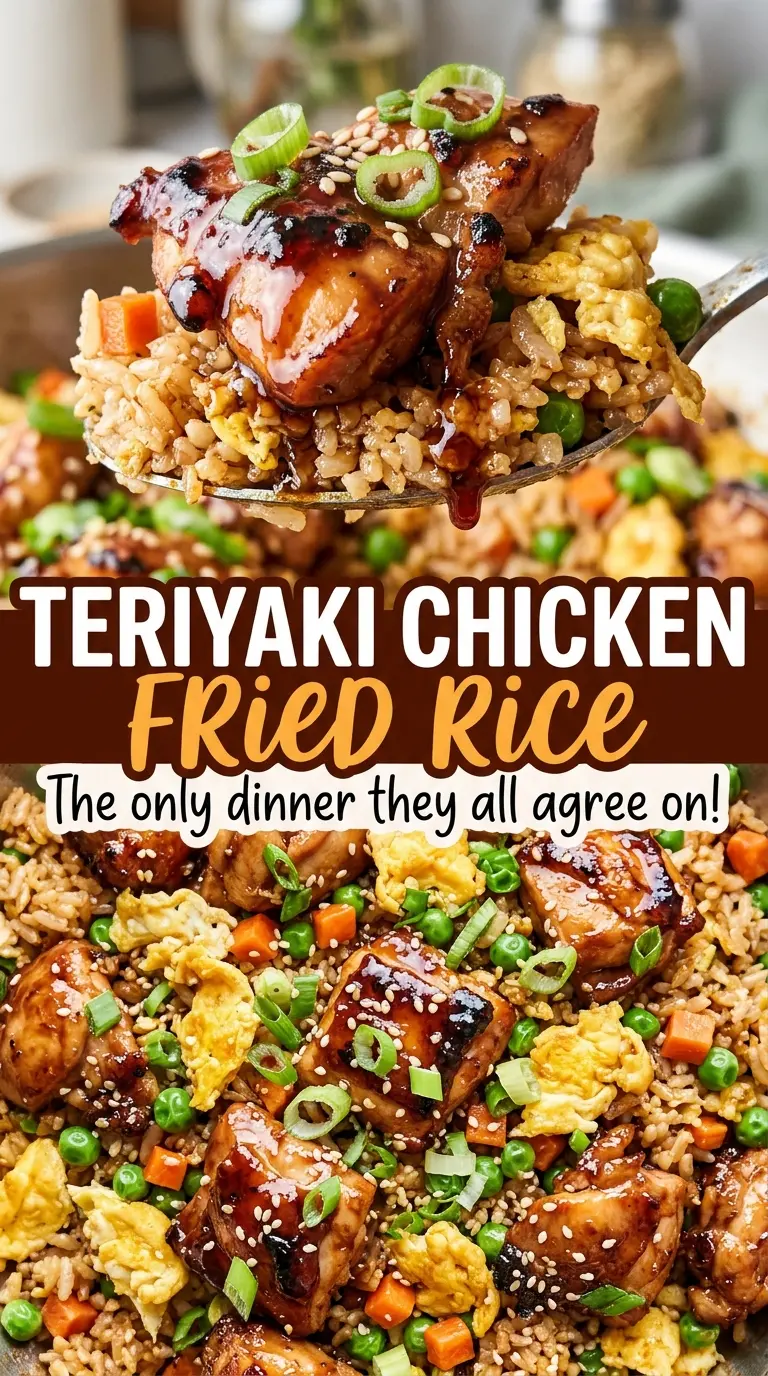
- Low-sodium soy sauce — It gives the glaze its savory backbone without letting salt overwhelm the brown sugar and mirin. A familiar grocery-store brand is fine; choosing low-sodium matters more here than paying extra for a specialty bottle.
- Mirin — This sweet rice wine brings a rounded sweetness that plain sugar doesn’t quite provide. A reasonably priced bottle works well. If you’re out, dry sherry can stand in measure for measure; the existing brown sugar keeps the sauce balanced, though the flavor will be less mellow.
- Brown sugar and cornstarch — Light brown sugar adds a soft molasses note, and cornstarch gives the sauce its cling. Dark brown sugar works in place of light brown for a deeper taste. Arrowroot starch can replace the cornstarch in the same measure; whisk it into the cold sauce first so it doesn’t form lumps.
- Chicken thighs — Boneless, skinless thighs have enough fat to stay tender through the quick, high-heat cook. Choose pieces that look fresh and trim away any large pockets of excess fat; there’s no need for premium or organic chicken for this skillet meal.
- Cold cooked long-grain rice — Long grains hold their shape instead of clumping into a soft mass. Chilled rice is firmer and easier to separate as it fries. Cold cooked brown rice also works, though its grains are chewier and its flavor is nuttier.
- Toasted sesame oil — It contributes a distinct roasted aroma that neutral oil can’t match. Buy a small bottle you’ll use while it’s fresh; if you don’t have it, neutral oil can finish the dish, but the sesame note will be absent.
- Frozen peas and carrots, garlic, ginger, eggs, and scallions — Frozen vegetables are an easy, consistent choice, and a store brand works just as well as a premium bag. Freshly grated ginger and minced garlic bring a brighter aroma than prepared versions, while the scallions add a crisp finish.
How to Get Browned Chicken, Separate Rice, and a Glossy Finish
Whisk the Sauce Until the Starch Disappears
Whisk the soy sauce, mirin, brown sugar, cornstarch, and water together in a small bowl before you start cooking. Keep whisking until no pale cornstarch streaks or little lumps remain. This mixture is ready to pour, but the starch settles while it sits, so give it another whisk just before it goes into the skillet. A smooth sauce now means a smooth glaze later.
Brown the Chicken in a Single Layer
Heat one tablespoon of neutral oil in a 12-inch skillet or wok over medium-high heat, then add the chicken pieces. Stir occasionally as they cook for 5 to 7 minutes; look for browned edges rather than pale, steamed surfaces. Check the thickest pieces and cook until they reach 165°F. Transfer the chicken to a plate once it’s cooked so it doesn’t spend the whole stir-fry over the heat.
Soften the Vegetables Before Adding the Aromatics
Add the remaining tablespoon of oil to the same skillet and stir in the frozen peas and carrots. Give them 2 minutes, stirring, until they’re hot and no longer icy in the center. Add the garlic and grated ginger next, and cook for 30 seconds. Keep them moving; garlic can turn from fragrant to bitter quickly if it sits against the hot pan.
Scramble the Eggs, Then Fry the Rice
Push the vegetables to one side and pour the beaten eggs into the open space. Scramble for about 1 minute, stopping when the eggs are just set rather than browned or dry. Add the cold rice and break up any remaining clumps as you stir-fry it for 3 to 4 minutes. The grains should be hot and moving freely around the skillet before you add the sauce.
Toss Until the Sauce Coats Every Grain
Return the chicken to the skillet and whisk the sauce again before pouring it over the rice. Toss for 1 to 2 minutes as the cornstarch thickens the mixture and the sauce coats the chicken, vegetables, and grains. If a patch of rice looks pale, keep turning it through the glossy sauce rather than pouring in extra liquid. Take the skillet off the heat, then stir in the sliced scallions and toasted sesame oil.
Three Smart Changes That Keep the Skillet in Balance
Make the Sauce Gluten-Free with Tamari
Replace the low-sodium soy sauce with the same measure of low-sodium tamari labeled gluten-free. The glaze stays savory and coats the rice in the same way, though the exact saltiness varies by brand, so choose a low-sodium option.
Use Chicken Breast for a Leaner Skillet
Swap in boneless, skinless chicken breast cut into half-inch pieces. It gives the dish a leaner bite, but it has less room for overcooking than thighs, so watch the pieces closely and take them out as soon as they’re cooked through.
Make the Teriyaki Flavor Deeper
Use dark brown sugar instead of light brown sugar for a stronger molasses note. The sauce tastes a little richer and less delicate, but it still works with the savory soy and toasted sesame finish.
Storage and Reheating
- Refrigerator: Store leftovers in an airtight container for 3 to 4 days. The rice softens as it sits, and the vegetables lose some of their crispness.
- Freezer: Freeze in an airtight container for up to 2 to 3 months. The rice may be a little softer after thawing, but the chicken and sauce freeze well.
- Reheating: Reheat in a covered skillet over medium heat or in the microwave, stirring partway through, until steaming hot throughout. Don’t leave it uncovered on the heat for too long or the rice will dry out.
Answers to the Teriyaki Chicken Fried Rice Questions That Come Up
Teriyaki Chicken Fried Rice
Ingredients
Equipment
Method
- In a small bowl, whisk together the soy sauce, mirin, brown sugar, cornstarch, and water until the cornstarch dissolves.
- Heat 1 tablespoon of the neutral oil in a 12-inch skillet or wok over medium-high heat.
- Add the chicken and cook for 5 to 7 minutes, stirring occasionally, until browned and the thickest pieces reach 165°F; transfer to a plate.
- Add the remaining 1 tablespoon neutral oil to the skillet, then add the peas and carrots and cook for 2 minutes, stirring.
- Add the garlic and ginger and cook for 30 seconds.
- Push the vegetables to one side and pour the eggs into the empty side.
- Scramble the eggs for about 1 minute until just set.
- Add the rice, breaking up any clumps, and stir-fry for 3 to 4 minutes until hot.
- Return the chicken to the skillet.
- Whisk the sauce again.
- Pour the sauce over the rice and toss for 1 to 2 minutes until the sauce thickens and coats everything.
- Remove the skillet from the heat and stir in the scallions and sesame oil.