When cold rice hits a hot skillet, you want to hear a steady sizzle—not watch the grains steam into a soft, sticky mass. That difference is why I reach for cold, preferably day-old rice when I make kimchi fried rice. The grains are firm enough to separate as they cook, and they pick up the savory juices without turning mushy.
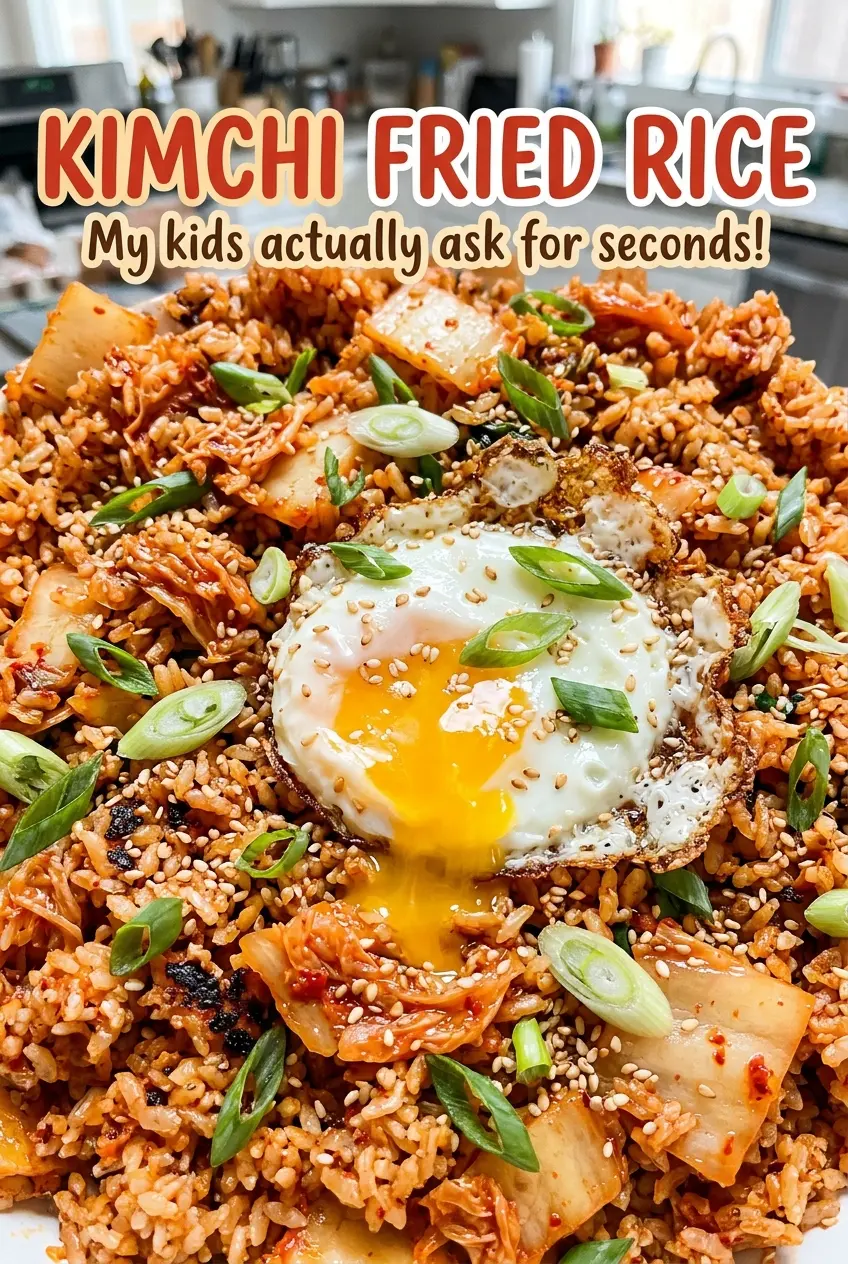
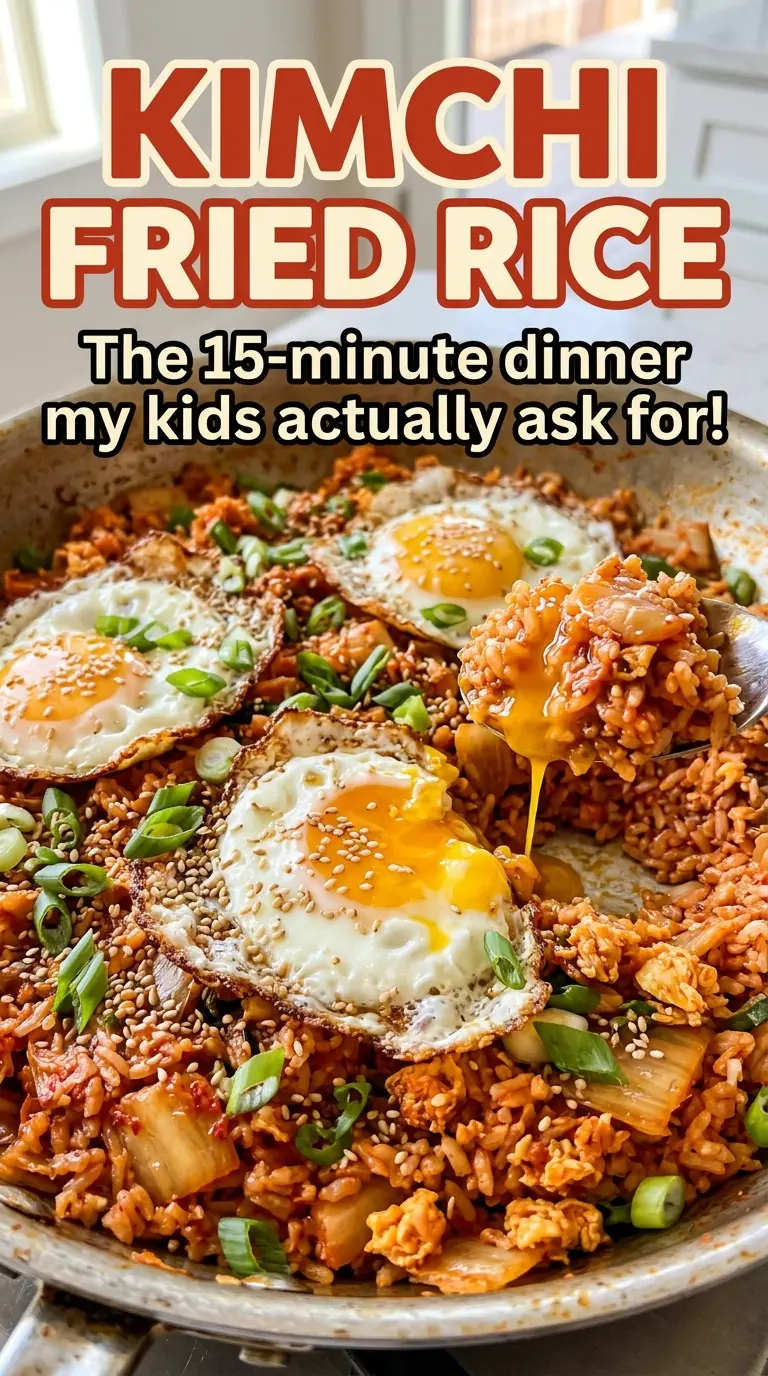
Here, crisp bacon brings smoky richness, while napa cabbage kimchi softens and browns before the rice goes in. Gochujang adds a little heat, and kimchi juice gives the finished rice its tangy, savory edge. I scramble the eggs right in the skillet, then fold them through with scallions and toasted sesame oil. You get plenty of texture in every bite: browned kimchi, distinct grains, tender egg, and bacon that started crisp.
Kitchen Note
Bake, Serve, Wear the Vibe 👕
Editor-picked tees our Oven To Fork readers love.



We may earn from qualifying purchases at no extra cost to you.
I pour off the extra bacon fat before the kimchi goes in and leave about a tablespoon behind. That gives the rice enough savory richness without making the finished skillet feel greasy.
Save this kimchi fried rice for a night when cold rice needs a second life—browned kimchi, crisp bacon, and a little gochujang heat in every skilletful.
Cold Rice Is What Keeps Kimchi Fried Rice From Turning Gummy
Freshly cooked rice holds onto more moisture, and the grains can clump together once they hit the skillet. Cold rice—especially rice that’s been chilled overnight—has had time to firm up, so it breaks apart more readily as you stir-fry it. That makes a noticeable difference in a dish where the rice needs to pick up kimchi juice and soy sauce without becoming wet or pasty.
Use a wide 12-inch skillet so the rice has room to meet the hot surface. If the pan is crowded, moisture has a harder time escaping and the grains are more likely to steam. Break up visible clumps as you stir, but don’t mash the rice against the pan; a light folding and tossing motion keeps the grains intact.
The rice is ready when it’s hot throughout and the sauce has coated the grains, not pooled at the bottom. Cold rice isn’t just a convenient leftover here. It’s the starting point for a skillet with distinct, savory grains.
Why Kimchi and Gochujang Need to Work as a Pair
- Napa cabbage kimchi — It brings acidity, savory depth, and tender cabbage pieces. Use kimchi you enjoy eating on its own; an older, more fermented batch gives the rice a sharper tang, while a milder one tastes gentler. Chop it before it goes into the skillet so it spreads evenly. There isn’t a close substitute that delivers the same fermented flavor.
- Kimchi juice and gochujang — The juice seasons the rice with the kimchi’s tang, while gochujang adds fermented chile warmth and body. A tube or tub of gochujang keeps well in the refrigerator after opening. If you’re adjusting the heat, change the gochujang rather than leaving out the juice, which contributes more than spice.
- Cold cooked rice — Day-old rice is especially useful because it stays separate during stir-frying. Any plain cooked rice works, but freshly cooked, moist rice is more likely to clump. Break apart large clumps as you add it so the sauce reaches more than the outside grains.
- Bacon — Bacon supplies both the crisp, smoky pieces and the fat used to cook the kimchi. Standard sliced bacon works well; there’s no need to buy a thick-cut specialty brand. Cook it until crisp before transferring it out of the skillet.
- Eggs — The eggs make soft, substantial curds that balance the tangy rice. Lightly beat them before pouring them into the open center of the skillet so they scramble evenly rather than leaving streaks of white and yolk.
- Soy sauce, scallions, and toasted sesame oil — Soy sauce seasons the rice, and scallions add a fresh bite at the end. Toasted sesame oil has a stronger aroma than plain sesame oil, so use the toasted kind for the finishing touch. For a gluten-free version, replace the soy sauce with the same amount of tamari.
From Crisp Bacon to Hot, Separate Grains
Render the bacon first
Set a 12-inch skillet over medium heat and cook the chopped bacon for 6–8 minutes, stirring occasionally. You’re looking for crisp pieces and a small pool of rendered fat in the pan. Transfer the bacon to a plate, then pour off the excess fat and leave about 1 tablespoon behind. If the bacon is still limp, give it more time to crisp before you take it out.
Brown the kimchi before adding the rice
Add the chopped kimchi and minced garlic to the skillet over medium heat. Stir for 3–4 minutes, until the cabbage softens and the edges begin to brown; that light browning gives the rice a deeper, savory taste. Stir in the gochujang and cook it for 30 seconds so it blends with the kimchi. Keep stirring during this short stage so the garlic and chile paste don’t scorch.
Stir-fry until the rice is hot throughout
Add the cold rice, kimchi juice, soy sauce, and cooked bacon. Break up clumps as you stir-fry for 4–6 minutes, moving the rice around the skillet so it heats evenly. The grains should be hot throughout, with no cool pockets in the center of a clump. If you see a large clump, separate it gently rather than pressing it flat.
Scramble the eggs in the center
Push the rice out to the edges, leaving the center of the skillet open, then pour in the lightly beaten eggs. Scramble over medium heat until fully set and at least 160°F, then fold the eggs into the rice. Stir in the sliced scallions and toasted sesame oil at the end. Serve the rice hot while the scallions are still bright and the sesame oil is fragrant.
Simple Swaps for Heat, Rice, and Gluten
Make the skillet gluten-free
Replace the soy sauce with an equal amount of tamari. Kimchi and gochujang brands vary in their ingredients, so choose versions labeled gluten-free if you need the whole dish to avoid gluten. The tamari keeps the same savory seasoning, with a slightly different, often rounder taste.
Use brown rice for a chewier bite
Swap in cold cooked brown rice in place of the white rice. Its firmer, nuttier grains make the finished skillet heartier, though the texture will be less tender. Use rice that’s been chilled so it still separates easily as you stir-fry.
Turn down the chile heat
Use less gochujang if you want a milder skillet. You’ll lose some of its fermented chile depth along with the heat, but the kimchi and its juice will still give the rice plenty of tang and savory flavor.
Storage and Reheating
- Refrigerator: Cool the rice promptly, store it in an airtight container, and refrigerate for up to 3–4 days. The rice will firm up as it chills.
- Freezer: It freezes well for up to 2 months. Pack it in airtight, meal-size portions; the eggs may be a little softer after thawing.
- Reheating: Reheat in a skillet over medium heat, stirring until steaming hot throughout, or microwave in a covered dish, stirring partway through. Don’t reheat it repeatedly; the rice dries out and the eggs turn rubbery.
Questions That Come Up When Making Kimchi Fried Rice
Kimchi Fried Rice
Ingredients
Equipment
Method
- Cook the bacon in a 12-inch skillet over medium heat for 6–8 minutes, stirring occasionally, until crisp.
- Transfer the bacon to a plate and leave about 1 tablespoon of fat in the skillet, pouring off any excess.
- Add the kimchi and garlic to the skillet and cook over medium heat for 3–4 minutes, stirring, until the kimchi softens and begins to brown at the edges.
- Stir in the gochujang for 30 seconds.
- Add the rice, kimchi juice, soy sauce, and cooked bacon, breaking up any rice clumps as you stir-fry for 4–6 minutes, until the rice is hot throughout.
- Push the rice to the edges of the skillet and pour the eggs into the center.
- Scramble the eggs over medium heat until fully set and at least 160°F, then fold them into the rice.
- Stir in the scallions and toasted sesame oil, then serve hot.