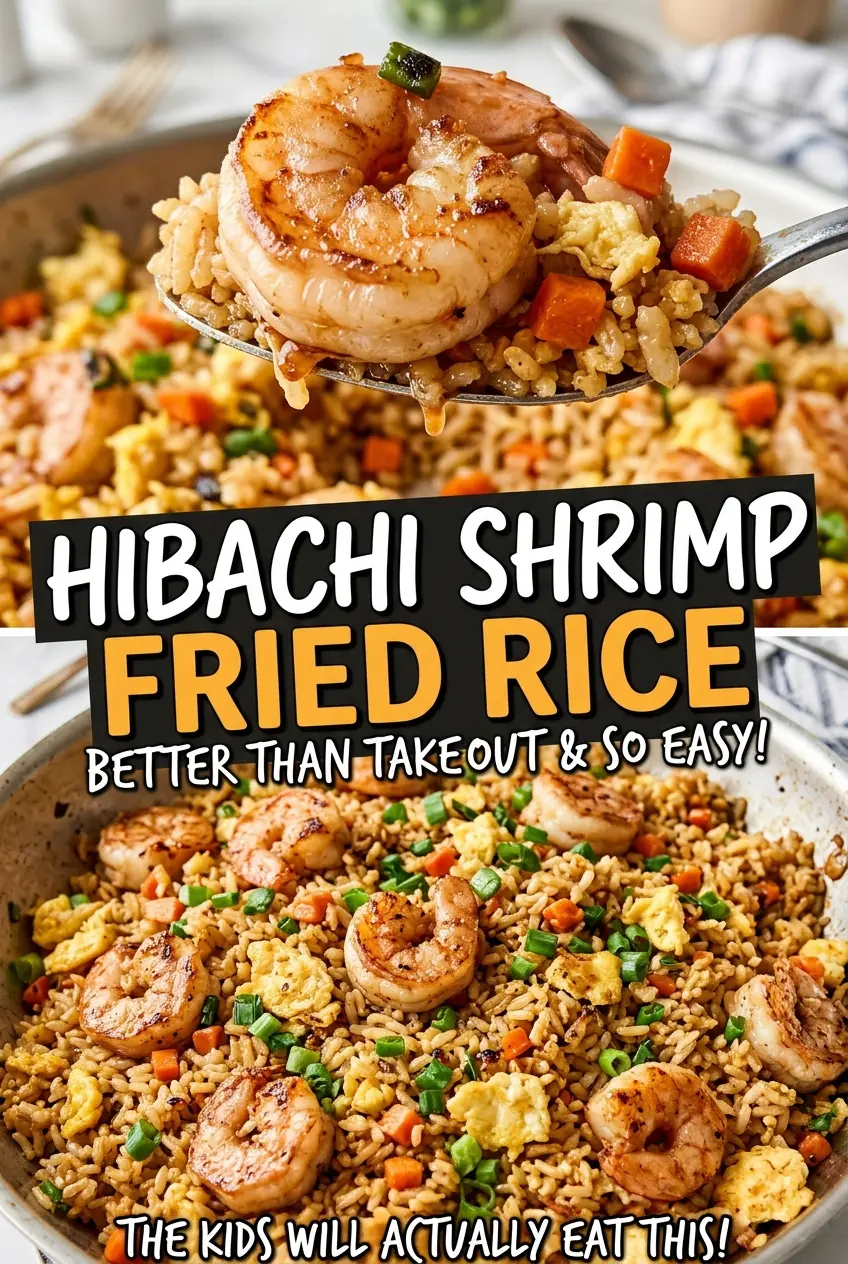
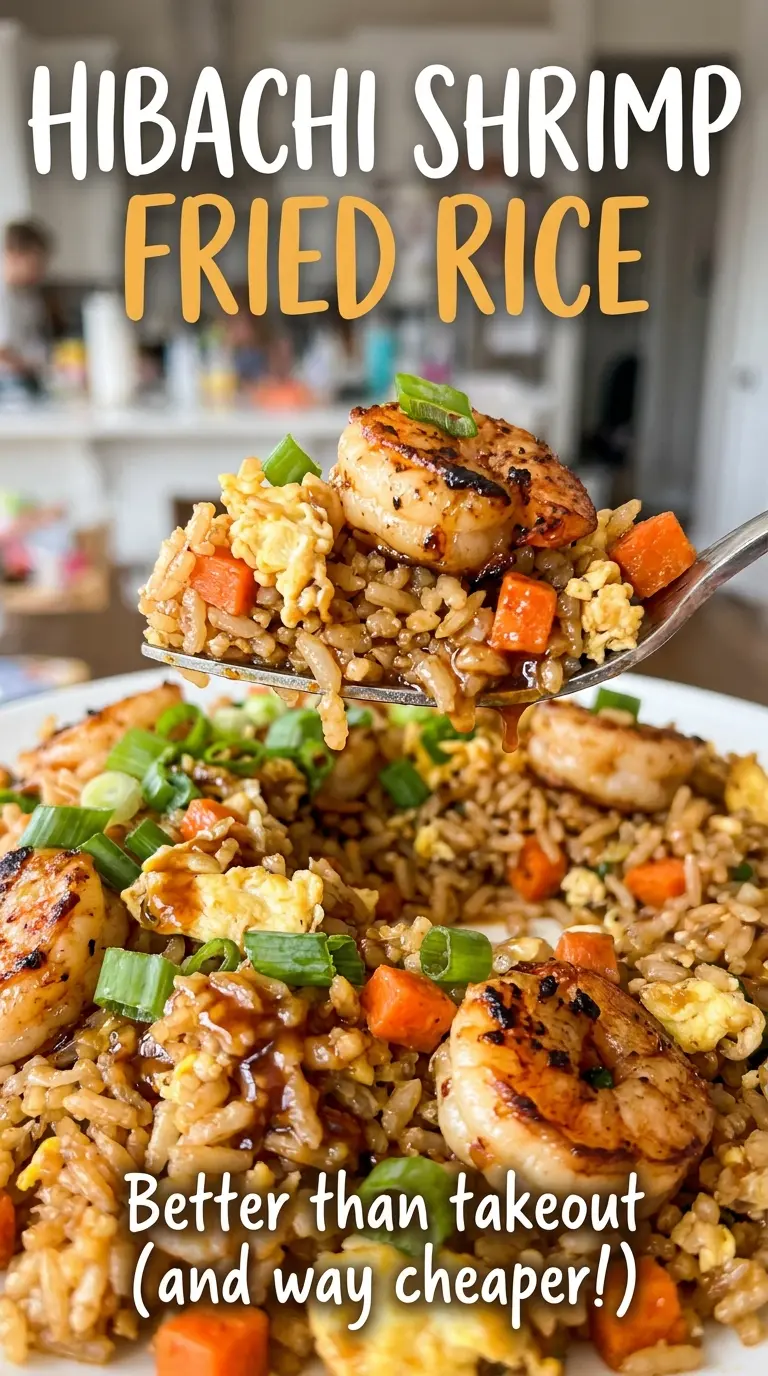
When chilled rice hits a properly hot skillet, it loosens grain by grain instead of collapsing into a soft, sticky mound. That’s the difference I notice most in hibachi shrimp fried rice: every bite has a little toasted rice, tender shrimp, and vegetables instead of one heavy clump.
I cook the shrimp first, then move them out of the way while the eggs and vegetables get their turn in the same skillet. It keeps the shrimp from sitting in the pan while the rice cooks, and the butter, soy sauce, and toasted sesame oil each have a distinct job. The result is savory without being heavy, with scallions adding a fresh finish. Serve it straight from the skillet while the rice is hot and the shrimp are still tender.
Kitchen Note
Bake, Serve, Wear the Vibe 👕
Editor-picked tees our Oven To Fork readers love.



We may earn from qualifying purchases at no extra cost to you.
Pat the shrimp dry before they go into the skillet. A wet surface leaves moisture behind, and the shrimp won’t get the same quick sear in a crowded, steamy pan.
Save this hibachi shrimp fried rice for a fast skillet dinner with tender shrimp and lightly toasted grains.
Why Chilled Rice Fries Instead of Turning Soft and Clumpy
Fried rice needs a little space between the grains. Warm, freshly cooked rice holds more surface moisture, so it can press together when you toss it in a skillet. Chilling the cooked long-grain rice firms the grains and gives excess moisture time to settle; once it hits the hot pan, you can break it apart and toast some of the edges.
That doesn’t mean you need to leave rice in the refrigerator for days. The important part is starting with cooked rice that’s cold, not warm and steamy. Break up any compacted portions as you add the rice, then toss it with the soy sauce so the seasoning spreads instead of soaking into one patch. Give the skillet a little time between stirs, too. Constant stirring keeps the grains moving but leaves less opportunity for the lightly toasted spots that make fried rice taste like it came off a hibachi grill.
Long-grain rice is a good fit here because it stays distinct as you toss it with the vegetables and shrimp. If the grains are packed together when they go in, separate them gently in the skillet rather than mashing them; a few intact grains are better than a pan of rice paste.
Why Soy Sauce and Sesame Oil Go In at Different Times
- Long-grain white rice gives the skillet a base of separate, easy-to-toss grains. It’s the ingredient where texture matters most; use rice that’s already cooked and chilled, and gently loosen any dense patches before they get mixed through the vegetables.
- Large shrimp make substantial, tender bites rather than disappearing among the rice and vegetables. Peeled and deveined shrimp save prep time, and removing the tails makes the finished rice easier to eat. Smaller shrimp can work, but they’ll cook faster, so watch their texture closely.
- Butter and neutral oil bring different things to the pan. Butter adds a rounded, savory taste, while neutral oil is suited to the hot skillet. For a dairy-free version, the neutral oil already in the recipe can replace the butter; the rice will have a less buttery finish.
- Low-sodium soy sauce seasons the rice while giving you more control over saltiness. Regular soy sauce works in its place, but the finished dish will taste saltier. Tamari is a useful swap for a gluten-free version; choose gluten-free tamari and use the same amount.
- Toasted sesame oil has a deep, nutty aroma that stands out most when it’s added near the end. It isn’t the same as neutral oil, so swapping one for the other changes the character of the finished rice.
- Frozen peas and carrots, onion, garlic, eggs, and scallions each bring a different texture or flavor. The frozen vegetables are convenient straight from the freezer, finely diced onion softens quickly, and garlic needs only a short cook so it doesn’t turn bitter. Scallions keep their fresher bite when they’re added at the finish.
The Order That Keeps the Shrimp Tender and the Rice Toasted
Sear the Shrimp First
Season the prepared shrimp with kosher salt and black pepper. Heat a 12-inch skillet over medium-high heat until very hot, then add 1 tablespoon of the neutral oil. Cook the shrimp in batches for 1–2 minutes per side, until opaque and 145°F, then transfer them to a plate. Batches keep the skillet from being overloaded while each side cooks.
Scramble the Eggs Until Just Set
Add the beaten eggs to the skillet and scramble for 1–2 minutes. Take them off the heat when they’re just set rather than dry and browned; they’ll be warmed again at the end. Transfer the eggs to the plate with the shrimp so the skillet is free for the vegetables and rice.
Soften the Vegetables Before Adding Garlic
Add the butter and remaining 1 tablespoon of neutral oil to the skillet, then stir in the finely diced onion and frozen peas and carrots. Cook for 2–3 minutes, giving the onion time to soften and the vegetables time to warm. Add the minced garlic only after that, and cook for 30 seconds. Garlic can go from fragrant to bitter quickly, so keep it moving during this short stretch.
Toss the Rice, Then Return the Shrimp
Add the chilled rice and soy sauce, breaking up the rice as you toss everything together. Cook for 3–5 minutes, stirring occasionally, until the rice is hot and some grains are lightly toasted. Return the shrimp and eggs to the skillet, then add the toasted sesame oil and scallions. Toss for about 1 minute, until heated through.
Three Changes That Suit Different Tables
Make It Gluten-Free with Tamari
Use gluten-free tamari in place of the low-sodium soy sauce, keeping the same amount. It gives the rice a similar savory seasoning, though the exact saltiness can vary by brand.
Use Brown Rice for a Chewier Finish
Swap in the same amount of cooked, chilled brown rice. Its nuttier flavor and firmer bite make the finished skillet heartier, while the rice still gets tossed with the same vegetables and sauce.
Make a Vegan Vegetable Fried Rice
Leave out the shrimp and eggs, and replace the butter with neutral oil. The result is a lighter vegetable fried rice that keeps the soy, sesame, and scallion flavors but doesn’t have the same richness or protein as the shrimp version.
Storage and Reheating
- Refrigerator: Transfer leftovers to a shallow airtight container within 2 hours and refrigerate for 3–4 days. The rice firms up as it chills, and the shrimp may be a little less tender after reheating.
- Freezer: Freeze cooled portions in airtight freezer containers for up to 2 months. Thaw in the refrigerator before reheating; the rice may be softer after freezing.
- Reheating: Reheat in a skillet over medium heat, stirring until the rice is hot throughout, or microwave in a covered dish, stirring partway through. Heat leftovers to 165°F, and avoid leaving them over the heat longer than needed, which can toughen the shrimp.
Questions That Come Up While the Skillet Is Hot
Hibachi Shrimp Fried Rice
Ingredients
Equipment
Method
- Pat the shrimp dry and season with the salt and pepper.
- Heat a 12-inch skillet over medium-high heat until very hot.
- Add 1 tablespoon of the neutral oil to the skillet.
- Cook the shrimp in batches for 1–2 minutes per side, until opaque and 145°F, then transfer to a plate.
- Add the eggs to the skillet and scramble for 1–2 minutes, until just set; transfer them to the plate with the shrimp.
- Add the butter and remaining 1 tablespoon neutral oil to the skillet, then stir in the onion and peas and carrots.
- Cook for 2–3 minutes.
- Add the garlic and cook for 30 seconds.
- Add the rice and soy sauce, breaking up the rice and tossing to combine.
- Cook for 3–5 minutes, stirring occasionally, until hot and some grains are lightly toasted.
- Return the shrimp and eggs to the skillet, add the sesame oil and scallions, and toss for about 1 minute, until heated through.