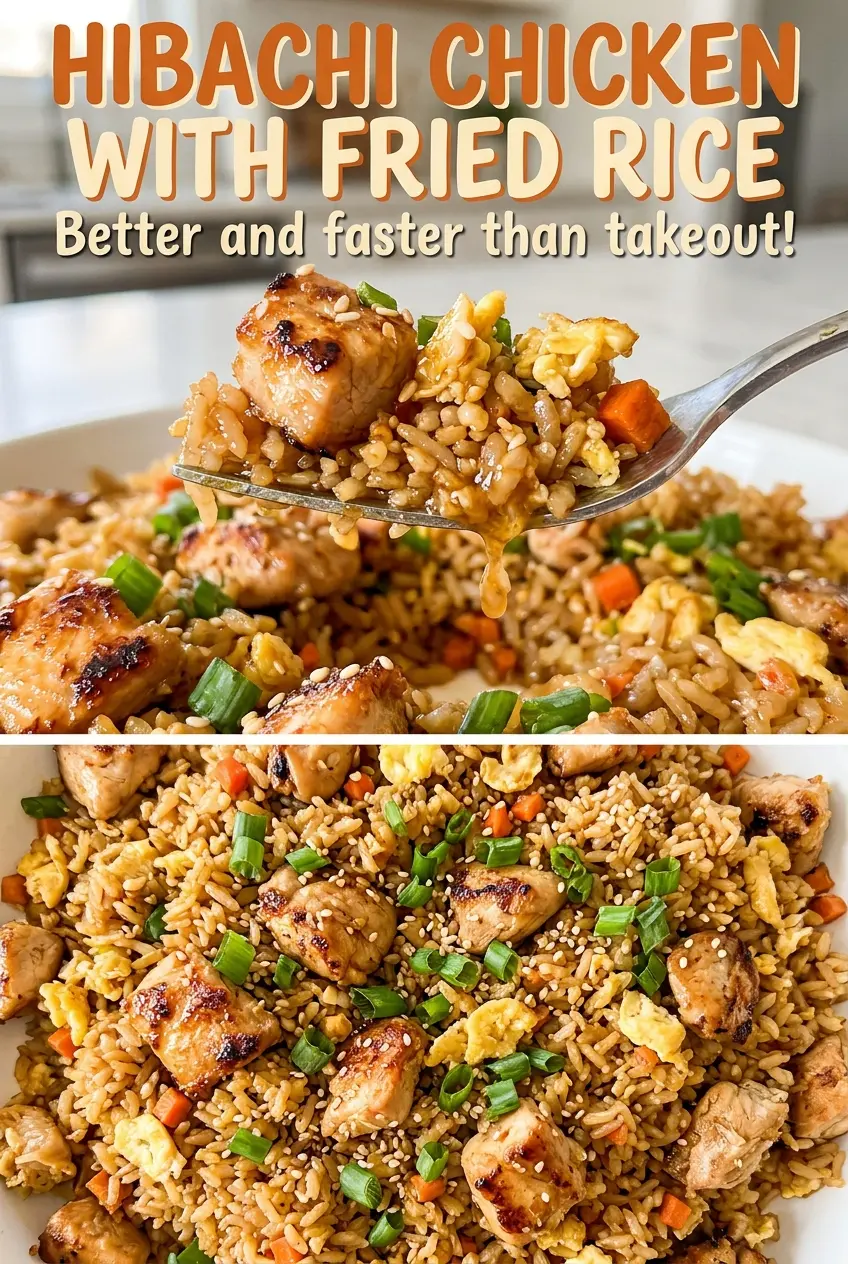
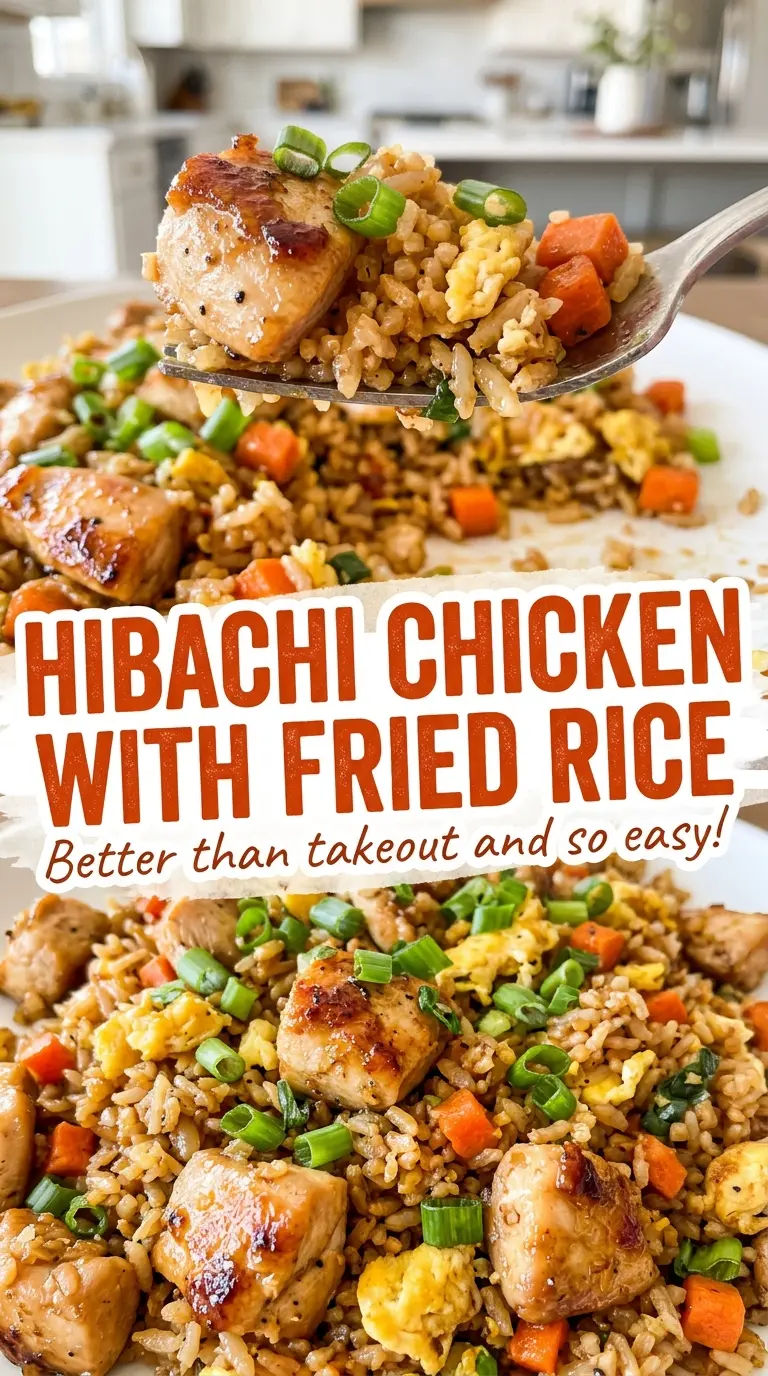
The rice starts to smell nutty as soon as it hits the hot skillet, but it can turn sticky fast if the grains are still warm and damp. Cold cooked rice gives each grain a better chance to stay separate, which is why I use it for this hibachi chicken with fried rice. The chicken cooks in its own round after the rice is finished, so both parts get the pan space they need.
I keep the fried rice simple: eggs, frozen peas and carrots, garlic, soy sauce, scallions, and a little toasted sesame oil at the end. Then I wipe the skillet clean and brown the chicken in two batches. That extra pan space matters; crowded chicken steams instead of picking up color.
A quick toss with butter and lemon juice brings the chicken together just before serving. The plate has tender browned chicken beside warm, savory rice, with scallions and sesame oil coming through in each bite.
Kitchen Note
Bake, Serve, Wear the Vibe 👕
Editor-picked tees our Oven To Fork readers love.



We may earn from qualifying purchases at no extra cost to you.
I leave the scrambled eggs on their plate until the rice is hot, then fold them back in with the scallions and sesame oil. They stay in soft, distinct curds instead of getting broken up while the rice fries.
Save this hibachi chicken with fried rice for a quick skillet dinner, with browned chicken, fluffy rice, and a buttery lemon finish.
Why Cold Rice Keeps Hibachi-Style Fried Rice From Turning Soft
Freshly cooked rice carries more moisture and warmth than this skillet needs. When warm grains hit the pan together, they tend to clump, and stirring can mash them before the vegetables and soy sauce are evenly mixed through. Cold rice starts firmer, so you can break up the clumps as it heats without turning the whole pan into a soft mass.
Use rice that has been cooked and chilled, and break it apart before it goes into the skillet. A few small clumps are fine; you can separate those as you stir. The goal isn’t to dry the rice out, but to give the grains enough structure to heat through while staying distinct. That texture makes a noticeable difference beside the tender chicken.
The skillet also needs enough room to do its job. A 12-inch nonstick skillet gives the rice space to heat and the chicken space to brown in batches. Keep the rice covered loosely in its serving bowl while you cook the chicken, rather than leaving it uncovered on the counter to cool.
Which Ingredients Give the Rice Its Takeout-Style Character
- Cold cooked white rice — Its mild flavor lets the soy sauce, garlic, and sesame oil stand out, and chilled grains hold their shape as they fry. Break up large clumps before adding it so you aren’t pressing hard on the grains in the skillet.
- Frozen peas and carrots — They bring sweetness and color without needing separate chopping. Add them frozen with the garlic; thawing first isn’t necessary for this quick cook.
- Eggs — The eggs add tender curds and make the rice feel more substantial. Lightly beating them helps them scramble evenly in the hot skillet.
- Soy sauce and toasted sesame oil — Soy sauce seasons the rice as it heats, while toasted sesame oil brings a nutty aroma at the finish. The sesame oil is best added after cooking rather than used as the main frying oil, since its toasted character is easiest to notice uncooked.
- Chicken breasts — Cutting the chicken into even 1-inch pieces helps the pieces brown and cook at a similar pace. Choose boneless, skinless breasts that are evenly thick, then cut them into uniform pieces.
- Butter and lemon juice — Butter coats the chicken and gives the final toss a rich finish; lemon juice keeps that finish bright. Fresh lemon juice has a cleaner flavor than bottled juice, though either will add acidity.
Build the Fried Rice First, Then Brown the Chicken
Scramble the Eggs and Soften the Vegetables
Heat a 12-inch nonstick skillet over medium-high heat and add the neutral oil. Pour in the lightly beaten eggs and scramble for 30 to 60 seconds, just until set, then move them to a plate. Add the frozen peas and carrots with the minced garlic and cook for 2 minutes, stirring often. Keep the garlic moving around the pan so it cooks with the vegetables instead of sitting in one spot.
Heat the Rice Without Mashing It
Add the cold rice and soy sauce, then stir and break up clumps as the rice cooks for 4 to 5 minutes. Use the edge of your spatula to loosen larger pieces rather than pressing down hard. The rice should be hot throughout, with the grains separated and no cold pockets left in the middle of a clump. Stir in the reserved eggs, sliced scallions, and toasted sesame oil, then transfer the rice to a serving bowl and cover it loosely.
Brown the Chicken in Two Batches
Wipe the skillet clean, then season the chicken pieces with kosher salt and black pepper. Melt 1 tablespoon of butter over medium-high heat and add half the chicken in a single layer. Cook for 5 to 7 minutes, turning occasionally, until browned and the largest pieces reach 165°F; transfer the first batch to a plate. Repeat with the remaining butter and chicken, giving the pieces room rather than piling them together.
Finish With Butter and Lemon
Return all the chicken and any juices from the plate to the skillet. Add the lemon juice and toss for 30 seconds so it coats the pieces. The chicken should look glossy, with browned edges still visible rather than a pool of liquid at the bottom of the pan. Serve it with the fried rice while both are hot.
Simple Changes for Different Tables
Make the Fried Rice Gluten-Free
Replace the soy sauce with the same amount of gluten-free tamari. It gives the rice the same savory, salty seasoning, though some brands taste a little more intense, so taste the finished rice before adding anything extra.
Give the Rice a Milder Scallion Finish
Use the green parts of the scallions instead of slicing both the white and green portions. The rice keeps its fresh onion note, but loses some of the sharper bite from the whites.
Storage and Reheating
- Refrigerator: Store the chicken and rice in airtight containers for 3 to 4 days. Refrigerate leftovers within 2 hours; the rice firms up as it chills.
- Freezer: Freeze the chicken and rice in airtight, freezer-safe containers for up to 3 months. Thaw overnight in the refrigerator for the most even reheating.
- Reheating: Reheat in a skillet over medium heat, stirring the rice and turning the chicken until steaming hot throughout. Avoid prolonged high heat, which can dry out the chicken and toughen the rice.
Questions That Come Up With Hibachi Chicken and Fried Rice
Hibachi Chicken with Fried Rice
Ingredients
Equipment
Method
- Heat a 12-inch nonstick skillet over medium-high heat and add the oil. Pour in the eggs and scramble for 30-60 seconds, until just set, then transfer to a plate.
- Add the peas and carrots and garlic to the skillet and cook for 2 minutes, stirring often.
- Add the rice and soy sauce and cook for 4-5 minutes, stirring and breaking up clumps, until hot throughout.
- Stir in the eggs, scallions, and sesame oil.
- Transfer the rice to a serving bowl and cover loosely; wipe the skillet clean.
- Season the chicken with the salt and pepper.
- Melt 1 tablespoon butter in the skillet over medium-high heat, add half the chicken in a single layer, and cook for 5-7 minutes, turning occasionally, until browned and the largest pieces reach 165°F; transfer to a plate and repeat with the remaining butter and chicken.
- Return all the chicken and any juices to the skillet, add the lemon juice, and toss for 30 seconds.
- Serve with the fried rice.