When the turkey comes out of the oven, the pan holds two things gravy needs: clear fat on top and savory juices underneath. They look like they belong together, but using them in the wrong proportions can leave gravy greasy or thin. I separate them first, then measure each part so this turkey gravy from drippings turns out smooth and spoon-coating, even when the amount of drippings varies.
I build the base with turkey fat, adding unsalted butter only if the fat comes up short, and use defatted pan juices with low-sodium turkey broth to bring the liquid to the right total. That balance gives the flour enough fat to cook evenly and keeps the turkey flavor front and center without letting the seasoning get away from me. The finished gravy is silky, savory, and ready to pour while it’s warm.
Kitchen Note
Bake, Serve, Wear the Vibe 👕
Editor-picked tees our Oven To Fork readers love.



We may earn from qualifying purchases at no extra cost to you.
Keep the whisk moving while the flour cooks in the fat. Those two minutes pass quickly, and a roux left sitting in the pan can scorch before it’s ready for the liquid.
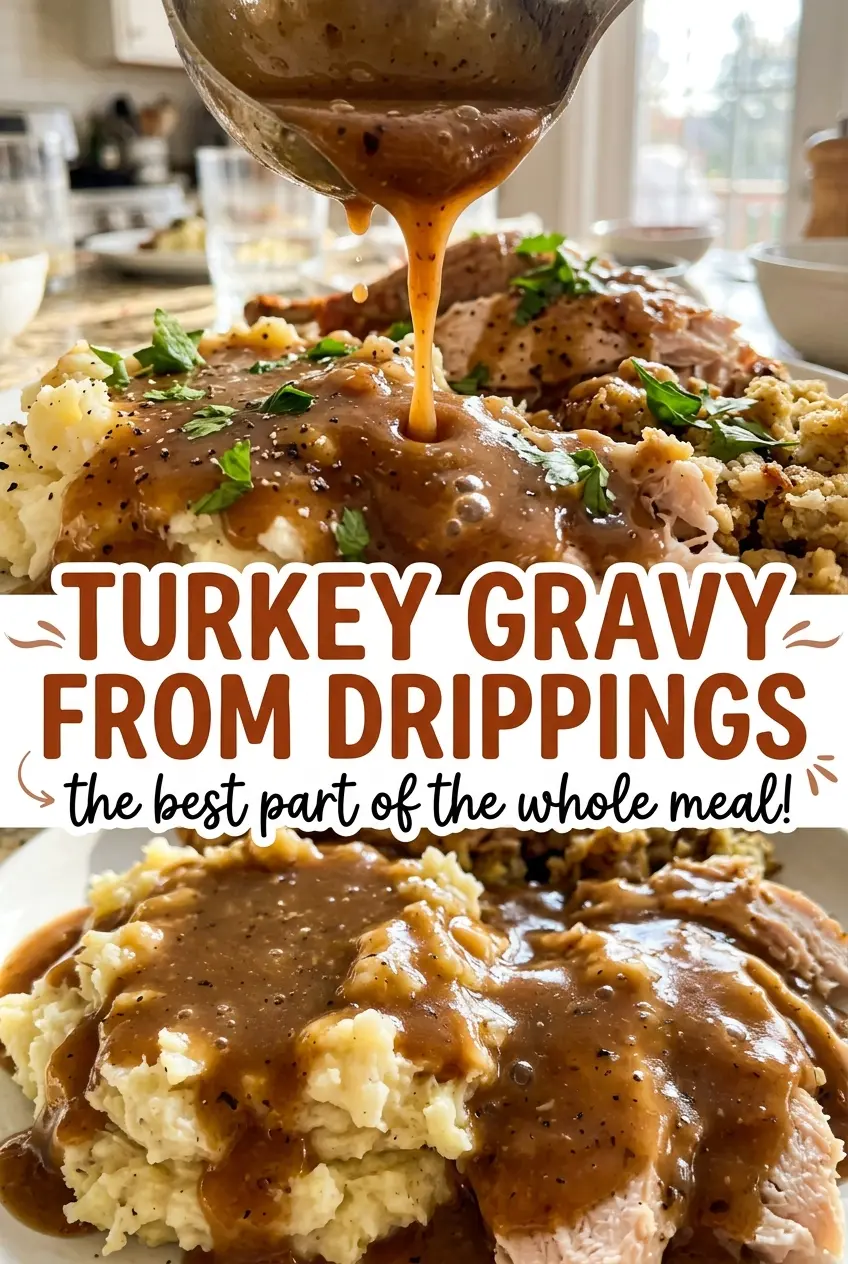
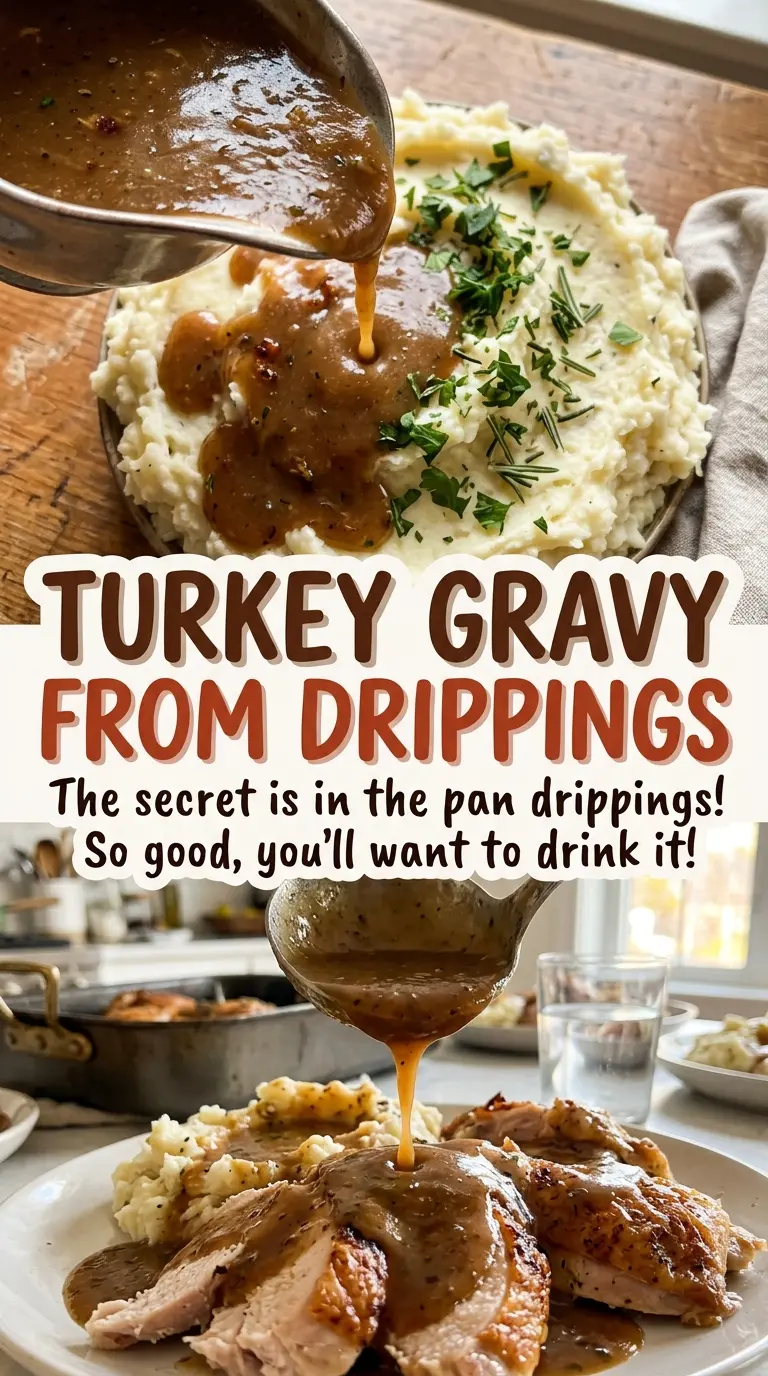
Save this turkey gravy from drippings for a smooth, savory finish made with the pan juices and a simple flour roux.
Why the Fat and the Pan Juices Need Separate Measuring
Drippings aren’t a fixed ingredient. One turkey may leave plenty of fat in the roasting pan, while another gives you more juices and only a little fat to skim. If you pour everything together without separating it, it’s hard to know whether the flour has enough fat to form a smooth base or whether the final gravy will have the right body.
Here, the reliable part is the ratio: measure the fat on its own, then measure the defatted juices together with broth. Butter fills in only when the turkey fat doesn’t reach the amount needed for the roux. The liquid gets its own total, too, so you aren’t guessing based on how much the roast happened to leave behind.
That approach also gives you control over how turkey-forward the finished gravy tastes. Pan juices carry the character of the roast, while low-sodium turkey broth brings the liquid volume up without adding as much seasoning as regular broth might. The gravy still starts with the turkey, but the proportions don’t depend on getting an unusually generous amount of drippings.
How Turkey Fat, Flour, and Pan Juices Shape the Gravy
- Turkey fat and unsalted butter — The skimmed fat gives the gravy its roasted-turkey character and coats the flour to make the roux. Butter is the practical backup when the drippings don’t provide enough fat; unsalted butter keeps the seasoning easier to manage. Strain and separate the drippings before measuring so the fat and juices don’t get counted together.
- All-purpose flour — Flour thickens the liquid as the gravy simmers and gives it a familiar, smooth body. It’s a dependable choice here; swapping in a starch would call for a different thickening method, so it isn’t a one-for-one change in this version.
- Defatted pan juices and low-sodium turkey broth — The juices bring concentrated roast flavor, and broth fills out the liquid when the pan doesn’t yield enough. Low-sodium broth is useful because the drippings may already be seasoned. Combine the two only after skimming the fat, so the measured liquid doesn’t include the portion reserved for the roux.
- Kosher salt and black pepper — Salt brings the turkey flavor into focus, while black pepper gives the gravy a gentle savory bite. Since pan juices vary in saltiness, taste the finished gravy before adding any extra salt.
Build the Roux First, Then Let the Gravy Thicken
Separate the Fat from the Juices
Strain the turkey drippings into a heatproof measuring cup and let them stand for 5 minutes. The fat will rise to the top, making it easier to skim off while keeping the juices below. Reserve the defatted juices, then measure the fat and add butter as needed to reach the amount for the roux. Combine the juices with enough low-sodium turkey broth to make 3 cups of liquid total.
Cook the Flour in the Fat
Heat the fat mixture in a 2-quart saucepan over medium heat. Whisk in the flour right away, then keep whisking constantly for 2 minutes so it cooks evenly through the fat. If flour collects in a corner or along the bottom, sweep it back into the mixture with the whisk. The roux should look smooth before the liquid goes in.
Whisk in the Liquid Gradually
Pour in the measured liquid gradually while whisking, rather than adding it all at once. Steady whisking helps the flour disperse instead of forming lumps. Bring the mixture to a simmer, then cook for 5 to 8 minutes, whisking often. It’s ready when the gravy looks smooth and coats the back of a spoon.
Season at the End
Stir in the kosher salt and black pepper once the gravy has thickened. Taste it before adding more salt, since the pan juices can bring their own seasoning. Give the gravy a final stir so the seasoning is evenly distributed. Serve it while warm, when it pours easily over the meal.
Three Ways to Adjust the Gravy to Your Drippings
Use an all-pan-juice liquid
When you have enough defatted turkey juices, use them for the full 3 cups of liquid instead of combining them with broth. The gravy will taste more intensely of the roast, and its seasoning will depend more on the pan juices, so taste before adding extra salt.
Let broth lead for a milder turkey taste
Use a smaller share of the defatted pan juices and let low-sodium turkey broth make up the rest of the 3 cups. You’ll get a gentler roast flavor while keeping the same smooth flour-thickened texture. Keep the fat measurement unchanged so the roux still has the same base.
Skip butter when the turkey provides enough fat
If skimming gives you the full amount of turkey fat needed, there’s no need to add butter. The gravy will have a more direct roasted-turkey flavor, with no change to the flour or liquid proportions. If the skimmed fat comes up short, use unsalted butter to complete it.
Storage and Reheating
- Refrigerator: Store cooled gravy in a covered container for 3 to 4 days. It will thicken and may look gelled when cold; that texture softens as it warms.
- Freezer: Freeze in an airtight container for up to 2 to 3 months. Leave a little room at the top for expansion, then thaw it in the refrigerator before reheating.
- Reheating: Warm it in a saucepan over low to medium-low heat, whisking until smooth and heated to 165°F. If it’s thicker than you want, whisk in a little low-sodium turkey broth; avoid high heat, which can make the bottom scorch before the gravy warms evenly.
Questions That Come Up When Making Turkey Gravy
Turkey Gravy from Drippings
Ingredients
Equipment
Method
- Strain the turkey drippings into a heatproof measuring cup and let stand for 5 minutes.
- Skim off the fat and reserve the defatted juices.
- Measure 1/4 cup fat, adding butter as needed.
- Combine the reserved juices with enough low-sodium turkey broth to make 3 cups total.
- Heat the fat mixture in a 2-quart saucepan over medium heat.
- Whisk in the flour and cook, whisking constantly, for 2 minutes.
- Gradually whisk in the 3 cups of liquid and bring to a simmer.
- Cook for 5 to 8 minutes, whisking often, until the gravy is smooth and thick enough to coat the back of a spoon.
- Stir in the salt and pepper, taste, and add more salt if needed.