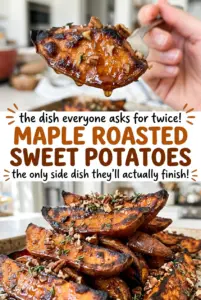
At the 20-minute mark, the sweet potatoes have started to brown, but they still need time to turn tender all the way through. That’s when I add the maple syrup: it coats the edges without spending the entire roast in a hot oven. These maple roasted sweet potatoes come out glossy, tender, and browned at the corners instead of sticky and over-dark.
I like the balance here. Olive oil helps the potatoes roast before the maple goes on, and a little salt and pepper keep the sweetness from taking over. The final minutes in the oven let the syrup cling to each piece while the centers soften. You get a simple side with caramelized edges and a clear maple flavor.
Kitchen Note
Bake, Serve, Wear the Vibe 👕
Editor-picked tees our Oven To Fork readers love.



We may earn from qualifying purchases at no extra cost to you.
Cut the sweet potatoes into genuinely similar 1-inch pieces, especially around the narrow ends. Thin pieces can soften before the thicker ones are fork-tender, so take a moment to even out the uneven chunks.
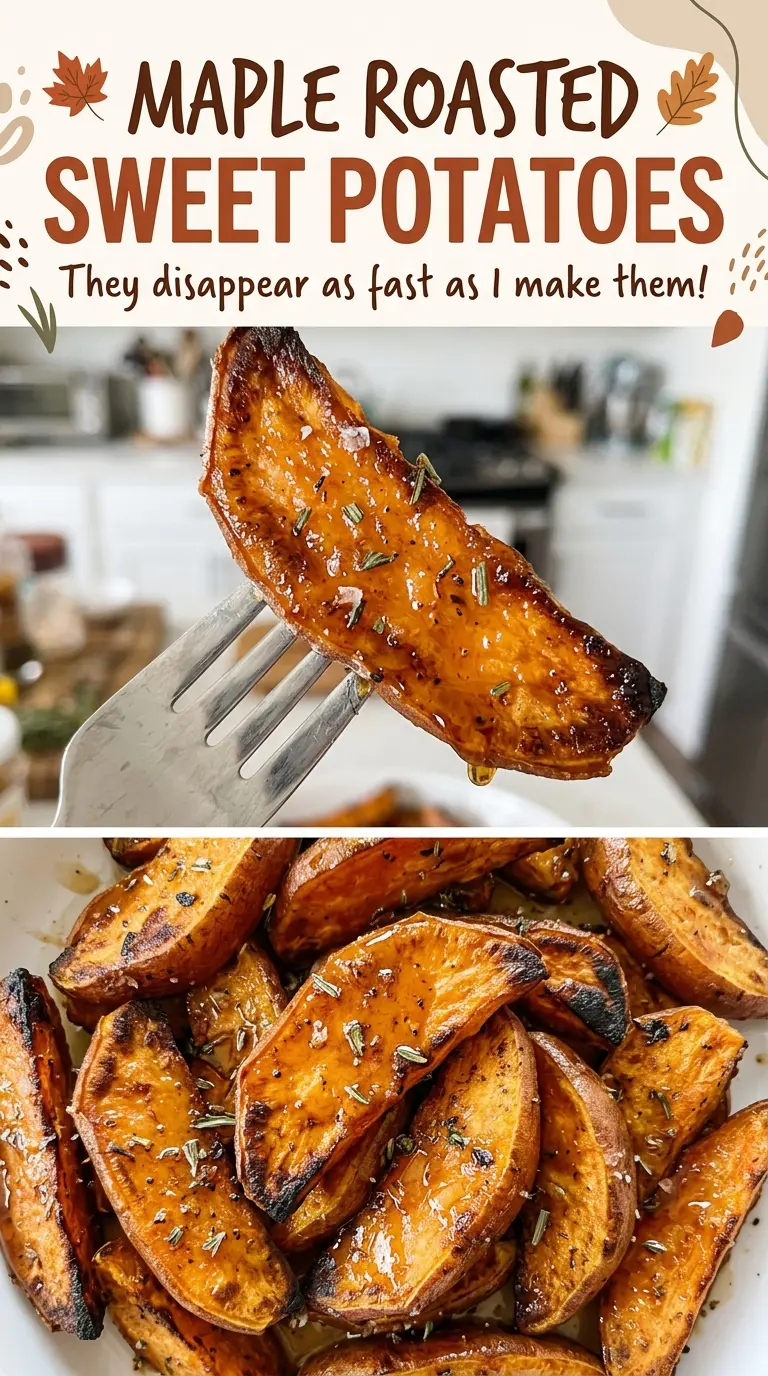
Save these maple roasted sweet potatoes for a side with tender centers and syrup-glossed, browned edges.
Why the Maple Syrup Goes on After the First Roast
Maple syrup is sweet and full of natural sugars, so it browns faster than a plain piece of sweet potato. If it goes onto the potatoes at the beginning, those sugars spend the whole roast in a 425°F oven. The coating can darken before the centers have had enough time to soften.
Roasting the cubes first gives them a chance to cook and begin browning without a sugary coating. After 20 minutes, turning the potatoes exposes new surfaces, and the syrup can cling to the warm pieces for the shorter final stretch. That timing is what gives you maple flavor on the outside without masking the sweet potato underneath. Keep the syrup for that second stage; the difference shows up in the color and texture of the finished edges.
What the Maple, Oil, and Sweet Potatoes Each Bring
- Sweet potatoes — Choose firm potatoes without soft spots; ordinary grocery-store sweet potatoes work well. Peeling removes the tougher skin and lets the syrup coat the flesh directly. Butternut squash is a workable swap in similarly sized cubes, though it tastes less earthy and turns softer as it roasts.
- Olive oil — A basic everyday olive oil is fine here; its job is to coat the potatoes before the maple goes on. Avocado oil can replace it measure-for-measure for a more neutral taste.
- Pure maple syrup — Use real maple syrup for its clean, woodsy sweetness; pancake syrup has a different flavor and can leave a heavier coating. Honey works measure-for-measure if you prefer its floral taste, but it may darken faster during the final roast.
- Black pepper — Freshly ground pepper has a brighter, more noticeable aroma, but preground pepper is perfectly serviceable. White pepper can replace it measure-for-measure for a milder, less assertive finish.
Roast First, Then Coat the Potatoes with Maple
Heat the Oven and Cut the Potatoes
Heat the oven to 425°F. Peel the sweet potatoes and cut them into 1-inch cubes, keeping the pieces as even as you can. Consistent sizing helps the cubes finish together rather than leaving small pieces soft while larger ones are still firm.
Season and Spread in One Layer
Toss the cubes in a large bowl with the olive oil, kosher salt, and black pepper. Spread them on a rimmed 18×13-inch baking sheet in a single layer. If the pieces are piled on top of one another, they’ll steam where they touch instead of browning evenly.
Give Them Their First Roast
Roast the potatoes for 20 minutes. When you take the pan out, the cubes should have begun to soften and show some color on their undersides. Turn them over so the less-browned sides meet the hot pan, then drizzle with maple syrup and toss to coat.
Finish Until Tender and Browned
Return the pan to the oven for 10 to 15 minutes more. Look for browned edges and centers a fork can pierce easily. Start checking at the 10-minute mark; the potatoes are ready when they’re tender through the middle and caramelized at the edges.
Three Small Changes for a Different Kind of Maple-Roasted Side
A Lower-Carb Turnip Version
Replace the sweet potatoes with peeled 1-inch turnip cubes for a lower-carb side. Turnips have a sharper, less sweet flavor, which makes the maple stand out more; use the same oil-and-maple approach, and check for tenderness rather than relying on the full final roasting time.
Add a Little Heat
Toss a pinch of cayenne with the oil, salt, and pepper before the first roast. The gentle heat offsets the maple sweetness without changing the order of the steps; start with just a pinch if you want the sweet potato to remain the main flavor.
Bring in Fresh Rosemary
Toss a little finely chopped fresh rosemary with the potatoes and oil before they go into the oven. Its woodsy, savory aroma gives the finished side a more herb-forward feel alongside the maple. Chop it finely so the leaves cling to the cubes rather than scattering across the pan.
Storage and Reheating
- Refrigerator: Store in an airtight container for 3 to 4 days. The cubes soften in the fridge and won’t be as crisp at the edges.
- Freezer: Freeze in a sealed container for up to 3 months. Thawed potatoes will be softer than freshly roasted ones.
- Reheating: Spread the potatoes on a baking sheet and warm at 400°F until hot, which helps the edges firm up again. The microwave works for speed but leaves them softer.
Questions That Come Up While Roasting Sweet Potatoes
Maple Roasted Sweet Potatoes
Ingredients
Equipment
Method
- Heat the oven to 425°F.
- Toss the sweet potatoes with the olive oil, salt, and pepper in a large bowl.
- Spread the potatoes in a single layer on a rimmed 18x13-inch baking sheet.
- Roast for 20 minutes.
- Turn the potatoes.
- Drizzle with the maple syrup and toss to coat.
- Roast for 10 to 15 minutes more, until the potatoes are fork-tender and browned at the edges.