Fresh Garden Tomato Pie lands exactly where summer cooking should: juicy tomatoes, a flaky crust, and a golden, bubbling cheese topping that holds everything together instead of sliding off the plate. When it’s done right, each slice cuts cleanly after a short rest and gives you layers of sweet tomato, sharp cheddar, creamy mayo, and basil in every bite. It’s rich without feeling heavy, and it tastes like the best part of peak tomato season concentrated into one pan.
The trick is managing moisture before the pie ever goes into the oven. Tomatoes release a surprising amount of liquid, and if you skip the salt-and-drain step, the crust turns soft long before the top gets properly browned. Blind baking the crust helps, but the real difference comes from drying the tomato slices well and spreading the cheese mixture all the way to the edges so it bakes into a sealed, savory cap.
Below, I walk through the small choices that matter most here: which tomatoes work best, why the onion gets tucked in thinly, and how long the pie needs to rest so the filling doesn’t slump the second you cut into it.
Bake, Serve, Wear the Vibe 👕
Editor-picked tees our Oven To Fork readers love.



We may earn from qualifying purchases at no extra cost to you.
I drained the tomatoes like you said and the crust stayed crisp all the way through. The cheesy topping browned up beautifully and my husband kept going back for another slice even after dinner was over.
Save this Fresh Garden Tomato Pie for the days when your tomatoes are juicy, your basil is abundant, and you want a bubbling, crisp-edged summer pie.
The Tomato Juice Is the Real Enemy of a Crisp Crust
Tomato pie goes wrong for one reason more than any other: the filling leaks water faster than the crust can protect itself. Fresh tomatoes look harmless on the cutting board, but once salt pulls the moisture out, they can flood the bottom of the pie and leave you with a soggy base under a beautifully browned top. That’s why the draining step matters just as much as the blind bake.
The other mistake is rushing the rest at the end. A hot tomato pie cuts like loose stew if you slice it too soon. Give the filling time to settle so the cheese topping firms up and the tomato juices redistribute instead of running straight out onto the plate.
- Salted tomato slices — Drawing out excess liquid before assembly keeps the filling from steaming the crust from below.
- Blind-baked crust — This gives the bottom a head start and helps it stay crisp under the tomatoes.
- Mayonnaise-cheese topping — The mayo melts into the cheese and browns into a savory blanket that protects the pie while it bakes.
What Each Ingredient Is Actually Doing in This Pie
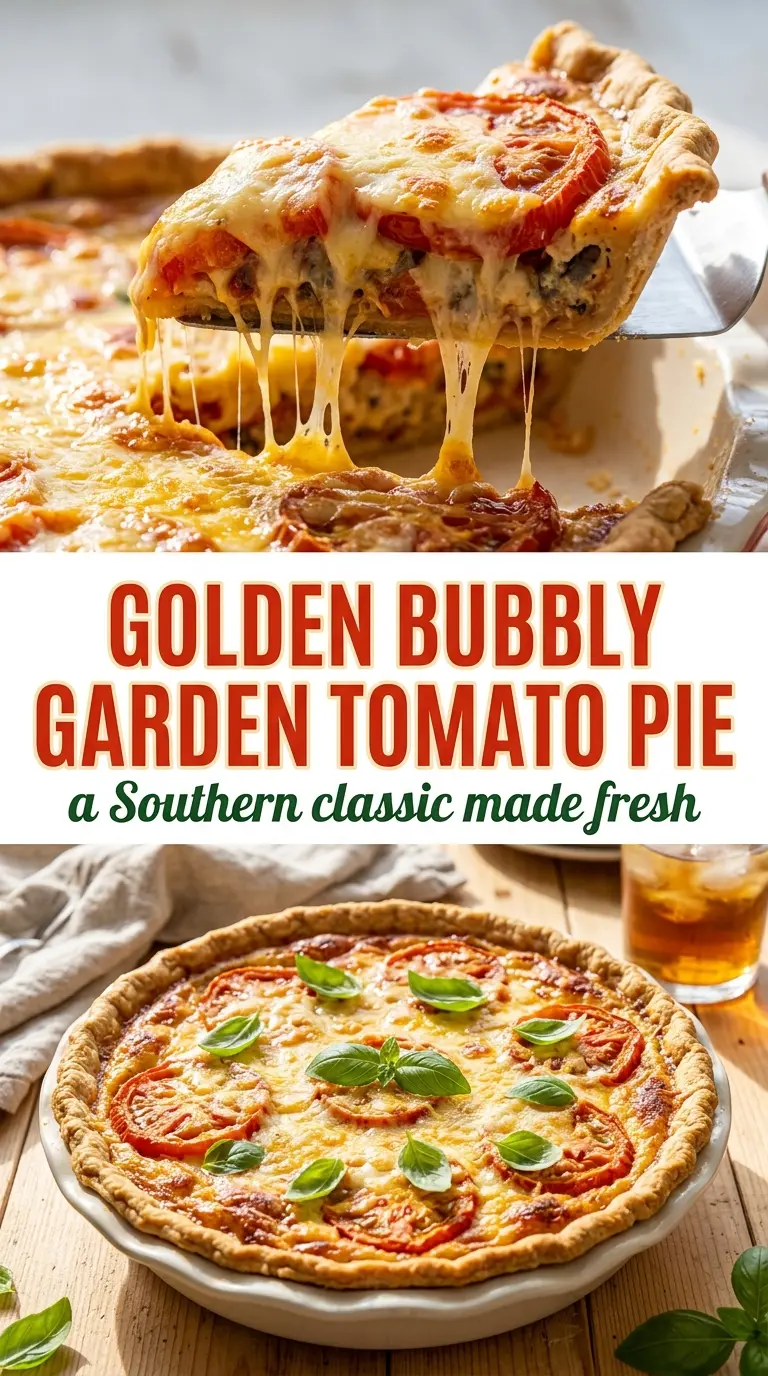
- Ripe garden tomatoes — Use tomatoes that feel heavy and smell like themselves. This pie is built around peak tomato flavor, so pale, mealy tomatoes will taste flat no matter how much cheese you add.
- Sweet onion — Keep the slices thin. You want a little sharpness and sweetness tucked between the tomato layers, not big crunchy chunks that fight the texture of the pie.
- Fresh basil — Basil adds the bright finish that keeps the pie from tasting one-note. Dried basil won’t give you the same fresh lift, so use the fresh leaves if you can.
- Sharp cheddar and mozzarella — Cheddar brings the salt and bite; mozzarella brings melt and stretch. Using both gives you a topping that browns well and still feels creamy when you slice it.
- Mayonnaise — This is what makes the topping spreadable and rich enough to bake into a cohesive layer. Full-fat mayo works best here because lower-fat versions can separate or turn thin in the oven.
Building the Pie So the Bottom Stays Crisp and the Top Browns
Blind-Baking the Crust
Start with the crust fully fitted into the pie dish, then line it with parchment and pie weights. Bake until the edges look lightly golden and the bottom has lost its raw shine. If you underbake this shell, the tomato juices will soak in before the filling has a chance to set, and no amount of topping can fix that later.
Pulling the Moisture Out of the Tomatoes
Lay the sliced tomatoes on paper towels, salt them, and let them sit long enough to bead with liquid. Pat them dry with more towels until the surfaces no longer look slick. If the slices go in wet, the pie steams itself from the inside and the center will never taste as concentrated as it should.
Layering and Topping
Stack the tomatoes, onion, and basil in layers so the flavor is distributed throughout the pie instead of sitting on top. Mix the cheese, mayonnaise, garlic powder, pepper, and red pepper flakes into a thick spread, then cover the tomatoes all the way to the crust edge. That edge-to-edge seal is important; it helps the top brown evenly and keeps the filling from drying out in patches.
Baking Until the Top Looks Set
Bake until the cheese topping is deeply golden and bubbling around the edges. The pie should look firm on top but still have a little give when you nudge the pan. If the crust edges are browning too fast, shield them with foil for the last part of the bake rather than pulling the whole pie early.
Make It Lighter Without Losing the Structure
Swap half the mayonnaise for plain full-fat Greek yogurt if you want a sharper, slightly lighter topping. The flavor turns tangier and the spread bakes a little less rich, but it still holds together because the cheese does most of the structural work.
How to Make It Gluten-Free
Use a sturdy gluten-free pie crust that can be blind baked without crumbling. The filling itself is naturally gluten-free, but the crust needs to be strong enough to stand up to the tomato juices, so don’t use a fragile pastry that turns sandy after baking.
Dairy-Free Version That Still Feels Savory
Use a dairy-free shredded cheese blend that melts well and a plant-based mayonnaise. The topping won’t brown quite as deeply as the original, but it still gives you a creamy, savory cap that helps the pie set and slice cleanly.
Adding a Little More Bite
A pinch more red pepper flakes or a few thin slices of pickled jalapeño gives the pie a sharper edge without changing the structure. Keep the extra acid modest, though, or it starts to compete with the tomatoes instead of supporting them.
Storage and Reheating
- Refrigerator: Store covered for up to 3 days. The crust softens a little in the fridge, but the flavor stays good.
- Freezer: This pie does not freeze well. The tomatoes turn watery and the mayo-cheese topping changes texture after thawing.
- Reheating: Reheat slices in a 350°F oven until warmed through and the crust firms back up, about 10 to 15 minutes. The microwave makes the crust limp and pushes more moisture into the bottom of the pie.
Answers to the Questions Worth Asking
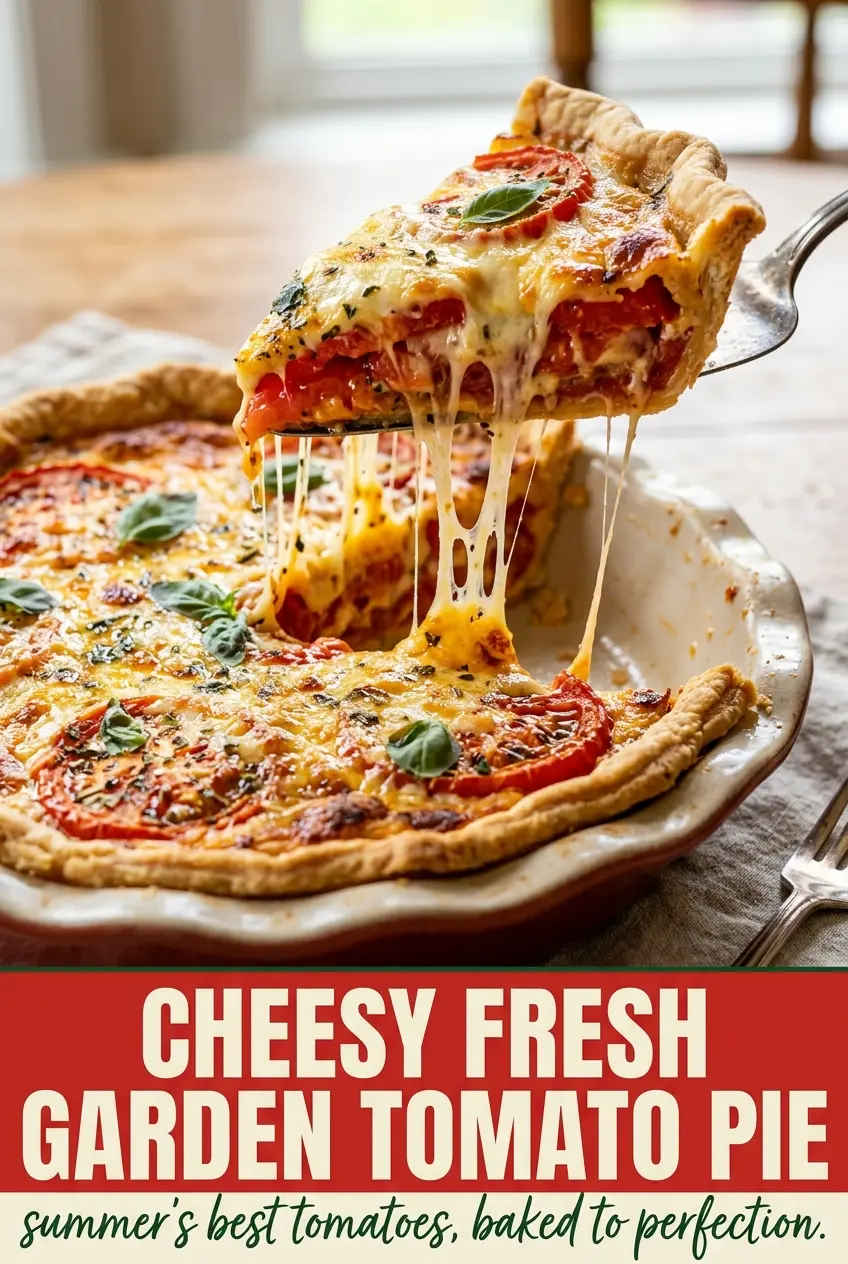
Fresh Garden Tomato Pie
Ingredients
Equipment
Method
- Preheat the oven to 400°F. Line the pie crust with parchment and pie weights, then bake 12–15 minutes until lightly golden.
- Remove the weights and let the crust cool slightly.
- Arrange the tomato slices on a paper-towel-lined baking sheet and sprinkle with salt. Let sit 15–20 minutes to draw out excess moisture.
- Pat the tomatoes dry thoroughly.
- Lower the oven temperature to 375°F.
- Arrange half the tomato slices in the baked crust. Scatter half the onion and half the basil over the top.
- Repeat with the remaining tomato slices, onion, and basil.
- Mix cheddar, mozzarella, mayonnaise, garlic powder, black pepper, and red pepper flakes in a bowl until well combined into a thick spread.
- Spread the cheese mixture evenly over the tomatoes, covering completely to the edges of the crust.
- Bake 30–35 minutes until the top is deeply golden and bubbling and the crust edges are browned.
- Let the pie rest 15–20 minutes before slicing so it sets properly. Serve warm or at room temperature.