Sticky, glossy honey garlic chicken only works when the coating stays crisp long enough to meet the sauce. That’s the part that separates a good version from the soggy takeout-style disappointment most people have had at least once. This one bakes up with a light crust that gives you crunch at the edges, then gets tossed in a sauce that clings instead of pooling on the plate.
The trick is the flour-and-cornstarch coating. Flour gives it structure, but cornstarch is what keeps the crust lighter and shatterier. Baking the chicken on a greased sheet at high heat also helps more than people expect; the hot surface sets the coating fast, so it doesn’t steam itself soft before it browns. The sauce gets thickened separately, which matters because a properly reduced glaze coats the chicken without turning the crust gummy right away.
Below, I’ve included the small timing details that keep the chicken crisp, plus a few swaps that still give you a dinner worth repeating. The sauce comes together fast, so have the chicken baked and ready before you start simmering it.
Bake, Serve, Wear the Vibe 👕
Editor-picked tees our Oven To Fork readers love.



We may earn from qualifying purchases at no extra cost to you.
The coating stayed crisp even after the sauce went on, and the honey garlic glaze thickened up in just a few minutes. I served it with rice and my husband went back for seconds before I even sat down.
Crispy Honey Garlic Chicken with that glossy, sticky sauce is the kind of dinner that disappears fast.
The Crisp-to-Sauce Timing That Keeps the Chicken from Going Soft
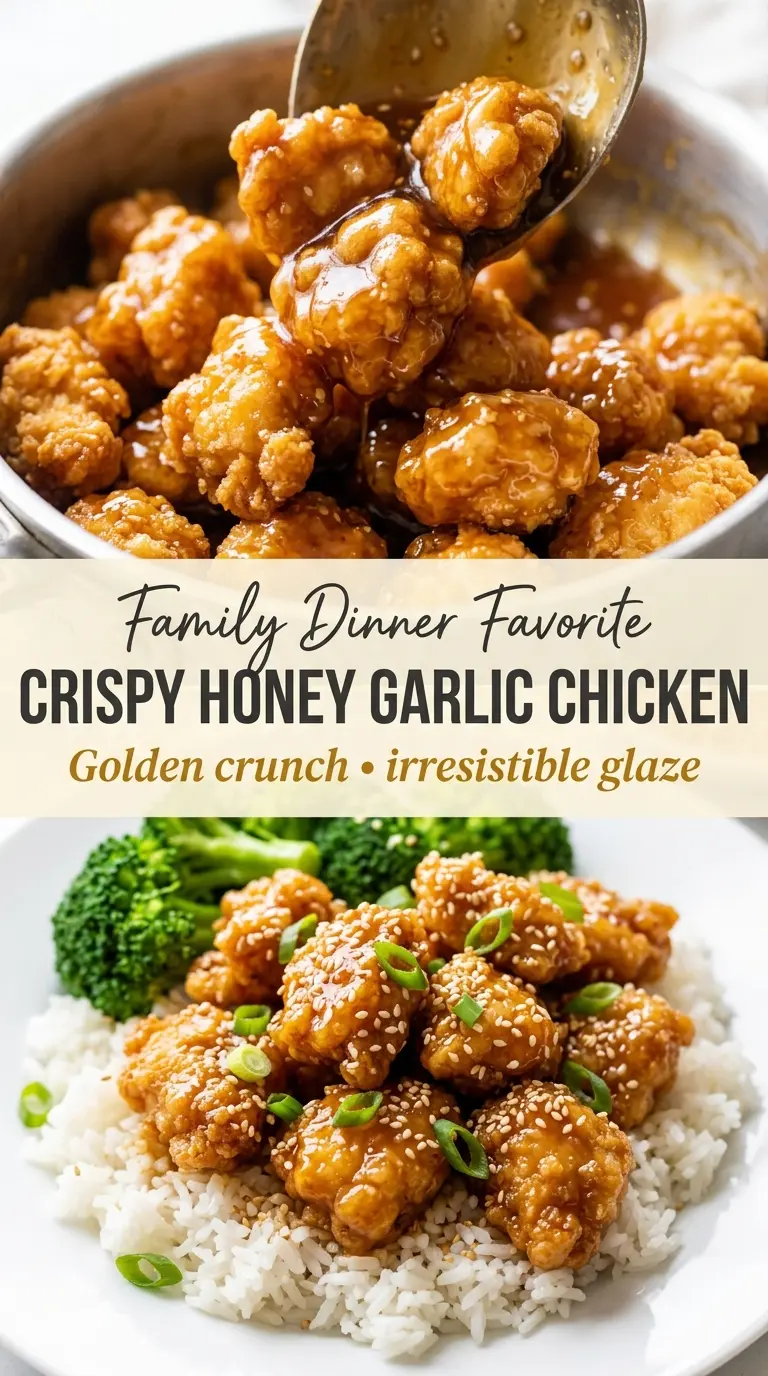
The biggest mistake with honey garlic chicken is tossing the chicken into the sauce too early. The crust starts strong, then the steam from the hot glaze softens it fast. Bake the chicken until it’s deeply golden and fully cooked first, then move straight to the sauce so the coating gets its brief moment to shine before it’s coated.
The sauce also needs to be thick enough to cling. If it’s thin, it runs off the chicken and lands in the pan, which leaves you with naked crispy pieces and a puddle below. That small cornstarch slurry at the end is what turns the sauce from syrupy to glossy and spoon-coating.
- Cornstarch — This does two jobs here: it helps create that crisp coating and later thickens the sauce. You can swap in arrowroot in the sauce if needed, but cornstarch gives the most reliable crunch on the chicken.
- Chicken thighs — Thighs stay juicy under high heat and hold up better than breast meat once they’re coated and baked. If you use chicken breast, cut it a little larger so it doesn’t dry out before the crust browns.
- Rice vinegar — A little acid keeps the sauce from tasting flat. Apple cider vinegar works in a pinch, but rice vinegar is milder and lets the honey and garlic stay in front.
- Sesame oil — Use it for the finishing flavor, not for frying. It adds that toasty note that makes the sauce taste rounded instead of one-dimensional.
How to Bake the Chicken Hot Enough for a Real Crust
Seasoning the Pieces Evenly
Coat the chicken with the salt, pepper, garlic powder, and paprika before it goes anywhere near the flour mixture. That seasoning on the meat itself keeps every bite flavored, not just the outer shell. If the chicken is wet on the surface, pat it dry first or the coating will slide around and clump instead of sticking cleanly.
Building the Coating
Mix the flour and cornstarch together, then dip each piece in the beaten eggs before dredging it in the dry mixture. Press the coating on lightly so it adheres, but don’t pack it down into a paste. Thick, gummy clumps don’t crisp well; a thin, even layer gives you a better crust after baking.
Baking Until the Edges Turn Deep Gold
Arrange the coated chicken in a single layer on the prepared baking sheet and spray the tops with oil before it goes in the oven. That oil is what helps the coating brown instead of drying out pale. Flip halfway through and look for a deep golden color with crisp edges and an internal temperature of 165°F; if the pieces are crowded, they’ll steam, so leave space between them.
Making the Sauce Glossy, Not Thin
Cook the garlic just until fragrant, then add the honey, soy sauce, ketchup, rice vinegar, and sesame oil. Let it simmer briefly before the slurry goes in so the flavors concentrate a little. Once the cornstarch slurry is stirred in, the sauce should turn glossy and thick enough to coat the back of a spoon; if it still looks loose, give it another minute rather than cranking up the heat.
Tossing and Serving Right Away
Add the baked chicken to the sauce and toss just until every piece is coated. Don’t let it sit in the pan any longer than needed, or the crust will start to soften from the steam. Finish with sesame seeds and green onions, then get it to the table while the edges still have a little crunch.
Three Ways to Change the Sauce Without Losing the Crunch
Gluten-Free Version
Swap the all-purpose flour for a 1:1 gluten-free flour blend and use tamari instead of soy sauce. The texture stays crisp if the blend includes starches, though the coating may brown a little faster, so watch the oven near the end.
Dairy-Free and Egg-Free Coating
Replace the eggs with a mix of 2 tablespoons water and 2 tablespoons cornstarch whisked smooth, then coat the chicken in that before the flour mixture. It won’t be quite as rugged as the egg version, but it still gives the dry coating something to grip.
Spicier Honey Garlic Chicken
Add 1/2 to 1 teaspoon of crushed red pepper flakes to the sauce or stir in a spoonful of chili garlic sauce. That gives you heat without changing the glossy texture, and the sweet-salty balance still stays front and center.
Making It Ahead
Bake the chicken and make the sauce separately, then store them apart until serving. The crust holds up much better that way, and you can reheat the chicken in the oven before tossing it in the warmed sauce.
Storage and Reheating
- Refrigerator: Store leftovers in an airtight container for up to 3 days. The coating softens, but the flavor stays good.
- Freezer: Freeze the baked chicken and sauce separately for best results. The chicken will lose some crunch after freezing, but keeping the sauce apart helps it reheat better.
- Reheating: Warm the chicken in a 375°F oven or air fryer until hot and crisp, then toss with the sauce just before serving. Microwaving turns the crust soggy fast.
Questions I Get Asked About This Dish
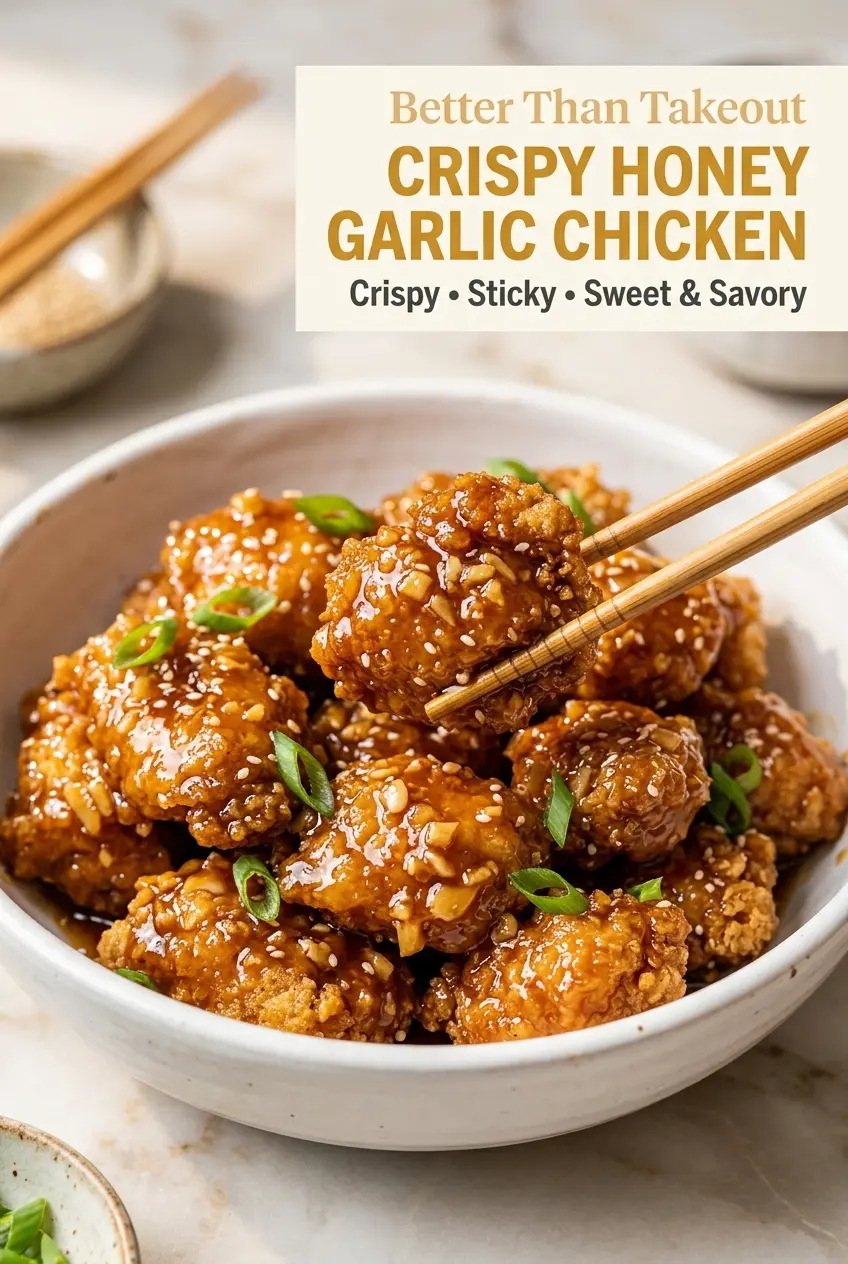
Crispy Honey Garlic Chicken
Ingredients
Equipment
Method
- Preheat the oven to 425°F and line a large baking sheet with parchment paper, then lightly grease the parchment with cooking spray (if using).
- Season the chicken pieces with salt, black pepper, garlic powder, and paprika.
- Combine all-purpose flour and 1/2 cup cornstarch in a shallow bowl.
- Dip each chicken piece into the beaten large eggs, then coat thoroughly in the flour mixture.
- Arrange the coated chicken on the prepared baking sheet, leaving space between pieces.
- Lightly spray the tops with cooking oil and bake at 425°F for 25–30 minutes, flipping halfway through, until golden brown and the chicken reaches 165°F.
- Heat the vegetable oil in a saucepan over medium heat, then cook the minced garlic for 30 seconds until fragrant.
- Whisk honey, low-sodium soy sauce, ketchup, rice vinegar, and sesame oil, then pour into the saucepan.
- Simmer the sauce for 2–3 minutes.
- Mix 1 tsp cornstarch with water to make a slurry, then stir it into the sauce.
- Cook for 1–2 minutes until the sauce becomes thick, glossy, and coats the back of a spoon.
- Toss the baked crispy chicken in the honey garlic sauce until evenly coated.
- Garnish with sesame seeds and sliced green onions, then serve immediately over steamed jasmine rice or with stir-fried vegetables.