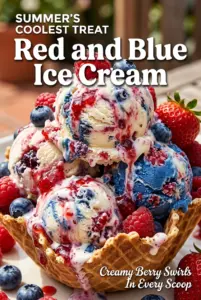
Swirls of creamy vanilla ice cream, bright berry ribbons, and a cold scoop that cuts cleanly through the pan make this Patriotic Red and Blue Ice Cream the kind of dessert people hover around at a party. The color contrast is bold, but the real payoff is the texture: soft, scoopable ice cream with fruit ribbons that stay distinct instead of turning muddy or icy.
What makes this version work is the way the fruit is cooked down first, then cooled all the way before it meets the cream base. That keeps the mixture smooth and helps the ribbons freeze with concentrated flavor instead of watering down the ice cream. Whipping the cream to stiff peaks gives the base enough structure to hold those swirls without collapsing into a dense block.
Below, I’m walking through the small details that matter here — how thick the fruit sauces should be, how to layer without overmixing, and how to get those bright red and blue streaks to stay visible after freezing. It’s a simple dessert, but the difference between pretty swirls and a pale pink mess comes down to a few careful steps.
Bake, Serve, Wear the Vibe 👕
Editor-picked tees our Oven To Fork readers love.


We may earn from qualifying purchases at no extra cost to you.
The berry ribbons stayed bright after freezing, and the ice cream scooped perfectly after 6 hours. I used the knife swirl once and it looked gorgeous without turning purple.
Save this Patriotic Red and Blue Ice Cream for a bright, scoopable dessert with distinct berry ribbons that stay beautiful in the freezer.
The Trick to Keeping the Berry Swirls Separate
The fruit has to be cooked down until it’s thick enough to coat a spoon. If it’s thin, it freezes into icy streaks that bleed into the cream base. That’s the mistake that flattens a red-and-blue dessert into one pale color. Let the strawberry and blueberry mixtures cool completely before layering them in. Warm fruit will melt the whipped cream, and once that happens, the texture turns dense instead of airy.
The other thing that matters is restraint when you swirl. A few passes with a knife are enough. If you keep going, the colors will mix and you’ll lose the whole point of the dessert.
What Each Ingredient Is Actually Doing in This Ice Cream
- Heavy cream — This is what gives the ice cream its light, scoopable body. You need the fat content for the whipped structure, so half-and-half won’t hold the same shape after freezing.
- Sweetened condensed milk — It adds sweetness and keeps the texture soft straight from the freezer. There isn’t a great substitute for it here if you want that no-churn finish, because it also helps prevent iciness.
- Vanilla extract — Vanilla rounds out the berry flavor and keeps the base from tasting flat. Use real vanilla if you can, since it’s one of the few ingredients that shows up in every bite.
- Strawberries and blueberries — Fresh berries give the cleanest fruit flavor and the brightest color. Frozen berries work in a pinch, but cook off the extra liquid completely so the sauces don’t get watery.
- Sugar — A small amount helps the fruit break down and draws out juice for a thicker sauce. It also keeps the berry layer tasting more like jam than plain fruit puree, which is exactly what you want in a swirl.
Building the Layers Without Losing the Swirl
Cooking the Fruit Down First
Start by simmering each fruit with its sugar until the berries break down and the mixture looks glossy and thick. You’re looking for a spoon-coating texture, not a loose syrup. If the sauce is still thin, it will freeze into hard, watery streaks. Blend it smooth, then chill it until it’s completely cold before you touch the ice cream base.
Whipping the Cream to the Right Point
Whip the cream to stiff peaks so it holds shape when you fold in the condensed milk. Soft peaks won’t support the fruit layers as well, and the dessert can slump as it freezes. Fold gently and stop as soon as the mixture looks even. Overmixing knocks out the air that keeps the texture light.
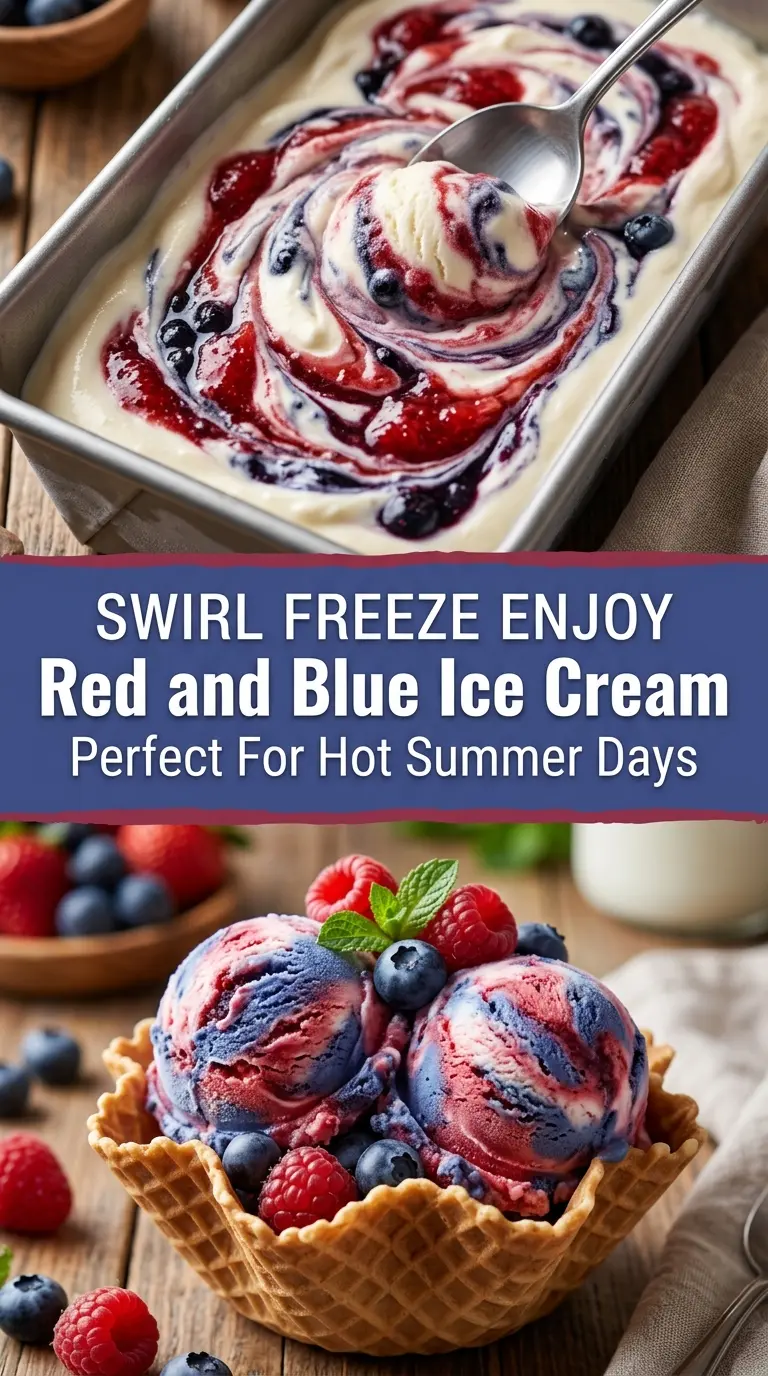
Layering and Swirling the Pan
Spoon in a layer of the cream mixture, drizzle on both fruit sauces, then repeat. Don’t dump all the sauces in one place or they’ll sink. Once the loaf pan is full, drag a knife through the layers just a few times in wide figure-eights. The goal is visible ribbons, not a blended pink-and-purple base.
Freezing Until the Center Sets
Freeze the pan for at least 6 hours, and longer if your freezer runs warm. The top may look firm sooner, but the center needs time to set all the way through. If you scoop too early, you’ll pull up soft pockets that collapse into the swirl pattern. Let it sit at room temperature for a few minutes before serving so the spoon glides through cleanly.
Three Ways to Adjust It Without Losing the Look
Make It Dairy-Free
Use a thick coconut cream base and a dairy-free sweetened condensed milk alternative. The texture will be a little richer and more coconut-forward, but it still freezes into a creamy scoop if the fruit sauces are fully cooled.
Use Frozen Berries Instead of Fresh
Frozen berries work fine, and they’re often juicier than fresh. Cook them a few minutes longer so the extra liquid cooks off, or the swirls will freeze softer and less defined.
Turn It into a Bigger Crowd Dessert
Double the recipe and use two loaf pans instead of one deep container. A bigger pan is fine, but the ice cream sets more evenly when the layers stay relatively shallow, so don’t stack it too deep or the center will take forever to freeze.
Add Crunch on Top
Use sprinkles, chopped shortbread, or crushed vanilla cookies right before serving. Anything added too early softens in the freezer, so save the crunchy topping for the end if you want that contrast.
Storage and Reheating
- Refrigerator: Not recommended. This dessert needs the freezer, and the texture will melt into a soft pudding if kept in the fridge.
- Freezer: Keeps well for about 2 weeks in a tightly covered container. Press parchment or plastic wrap directly on the surface to help prevent ice crystals.
- Reheating: There’s no reheating here, but for the best scoop, let it sit at room temperature for 5 to 10 minutes before serving. If it’s rock hard, the scoop will shatter the swirls instead of cutting through them cleanly.
Answers to the Questions Worth Asking

Patriotic Red and Blue Ice Cream
Ingredients
Equipment
Method
- Cook the strawberries and sugar over medium heat for 5 minutes, stirring until softened and glossy (about 180–200°F). You should see thickened berry juices coating the spoon.
- Blend the cooked strawberries until smooth, then spread the sauce on a sheet pan and cool completely to room temperature.
- Cook the blueberries and sugar over medium heat for 5 minutes, stirring until the berries burst and the mixture looks jammy (about 180–200°F).
- Blend the cooked blueberries until smooth, then cool completely to room temperature.
- Whip the heavy cream until stiff peaks form, holding a peak when the whisk is lifted (about 3–5 minutes on medium-high).
- Fold in the sweetened condensed milk and vanilla extract until no streaks remain and the mixture looks thick and creamy.
- Spread one-third of the ice cream mixture into a loaf pan and level the top.
- Drizzle the red and blue fruit sauces over the layer in thin ribbons.
- Repeat with another one-third of the ice cream mixture, then drizzle more red and blue fruit sauces.
- Repeat layers until all ice cream mixture and fruit sauces are used, then swirl gently with a knife to create marbled ribbons.
- Freeze at least 6 hours, until firm enough to scoop solidly.
- Scoop and garnish with fresh berries and red, white, and blue sprinkles before serving.