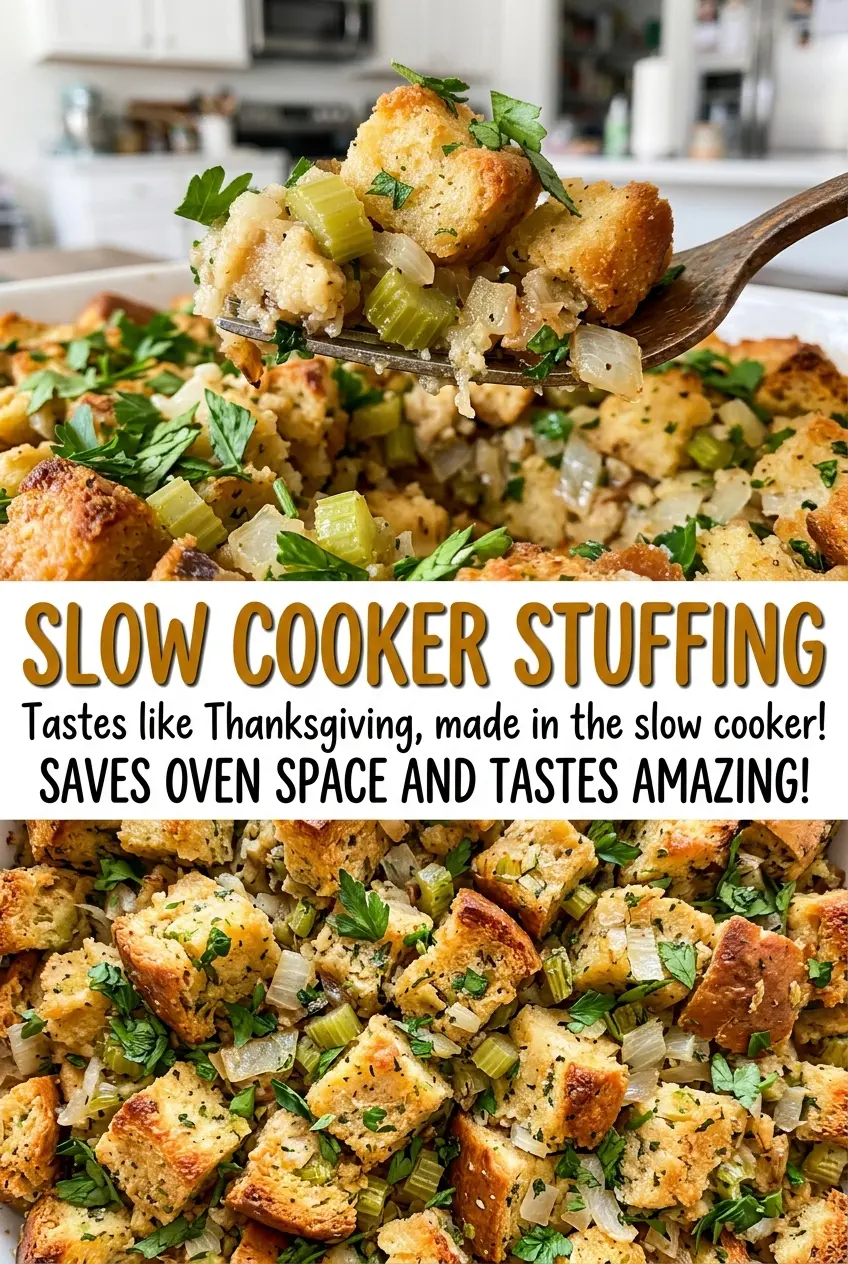
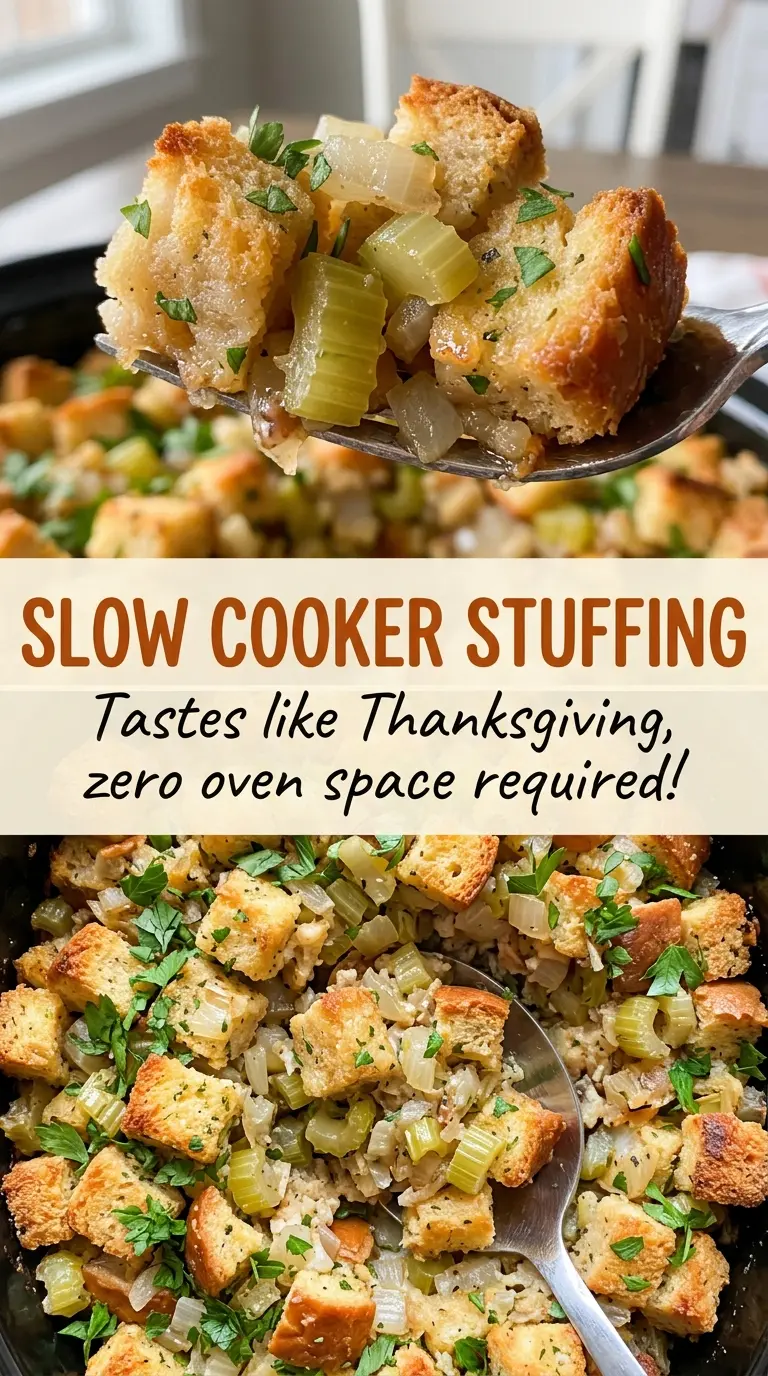
When the lid comes off slow cooker stuffing, the top won’t have the golden crust you’d get from an oven. What you do get is a soft, evenly moist center, and that’s exactly what I want from this version. The first time I made it, I expected the edges to crisp; now I treat the slow cooker as a way to keep the bread tender while the onion, celery, and herbs season every bite.
I start by softening the vegetables in butter before they meet the bread. That short skillet step gives the onion and celery time to mellow, while warming the dried sage and thyme in the buttery mixture brings their aroma forward. Toss everything well with the broth and eggs so the cubes are moistened throughout, then let the slow cooker handle the rest. The result is savory, spoonable stuffing with familiar herb flavor and no oven space required.
Kitchen Note
Bake, Serve, Wear the Vibe 👕
Editor-picked tees our Oven To Fork readers love.



We may earn from qualifying purchases at no extra cost to you.
After the slow cooker is off, leave the lid on for the full 10-minute rest. The stuffing settles and holds together better when you scoop it, so resist serving it straight from the cooking cycle.
Save this Slow Cooker Stuffing for a meal when oven space is tight: tender bread cubes, buttery vegetables, and sage-thyme flavor come together in the slow cooker.
Why Slow Cooker Stuffing Won’t Brown on Top—and Why That’s Okay
A covered slow cooker holds in moisture, so this stuffing cooks more like a savory, tender bread pudding than a pan of oven-baked cubes with a crisp top. If you’re expecting browned edges, the slow cooker will disappoint; it isn’t the right cooking environment for that finish. What it does well is heat the mixture gently and keep the center moist while the vegetables and herbs season the bread.
That texture starts with dried, unseasoned bread cubes. They have room to take up the broth and egg mixture without beginning as damp bread, and their plain seasoning leaves the butter, sage, and thyme in charge. Toss until the cubes are evenly moistened rather than crushing them or leaving a dry layer at the bottom of the bowl. Once the mixture is in the cooker, keep the lid on and let it cook undisturbed. Think soft and cohesive, not crisp and browned, and this stuffing delivers what the slow cooker is good at.
Why Unseasoned Bread Cubes Give You Control Over the Flavor
- Unseasoned dried bread cubes — These are the structure of the dish, and a plain package lets you control the salt and herbs yourself. A standard grocery-store brand works well; the main thing is that the cubes are dry and unseasoned rather than soft or already flavored.
- Unsalted butter — Butter carries the savory flavor of the onion, celery, sage, and thyme through the bread. A basic supermarket butter is fine here; using unsalted keeps the added kosher salt in control instead of stacking salt from two sources.
- Onion and celery — Finely chopping both helps them soften in the skillet and distribute through the cubes, rather than leaving large crunchy pieces in the finished stuffing. Ordinary yellow onion and fresh, firm celery are all you need; there’s no benefit to seeking out specialty produce.
- Dried sage and thyme — Their concentrated flavor suits the short skillet cook and long, gentle time in the slow cooker. Dried herbs are the right fit here, and fresh herbs won’t give the same result at the same volume. If the jars have been open for ages and smell faint, replace them; muted herbs can leave the whole dish flat.
- Low-sodium chicken broth — Broth moistens the bread and brings savory depth without asking the cubes to supply their own seasoning. A standard low-sodium carton is a practical choice; a premium brand isn’t necessary when the butter and herbs are doing plenty of flavor work.
- Eggs — The beaten eggs help the broth-coated cubes hold together into spoonable stuffing instead of loose, wet bread. Use them as listed rather than leaving them out; they’re part of what gives this mixture its finished texture.
Build the Flavor in the Skillet Before the Slow Cooker Takes Over
Soften the Onion and Celery in Butter
Coat the inside of a 6-quart slow cooker with nonstick cooking spray before you start the skillet. Melt the butter in a large skillet over medium heat, then add the finely chopped onion and celery. Cook for 6 to 8 minutes, stirring occasionally, until the vegetables have softened. If they’re still firm, give them the time they need in the skillet; the slow cooker won’t replace this first step.
Warm the Dried Herbs
Stir the dried sage and thyme into the softened vegetables while the skillet is still hot. The butter coats the herbs and carries their aroma through the onion and celery. Remove the skillet from the heat after stirring them in. Don’t let the herbs sit over the burner while you prepare the bread.
Moisten the Bread Evenly
Put the dried bread cubes in a large bowl and add the cooked vegetables and herbs. Toss to spread the buttery mixture through the cubes before adding the liquid. Whisk the chicken broth with the lightly beaten eggs, kosher salt, and black pepper, then pour it over the bread. Toss again until the cubes are evenly moistened, with no dry pockets hidden underneath.
Cook Covered Until the Center Is Set
Transfer the mixture to the sprayed slow cooker, cover, and cook on LOW for 4 to 5 hours or HIGH for 2 to 3 hours. The center should reach 160°F before you serve it; slow cookers vary, so check the middle rather than judging only by the edges. Turn off the cooker and leave the stuffing covered for 10 minutes. It should be tender and cohesive when you scoop it.
Three Practical Ways to Adapt Slow Cooker Stuffing
Make It Vegetarian with Vegetable Broth
Replace the low-sodium chicken broth with low-sodium vegetable broth, keeping the rest of the ingredients and method the same. The stuffing will have a lighter, more vegetable-forward savory note, while the eggs still help bind the bread. This change makes the dish vegetarian, not vegan.
Use Gluten-Free Dried Bread Cubes
Choose plain, unseasoned gluten-free dried bread cubes in place of the standard cubes. Keep the broth mixture and cooking method unchanged, but toss gently because gluten-free cubes from different brands can soften at different rates. The finished stuffing may be more delicate, so serve it with a broad spoon rather than stirring it again.
Make It Dairy-Free with Plant-Based Stick Butter
Use an unsalted plant-based butter stick in place of the unsalted butter. It will soften the vegetables and coat the herbs in the same way, though the flavor may be a little less rich than dairy butter. Choose a stick-style product rather than a soft tub spread for a closer match in cooking.
Storage and Reheating
- Refrigerator: Refrigerate leftovers in a shallow airtight container within 2 hours and use them within 3 to 4 days. The bread will soften more as it sits.
- Freezer: Freeze in airtight portions for up to 3 months for best quality. Thaw in the refrigerator before reheating; the texture may be softer than when freshly cooked.
- Reheating: Cover and microwave portions, stirring partway through, until steaming throughout and 165°F. Avoid reheating uncovered, which can dry the bread before the middle is hot.
Questions That Come Up When Making Slow Cooker Stuffing
Slow Cooker Stuffing
Ingredients
Equipment
Method
- Coat the inside of a 6-quart slow cooker with nonstick cooking spray.
- Melt the butter in a large skillet over medium heat, add the onion and celery, and cook for 6 to 8 minutes, stirring occasionally, until softened.
- Stir in the sage and thyme, then remove the skillet from the heat.
- Put the bread cubes in a large bowl, add the cooked vegetables and herbs, and toss to combine.
- Whisk together the chicken broth, eggs, salt, and pepper, pour over the bread mixture, and toss until evenly moistened.
- Transfer the mixture to the prepared slow cooker, cover, and cook on LOW for 4 to 5 hours or HIGH for 2 to 3 hours, until the center reaches 160°F.
- Turn off the slow cooker and let the stuffing rest, covered, for 10 minutes before serving.