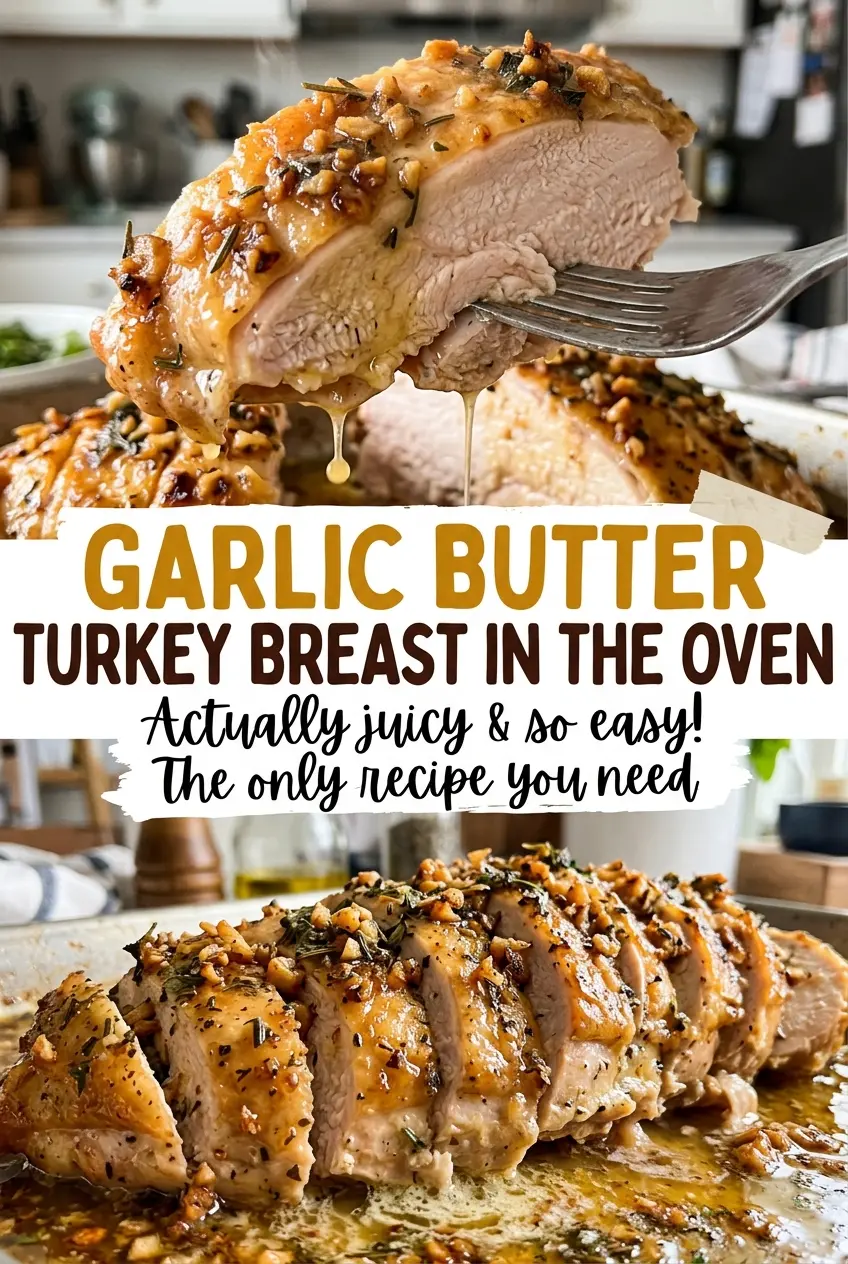
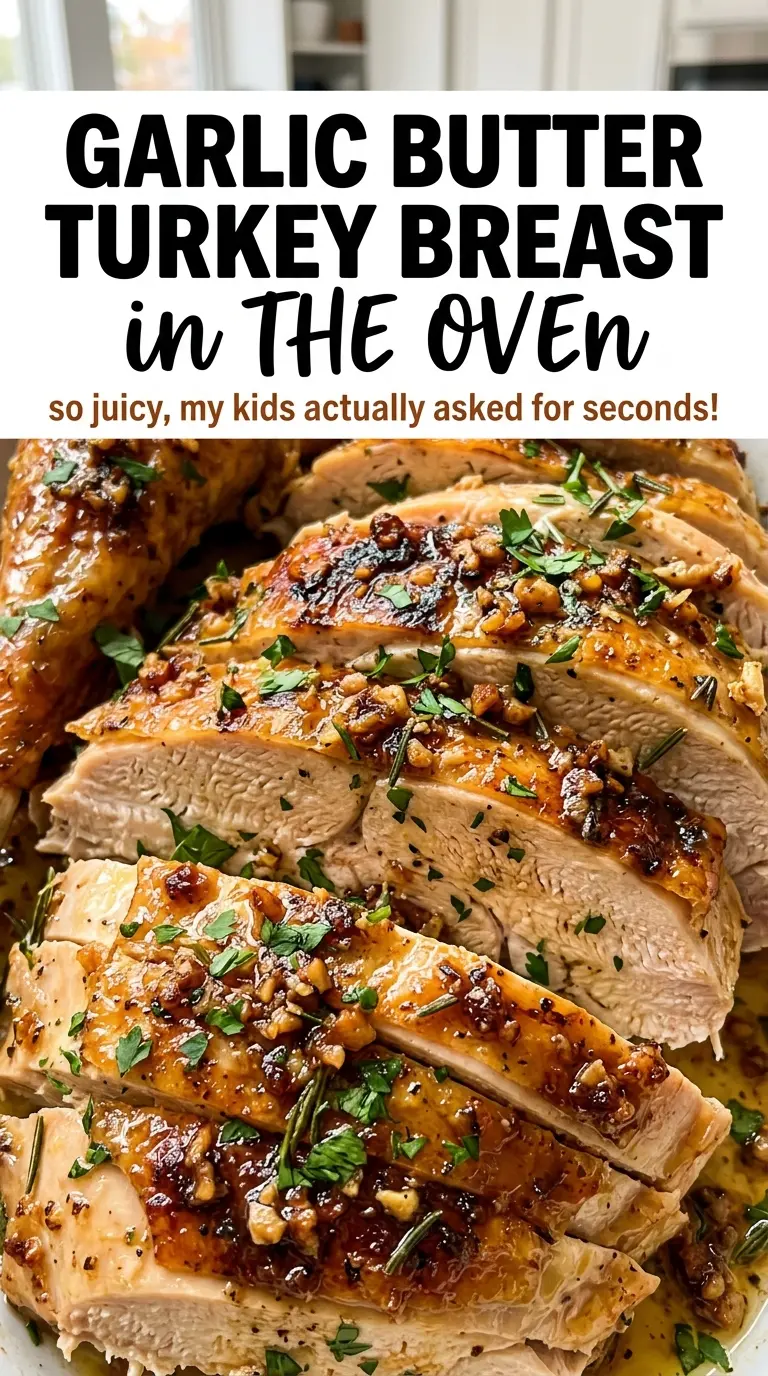
The skin is the first thing you notice when this turkey breast comes out of the oven: golden, fragrant with garlic and herbs, and just crisp enough to make carving feel like the payoff. With a bone-in, skin-on breast, the meat stays protected as it roasts, while garlic butter tucked beneath the skin seasons it right where it needs it. This garlic butter turkey breast in the oven makes eight servings without asking you to roast a whole bird.
I mix the butter until the herbs and garlic are spread evenly through it, then work it beneath the skin before rubbing the rest over the top. That placement matters: the butter under the skin stays close to the meat, while the butter on top helps the skin brown. A little chicken broth goes into the roasting pan beneath the rack, keeping the turkey lifted above the liquid as it cooks. The result is tender slices with savory pan juices and a golden herb-flecked skin.
Kitchen Note
Bake, Serve, Wear the Vibe 👕
Editor-picked tees our Oven To Fork readers love.



We may earn from qualifying purchases at no extra cost to you.
Use softened butter that spreads easily, and loosen the skin slowly with your fingertips. If it starts to tug or tear, ease off and work from another spot; keeping the skin intact gives you a pocket for the garlic butter.
Save this garlic butter turkey breast for a smaller holiday table or Sunday dinner—the herb butter and golden skin bring plenty of roast-turkey flavor without a whole bird.
Why the Broth Goes Under the Rack, Not Over the Skin
The cup of chicken broth belongs in the bottom of the roasting pan, with the turkey sitting above it on the rack. That arrangement gives the pan a little liquid to catch the drippings, while keeping the skin out of the broth. Pouring liquid over the skin would work against the dry surface you want for browning.
The broth also gives you something savory in the pan after the roast. As the turkey cooks, its drippings mingle with the broth, making a flavorful liquid you can spoon over carved slices. It isn’t a soak or a braise: the turkey roasts in hot air, skin side up, and the liquid stays below. Use a roasting pan that fits the rack and the breast without crowding; the 12×16-inch pan leaves room for the broth and catches drips without changing the setup.
This small placement detail keeps two goals from competing. The meat gets the gentle support of a roasting pan with broth underneath, while the skin remains exposed to the oven so it can turn golden. Keep the breast centered on the rack and skin side up rather than letting it sit down in the liquid.
What the Garlic Butter and Fresh Herbs Bring to the Roast
- Bone-in, skin-on turkey breast — The skin holds the butter close to the meat, and the bone is part of the size and shape this roasting method is built around. A boneless breast isn’t a direct substitute: it lacks the skin pocket, and its cooking time won’t match this one.
- Unsalted butter — It carries the minced garlic and herbs and spreads more evenly when softened. If you need a dairy-free version, use an equal amount of unsalted dairy-free butter sticks; the flavor will be a little less rich and the skin may brown differently.
- Fresh garlic, rosemary, and thyme — Freshly minced garlic distributes through the butter instead of leaving large chunks, and fresh herbs give it a fragrant, leafy quality. Dried herbs work in a pinch: use 1 teaspoon dried rosemary and 1 teaspoon dried thyme in place of each tablespoon of fresh herb. Jarred minced garlic can stand in for fresh at about 1/2 teaspoon per clove, though its flavor is less bright.
- Low-sodium chicken broth — It catches the drippings without making the pan liquid too salty. Low-sodium vegetable broth can replace it in the same amount; expect a lighter, less poultry-forward taste. Regular broth is saltier, so low-sodium is the more predictable choice alongside the seasoned turkey.
Roasting the Turkey Breast Until the Center Is Done
Mix the Herb Butter
Stir the softened butter, finely minced garlic, chopped rosemary, and thyme leaves together in a small bowl. Keep mixing until the herbs and garlic are spread evenly throughout, rather than gathered in one spot. The butter should be soft enough to smear without melting into a puddle. Set it within reach before you handle the turkey.
Dry the Skin and Make Room for Butter
Heat the oven to 325°F and set a rack in a 12×16-inch roasting pan. Pat the thawed turkey breast dry all over with paper towels; a damp surface won’t brown as readily. Carefully loosen the skin without tearing it, working just far enough to create space for the butter. If the skin feels tight, use your fingertips gently instead of pulling hard.
Season Beneath and Over the Skin
Spread about two-thirds of the garlic butter beneath the skin, distributing it across the breast as evenly as you can. Rub the remaining butter over the outside, then season the turkey all over with kosher salt and black pepper. Some butter will soften as you spread it, so work steadily rather than trying to keep every bit in a perfect layer. Set the breast skin side up on the rack.
Roast by Temperature, Not Color Alone
Pour the chicken broth into the roasting pan, then roast the turkey for 1 3/4 to 2 1/2 hours. The skin should be golden brown, but color alone doesn’t tell you whether the thickest part is cooked through. Insert a thermometer into the thickest part without touching bone; the reading should reach 165°F. If the skin browns too quickly before the center is ready, tent it loosely with foil and continue roasting.
Rest Before Carving
Transfer the turkey to a cutting board and tent it loosely with foil. Let it rest for 20 minutes before carving so the juices have time to settle rather than running straight onto the board. Use a sharp carving knife and slice across the breast in even pieces. Spoon some of the savory pan liquid over the slices if you’d like extra moisture at the table.
Two Simple Ways to Change the Herb Butter
A Sage-Scented Holiday Roast
Replace the chopped rosemary with the same amount of finely chopped fresh sage and keep the thyme and garlic. Sage makes the butter taste more woodsy and classic, while the turkey, pan setup, and roasting method stay the same.
A Dairy-Free Garlic Butter Version
Use unsalted dairy-free butter sticks in place of the dairy butter, keeping the same amount and mixing in the garlic and herbs as usual. Choose a stick-style product that softens enough to spread; the result stays savory and herb-forward, though the buttery flavor and browning won’t be identical.
Storage and Reheating
- Refrigerator: Refrigerate carved turkey within 2 hours and keep it covered for 3 to 4 days. The skin softens in storage, while the meat stays moistest when kept in larger slices.
- Freezer: Freeze carved portions in an airtight freezer-safe container for up to 4 months for best quality. Thaw them in the refrigerator before reheating.
- Reheating: Reheat sliced portions covered in a microwave-safe dish, turning the pieces once, until they reach 165°F. Use short intervals; a long blast of high power dries out lean turkey breast.
Questions That Come Up Before This Turkey Goes in the Oven
Garlic Butter Turkey Breast in the Oven
Ingredients
Equipment
Method
- In a small bowl, mix the softened butter, garlic, rosemary, and thyme until evenly combined.
- Heat the oven to 325°F and set a rack in a 12x16-inch roasting pan.
- Pat the turkey breast dry with paper towels, then carefully loosen the skin without tearing it.
- Spread about two-thirds of the garlic butter under the skin and rub the rest over the skin.
- Season the turkey all over with the salt and pepper.
- Pour the chicken broth into the roasting pan and set the turkey breast on the rack, skin side up.
- Roast for 1 3/4 to 2 1/2 hours, until the skin is golden brown and a thermometer inserted into the thickest part without touching bone reads 165°F; tent loosely with foil if the skin browns too quickly.
- Transfer the turkey to a cutting board, tent loosely with foil, and rest for 20 minutes before carving.