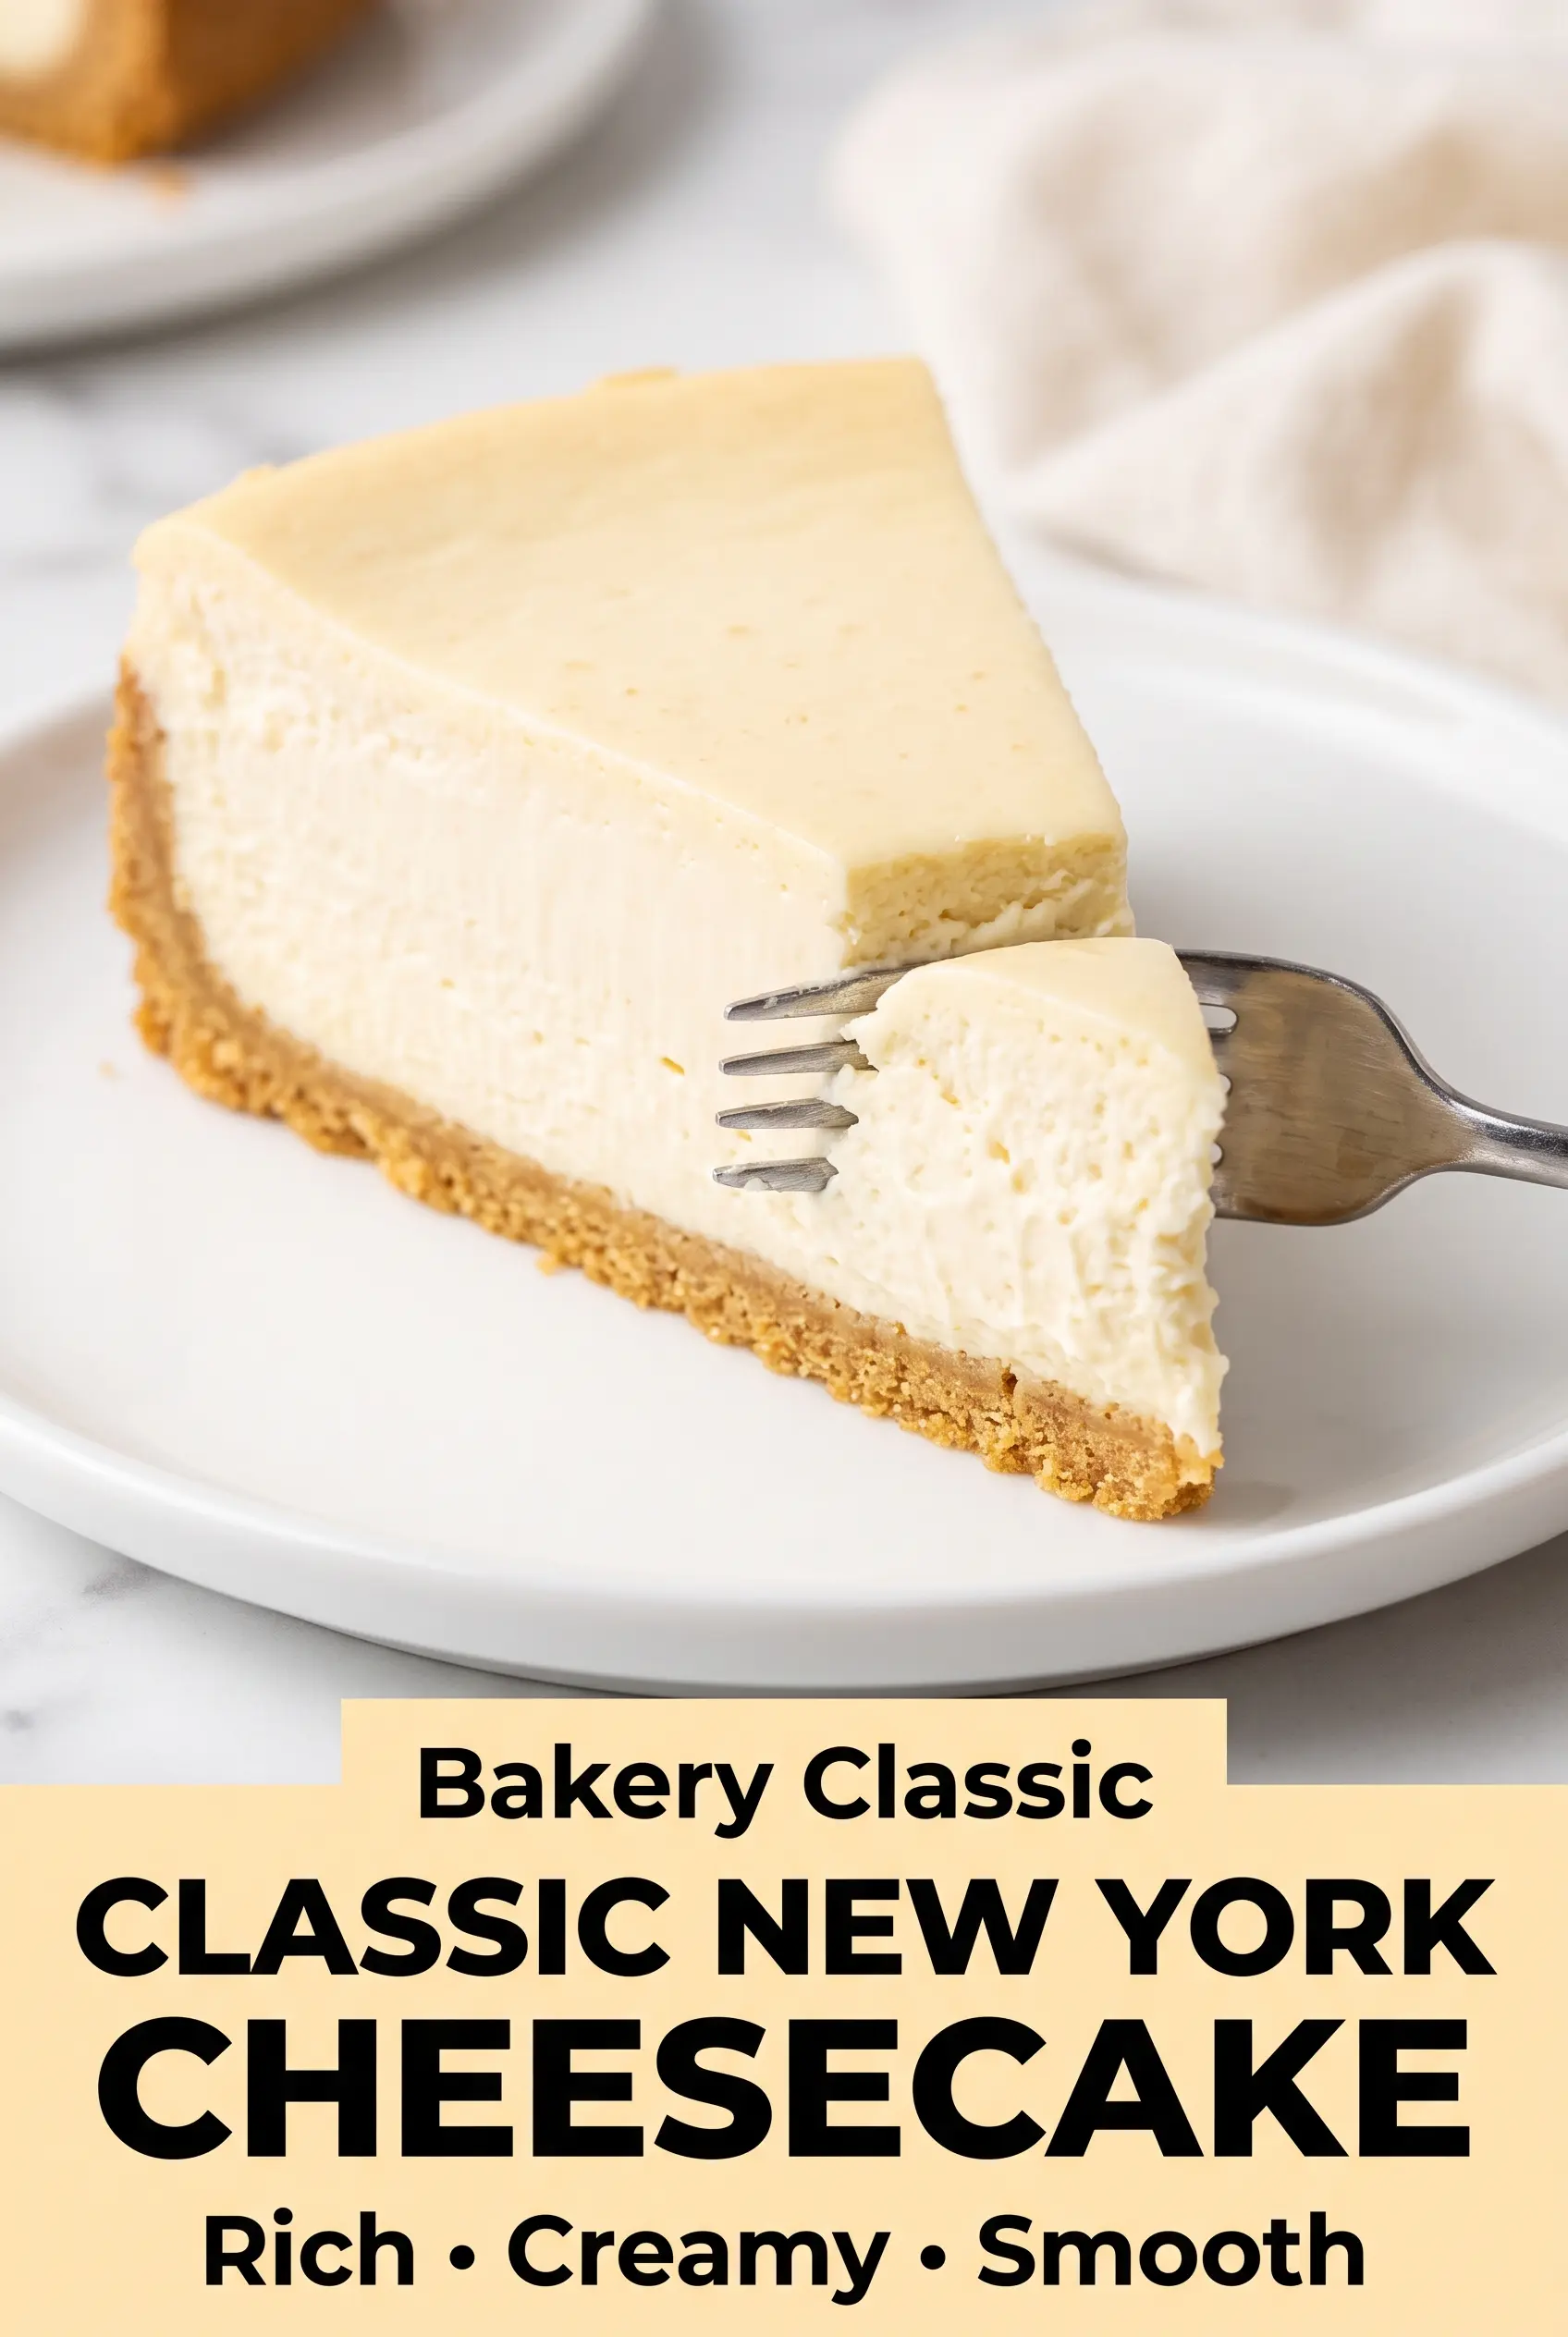
Classic New York cheesecake earns its reputation with one thing above all: that thick, velvety slice that holds its shape and still melts on your tongue. The crust stays crisp enough to give you contrast, the filling bakes up dense without feeling heavy, and the whole cake tastes clean and rich instead of cloying. When it’s done right, you get a smooth top, a creamy center, and edges that cut neatly without crumbling apart.
The trick is in the method, not just the ingredients. Softened cream cheese beaten until completely smooth, eggs mixed in one at a time, and a gentle water bath all keep the filling from turning grainy or splitting. Sour cream adds tang and keeps the texture plush, while a little flour gives the cheesecake just enough structure to slice cleanly after chilling.
Below, I’ll walk through the part that matters most: how to keep the batter silky, how to avoid a cracked top, and how to tell when the cheesecake is baked enough to set without overbaking.
Bake, Serve, Wear the Vibe 👕
Editor-picked tees our Oven To Fork readers love.



We may earn from qualifying purchases at no extra cost to you.
The texture came out exactly like the cheesecake from my favorite bakery — dense, creamy, and not a crack on top. Chilling overnight made the slices hold perfectly.
Save this classic New York cheesecake for the next birthday, holiday table, or special dessert night.
The Small Mistakes That Cause Cracks, Sinking, and Grainy Texture
Most cheesecake problems start before the pan even goes into the oven. Cold cream cheese leaves little lumps that never fully disappear, overmixing adds too much air, and a hot oven sets the outside before the center has a chance to bake evenly. That mismatch is what causes the classic cracked top or the sunken middle.
A low oven and a water bath work together here. The water bath keeps the heat gentle and steady, which matters because cheesecake needs time more than intensity. The cheesecake should finish with set edges and a center that still has a slight wobble when you nudge the pan; if it looks fully firm in the oven, it’s already gone too far.
What Each Ingredient Is Actually Doing in This Cheesecake

- Cream cheese — This is the backbone of the filling, so use full-fat blocks, not tub-style cream cheese. Tub cream cheese has more moisture and a softer structure, which gives you a looser slice. Let it soften fully at room temperature so it beats smooth without needing extra mixing.
- Sour cream — This adds tang and a softer, creamier finish. It also loosens the batter just enough to keep the texture from turning dense in a heavy way. Full-fat sour cream gives the cleanest result.
- Eggs — Eggs set the cheesecake. Add them one at a time and mix only until each disappears, because beating them hard whips in air and can lead to puffing, then cracking as the cake cools.
- Graham crackers — The crust needs a fine, even crumb so it presses into a tight base. If you grind them too coarse, the crust falls apart when you slice. A food processor gives the best texture, but a sealed bag and rolling pin work too.
- Flour — Just a small amount helps stabilize the filling so it slices cleanly after chilling. If you need a gluten-free version, use a 1:1 gluten-free flour blend or swap in a cornstarch slurry-like equivalent by replacing the flour with 1 tablespoon cornstarch for a slightly softer set.
- Lemon juice and vanilla — The cheesecake needs both. Vanilla rounds out the dairy richness, and the lemon keeps the filling from tasting flat. Fresh lemon juice is worth using here because bottled can taste dull in a dessert this simple.
Building the Crust and Filling Without Adding Too Much Air
Pressing and Baking the Crust
Combine the crust ingredients until every crumb looks evenly moistened, then press it firmly into the pan and slightly up the sides. A loose crust turns sandy when sliced, so pack it down with the bottom of a measuring cup or glass. Bake it just until it smells toasty and looks lightly golden; if it goes too dark, the crust tastes bitter against the filling.
Mixing the Batter the Right Way
Beat the cream cheese and sugar until the mixture looks smooth and glossy, with no visible lumps on the bowl sides. Add the sour cream, vanilla, flour, lemon juice, and salt next, then stop and scrape the bowl before adding the eggs. The eggs go in one at a time on low speed; that keeps the batter from filling with air bubbles that can rise and burst in the oven.
The Water Bath and Bake
Set the foil-wrapped pan into a roasting pan, then pour in hot water until it reaches halfway up the sides. That humid heat protects the cheesecake from overbaking at the edges. Bake until the outer few inches look set and the center still jiggles like very soft gelatin when you gently tap the pan; don’t wait for the middle to look fully firm, or the finished cake will be dry.
Cooling and Chilling for Clean Slices
Turn off the oven, crack the door, and let the cheesecake cool slowly inside for an hour. That gradual drop in temperature helps prevent a collapse or crack across the top. Once it’s fully cool, refrigerate it overnight if you can; a cheesecake like this cuts best after the filling has had time to fully set and the flavor has settled.
How to Adapt This Cheesecake for Different Needs
Gluten-Free Crust and Filling
Use gluten-free graham crackers for the crust and swap the flour in the filling for a 1:1 gluten-free baking blend or 1 tablespoon cornstarch. The texture stays close to the original, though cornstarch gives a slightly softer, silkier slice.
No Sour Cream Version
Replace the sour cream with an equal amount of full-fat Greek yogurt. It keeps the tang and moisture, though the flavor leans a little brighter and less rich than the original.
Lighter Vanilla Cheesecake Flavor
Leave out the cinnamon in the crust and add an extra 1/2 teaspoon vanilla to the filling for a cleaner classic flavor. This version tastes especially good with fresh berries or a simple berry sauce on top.
Storage and Reheating
- Refrigerator: Keeps for 5 days, tightly covered. The crust softens a little over time, but the filling stays creamy.
- Freezer: Freezes well for up to 2 months. Chill the cheesecake completely, slice or leave whole, wrap tightly, then thaw overnight in the refrigerator.
- Reheating: Cheesecake isn’t meant to be reheated. Serve it chilled or let slices sit at room temperature for 20 to 30 minutes so the texture turns softer and more custardy.
Answers to the Questions Worth Asking
Classic New York Cheesecake
Ingredients
Equipment
Method
- Preheat the oven to 325°F. Wrap the outside of a 9-inch springform pan tightly with aluminum foil so the water bath cannot leak in.
- Combine the graham cracker crumbs, granulated sugar, ground cinnamon, and melted butter until evenly moistened. Press the mixture firmly into the bottom and about 1 inch up the sides of the prepared pan.
- Bake the crust for 10 minutes until lightly golden. Cool while preparing the filling.
- Beat the cream cheese and granulated sugar until smooth and creamy, about 3 minutes. Mix until no lumps remain for a silky texture.
- Mix in the sour cream, vanilla extract, all-purpose flour, fresh lemon juice, and salt until fully combined. Stop mixing as soon as everything disappears into the batter.
- Add the eggs one at a time, mixing on low speed just until incorporated after each addition. Keep the speed low to avoid excess air.
- Pour the filling over the cooled crust and smooth the top. Tap the pan gently to release any large air bubbles.
- Place the springform pan into a large roasting pan. Carefully pour hot water into the roasting pan until it reaches halfway up the sides of the cheesecake pan.
- Bake for 70–80 minutes, until the edges are set and the center still has a slight jiggle. The center should wobble like soft set pudding when moved.
- Turn off the oven, crack the oven door slightly, and let the cheesecake cool inside for 1 hour. This gradual cooling helps prevent sinking and cracks.
- Remove from the water bath and cool completely. Refrigerate for at least 8 hours or overnight before slicing and serving.