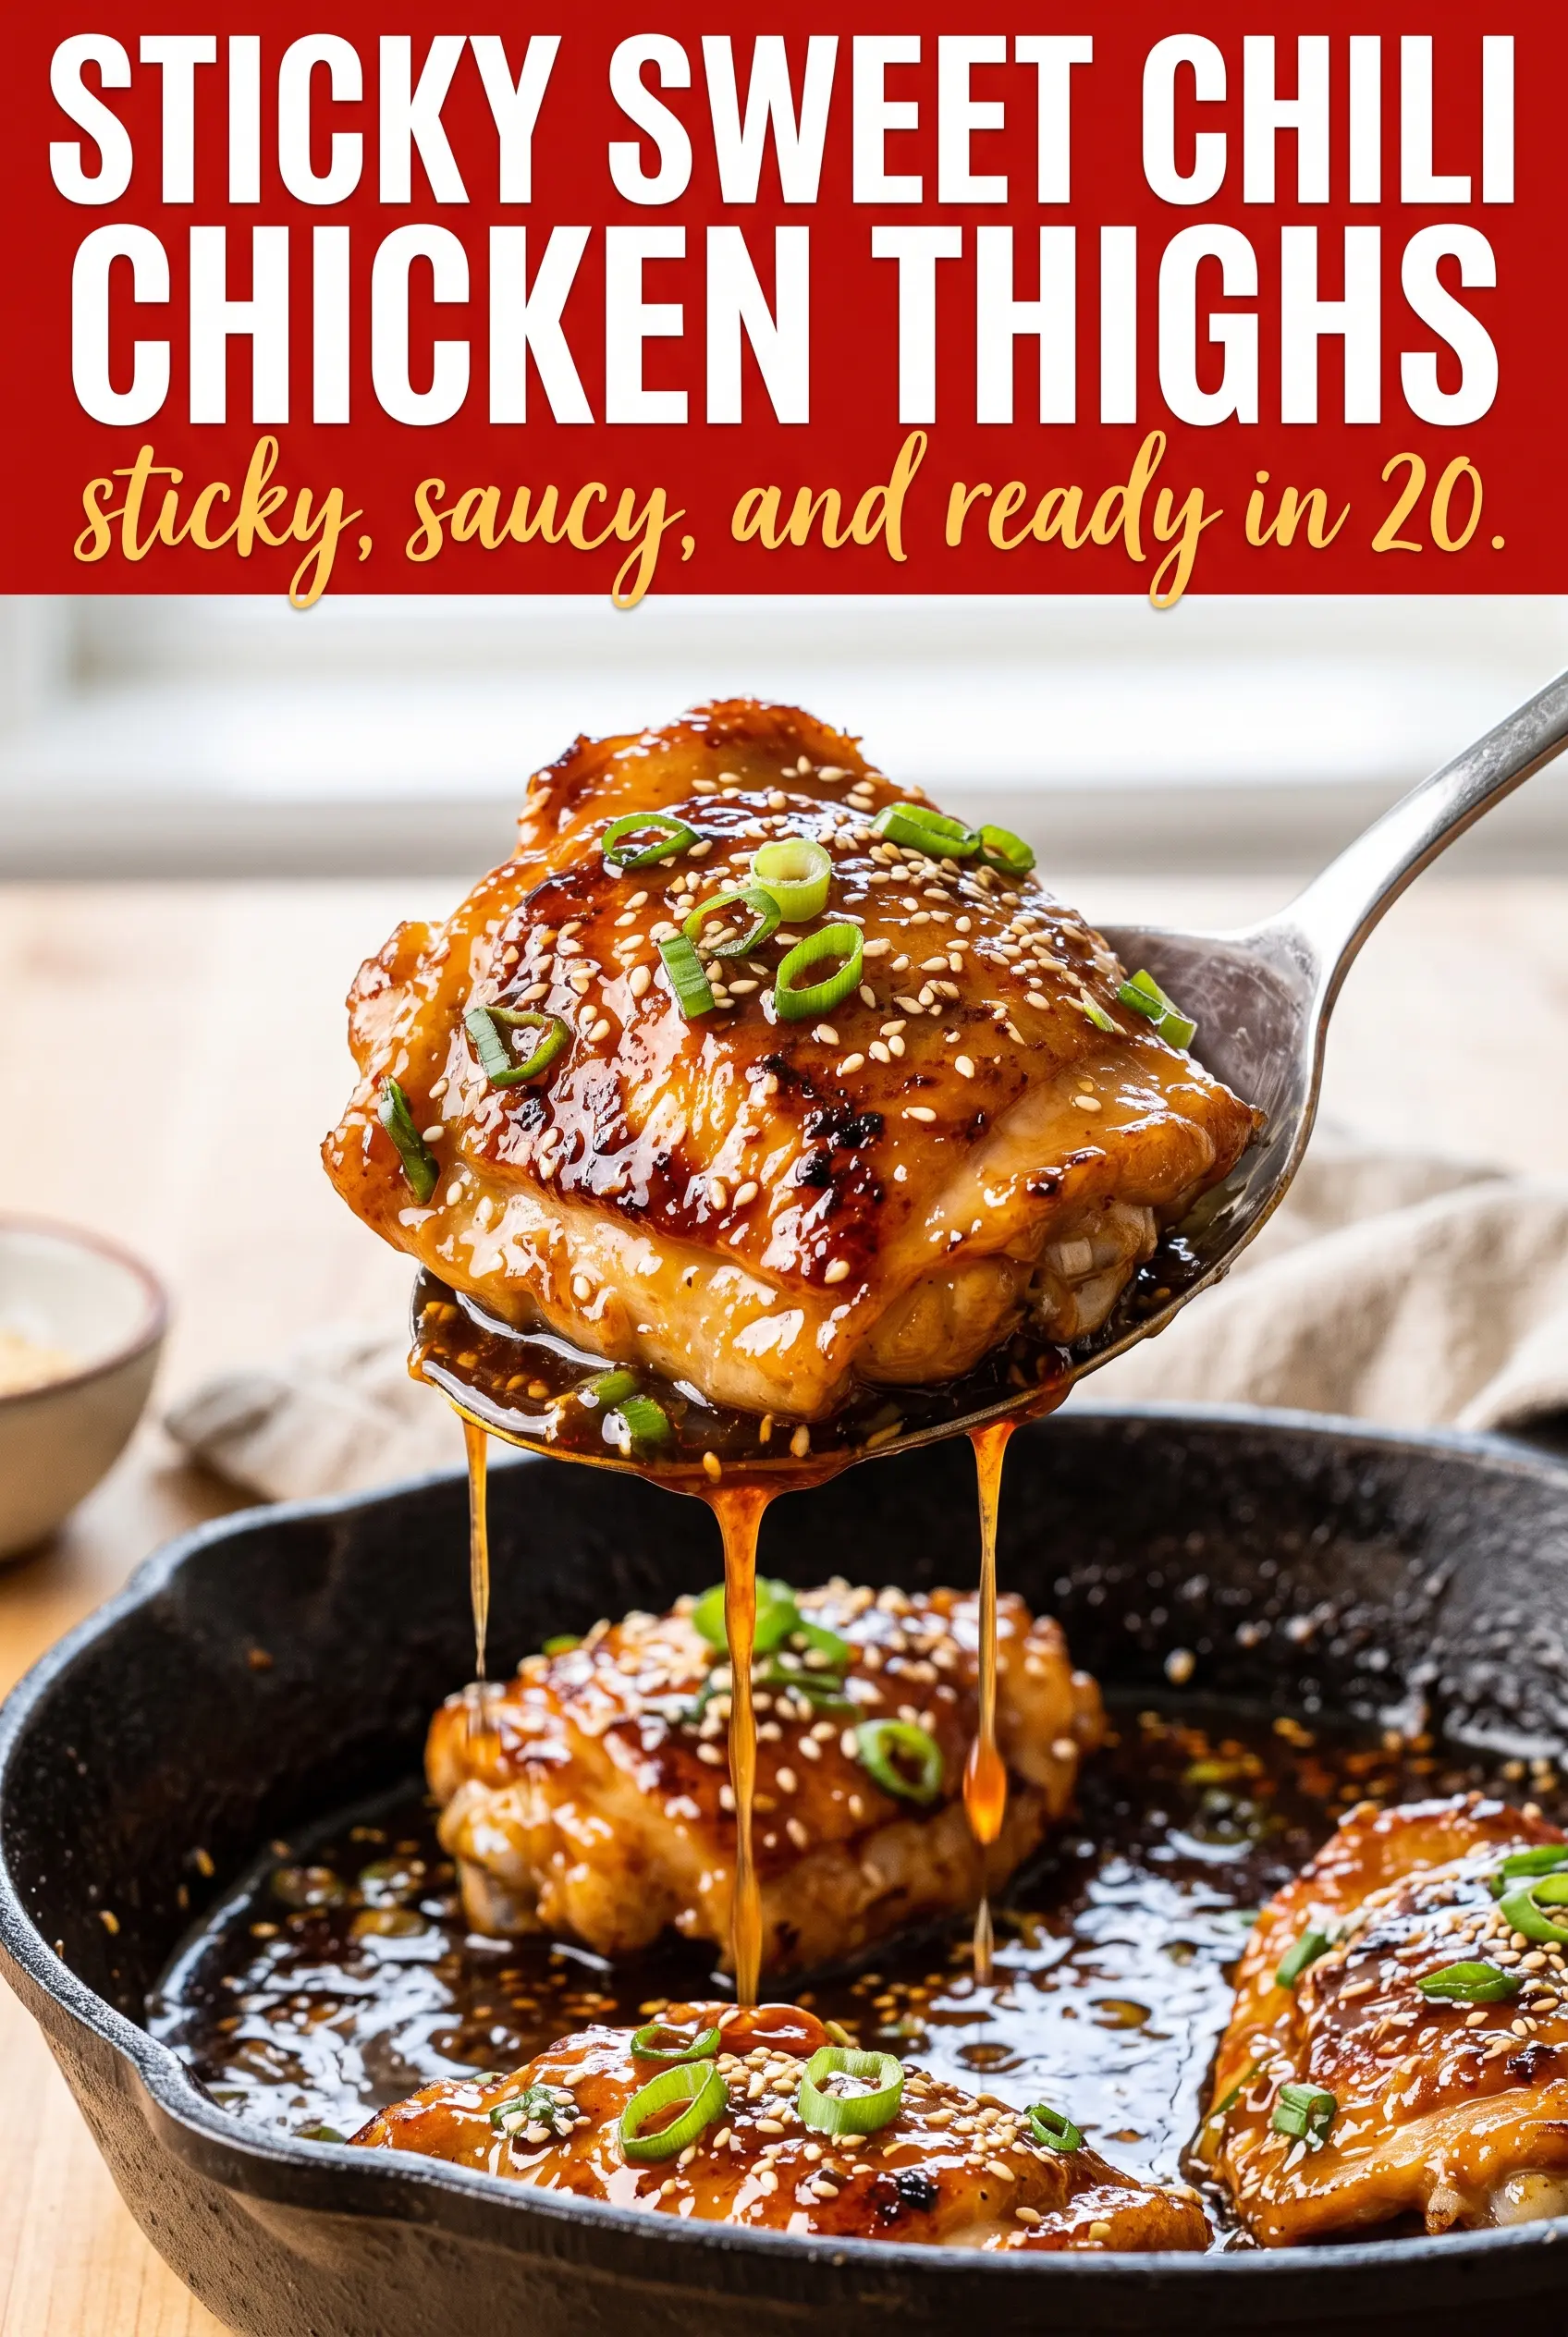
Sweet chili chicken thighs hit the pan with crisp edges, then turn glossy and sticky in the last few minutes, which is exactly why they earn a permanent spot in the weeknight rotation. The chicken stays juicy because the thighs cook fast and forgivingly, while the sauce clings in a thin lacquer instead of pooling at the bottom of the skillet. Every bite gets that sweet heat, a little tang from rice vinegar, and enough garlic and ginger to keep the sauce from tasting flat.
The cornstarch coating matters here. It helps the chicken brown faster and gives the sauce something to grab once it hits the pan. The other detail that makes this work is the quick simmer after the chicken is already cooked through. That short finish thickens the glaze without turning the thighs dry, which is where a lot of skillet chicken recipes go wrong.
Below you’ll find the exact sear-and-glaze timing that keeps the sauce sticky instead of watery, plus a few easy swaps if you want to adjust the heat or make the dish work with what you already have in the kitchen.
Bake, Serve, Wear the Vibe 👕
Editor-picked tees our Oven To Fork readers love.



We may earn from qualifying purchases at no extra cost to you.
The sauce thickened up into that sticky glaze in just a few minutes, and the thighs stayed juicy even after slicing. I added the sesame seeds at the end and it tasted like takeout, but better.
Sticky sweet chili chicken thighs with garlicky glaze and crispy-edged sear are the kind of dinner worth keeping close.
The Trick to Keeping the Glaze Sticky Instead of Watery
The biggest mistake with sweet chili chicken is rushing the sauce before the chicken has a chance to sear properly. If the thighs go into a crowded pan or sit in too much moisture, they steam first and brown last. That leaves you with soft edges and a glaze that tastes fine but never fully clings.
Corstarch changes the surface of the chicken just enough to encourage better browning, and it also gives the sauce a little body when it hits the skillet. The second piece of the puzzle is heat control. The chicken starts hot enough to develop color, then the sauce finishes over medium heat so it reduces instead of scorching.
- Dry chicken browns better. Patting the thighs dry before seasoning removes surface moisture, which is the enemy of a crisp sear.
- Corstarch adds grip. A light dusting helps the sauce settle into a glossy coat instead of sliding off.
- Medium heat is enough for the glaze. Once the chicken is cooked through, the sauce only needs a short simmer to thicken.
- Don’t crowd the skillet. Give the thighs space so the pan stays hot and the edges caramelize instead of steaming.
What Each Ingredient Is Doing in This Dish

Boneless, skinless chicken thighs are the right cut here because they stay juicy even after a hard sear and a quick simmer in sauce. Breasts can work in a pinch, but they dry out much faster and don’t forgive a few extra minutes in the pan.
Sweet chili sauce carries most of the sweetness, heat, and thickness. Choose a bottle you’d actually enjoy dipping food into; if it’s very thin, the final glaze will need a little more simmer time.
Cornstarch is doing more than coating the chicken. It helps the exterior brown and gives the glaze a slightly velvety finish. Arrowroot can stand in if that’s what you have, though it behaves best with a gentle simmer.
Rice vinegar, soy sauce, garlic, and ginger keep the sauce sharp and savory so it doesn’t taste like straight sugar. If you don’t have fresh ginger, use a small pinch of ground ginger, but the flavor will be softer and less bright.
Honey deepens the gloss and helps the sauce tighten in the pan. If your sweet chili sauce is already quite sweet, you can reduce it slightly, but don’t skip all of it or the glaze loses that sticky finish.
The 20 Minutes That Actually Matter
Drying and Coating the Chicken
Pat the thighs dry first, then season and toss them lightly in cornstarch. You want a thin dusting, not a thick paste, because too much starch turns gummy once it hits the pan. The surface should look matte and barely coated.
Getting the Sear Right
Heat the oil until it shimmers, then lay the chicken in without moving it for a few minutes. If it sticks at first, it usually means it isn’t ready to release yet. Once the underside has a deep golden crust and the edges look crisp, it will lift cleanly.
Building the Glaze
Mix the sauce ingredients before the chicken finishes cooking so you can add them quickly. Pour it into the skillet after the chicken comes out and bring it to a simmer over medium heat. Stir and spoon it over the thighs as it thickens; if it starts to reduce too fast, pull the pan back slightly from the heat so the sugars don’t burn.
The Final Coating
Return the chicken to the pan and turn it through the glaze until every piece looks lacquered. The sauce should cling to the thighs and leave a shiny trail in the skillet instead of looking loose and watery. Let the chicken rest for a couple of minutes before slicing so the juices stay put.
Three Smart Ways to Change It Without Losing the Point
Make It Gluten-Free
Use a gluten-free soy sauce or tamari and keep the rest of the recipe the same. The glaze will still reduce beautifully, and the chicken keeps the same sticky finish without any noticeable texture change.
Turn the Heat Up
Add the red pepper flakes, and if you want more bite, stir in a little extra rice vinegar at the end. That keeps the sauce balanced instead of just hotter, so you still get sweet, tangy, and savory in each bite.
Use Chicken Breasts Instead
Slice the breasts in half horizontally so they cook evenly and shorten the sear by a few minutes per side. The flavor still works, but the meat won’t stay as juicy as thighs, so pull it as soon as it reaches 165°F.
Storage and Reheating
- Refrigerator: Store in an airtight container for up to 4 days. The glaze tightens in the fridge but loosens again when warmed.
- Freezer: It freezes well for about 2 months. Freeze the chicken and sauce together in a sealed container, then thaw overnight in the fridge.
- Reheating: Warm gently in a skillet over low heat with a splash of water if the glaze looks too thick. High heat can dry out the thighs and cause the sugar in the sauce to catch on the pan.
The Things That Trip People Up With This Dish
Sweet Chili Chicken Thighs
Ingredients
Equipment
Method
- Pat the chicken thighs dry, season with salt and black pepper, and toss lightly with cornstarch to coat. Keep the coating even so the edges crisp during searing.
- Heat neutral oil in a large skillet over medium-high heat until shimmering. Sear chicken thighs 4–5 minutes per side until deeply golden and cooked through to an internal temperature of 165°F.
- Transfer the chicken to a plate after searing. Leave any browned bits in the skillet for flavor.
- In a small bowl, whisk together sweet chili sauce, soy sauce, garlic, ginger, rice vinegar, honey, sesame oil, and red pepper flakes. Whisk until the honey and seasonings dissolve into a smooth sauce.
- Reduce heat to medium, return the chicken to the skillet, and pour the sauce over top. Simmer 3–4 minutes, spooning sauce over the thighs until it thickens into a sticky glaze that clings to the chicken.
- Remove from heat and let the chicken rest 2–3 minutes. This helps the glaze set slightly for a shinier coating.
- Spoon extra glaze from the pan over the chicken, then top with scallions and toasted sesame seeds. Serve hot while the glaze is glossy.