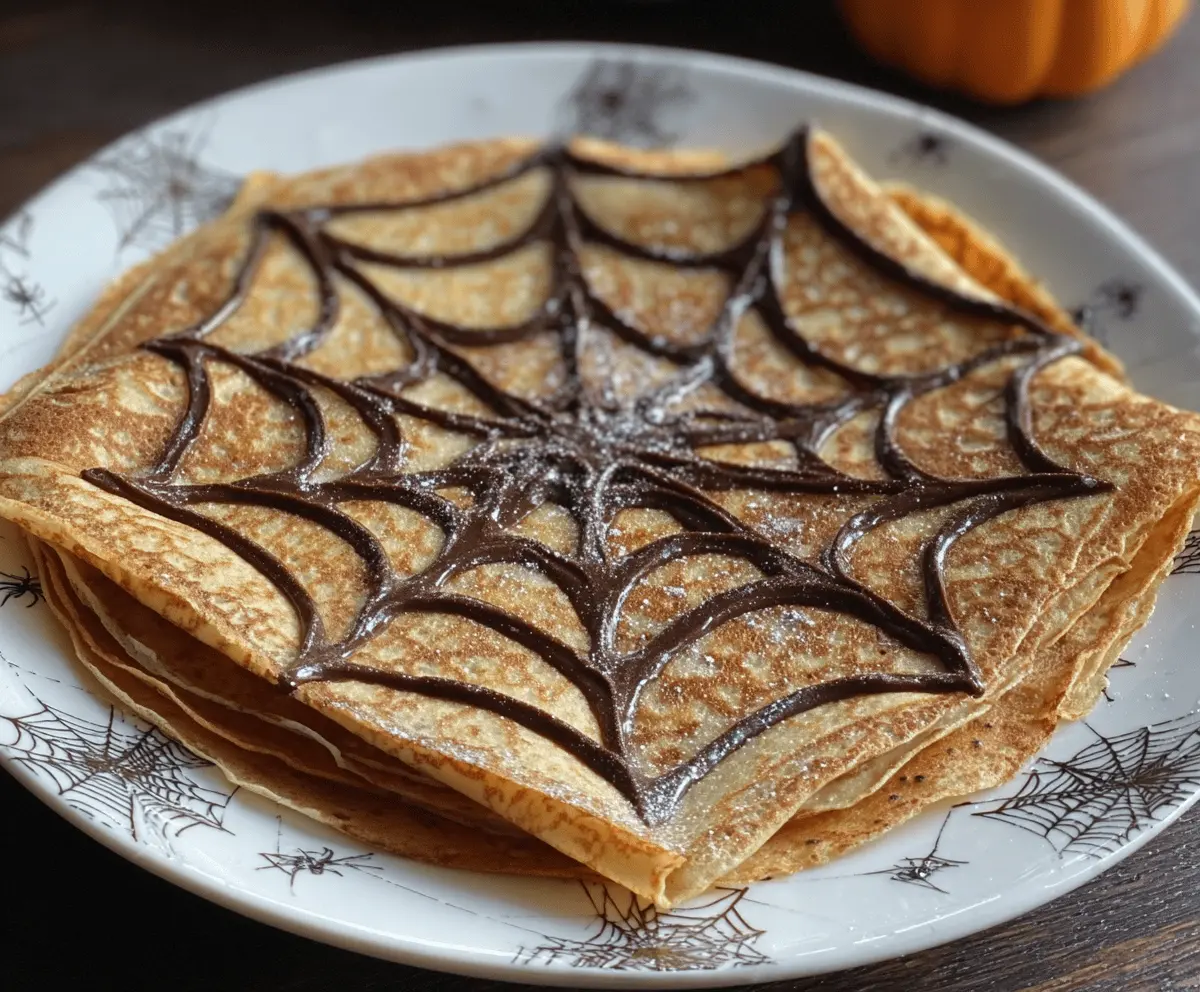
Spiderweb Crepes are a fun and eye-catching twist on classic thin pancakes. They’re made by drizzling batter in a special spiderweb pattern on the pan, creating delicate, lacy crepes that look almost too cool to eat. These crepes are light, a bit crispy on the edges, and have just the right hint of sweetness to make breakfast feel extra special.
I love making these crepes when I want to surprise my family or friends, especially around Halloween or a cozy weekend morning. It’s a little project, but totally worth it because the pattern is so neat to watch come to life in the pan. If you’re trying it for the first time, I suggest using a squeeze bottle or a piping bag to get that spiderweb look just right—it really helps with the detail.
The best part? You can dress these up however you like! I usually sprinkle a little powdered sugar on top and add fresh berries or a drizzle of maple syrup. They’re also great with whipped cream or Nutella if you’re feeling a bit indulgent. Spiderweb Crepes aren’t just tasty—they’re a small canvas to get creative and make breakfast into a little celebration.
Bake, Serve, Wear the Vibe 👕
Editor-picked tees our Oven To Fork readers love.


We may earn from qualifying purchases at no extra cost to you.
Key Ingredients & Substitutions
All-purpose flour: This gives the crepes structure while keeping them tender. For a gluten-free option, try a 1:1 gluten-free flour blend.
Eggs: Eggs help bind the batter and add richness. If you need an egg-free version, use a flax egg (1 tbsp flaxseed meal + 3 tbsp water) to hold it together.
Milk: Milk thins the batter for that perfect crepe texture. You can swap in any plant-based milk like almond or oat milk for a dairy-free choice.
Melted butter: Adds flavor and a silky texture. You can use melted coconut oil or neutral oil if you prefer.
Chocolate chips: Used to make the spiderweb design. Dark, milk, or white chocolate all work – pick your favorite! I like using chocolate spread in a squeeze bottle if I want smooth lines.
How Do You Make a Perfect Spiderweb Pattern on Crepes?
Creating the spiderweb design might feel tricky, but with a little patience, you’ll get great results:
- Melt chocolate slowly: Use short bursts in the microwave to avoid burning, stirring often.
- Use a squeeze bottle or piping bag: It gives you control to draw thin circles and lines easily.
- Draw concentric circles: Start from the center of the crepe and work outwards in even circles.
- Make the web lines: Drag a toothpick or knife from the center to the edges through your circles. Clean the tip often for neat lines.
- Practice patience: If the chocolate cools too fast, gently warm it again for smooth flow. Try on a test crepe first if you like.
This method helps your design stay clean and spiderweb-like, making your crepes look special every time!
Equipment You’ll Need
- Non-stick crepe pan or skillet – perfect for making thin crepes without sticking or tearing.
- Whisk – helps you mix batter smoothly without lumps.
- Squeeze bottle or piping bag – makes drawing the spiderweb pattern easy and precise.
- Spatula – for gently flipping crepes without breaking them.
- Microwave-safe bowl – to melt chocolate quickly and evenly.
Flavor Variations & Add-Ins
- Use white chocolate or colored candy melts for a bright, festive web design that’s fun for kids.
- Add cinnamon or orange zest to the batter for a warm, citrusy twist perfect for fall mornings.
- Fill crepes with sweet cream cheese or mascarpone for extra creaminess inside.
- Swap strawberries for blueberries or sliced bananas to change up the fruit topping based on what you have.
Spiderweb Crepes
Ingredients You’ll Need:
For the Crepes:
- 1 cup all-purpose flour
- 2 large eggs
- 1 1/4 cup milk
- 2 tablespoons melted butter, plus more for cooking
- 1 tablespoon granulated sugar
- 1/2 teaspoon vanilla extract
- Pinch of salt
For the Spiderweb Design and Serving:
- 1/4 cup semi-sweet chocolate chips or chocolate spread (for spiderweb design)
- Fresh strawberries or other fruit, for serving
- Powdered sugar (optional, for garnish)
How Much Time Will You Need?
This recipe takes about 5 minutes to mix, 15–20 minutes to rest the batter, and 15–20 minutes to cook and decorate the crepes. Overall, plan for around 40 minutes from start to finish.
Step-by-Step Instructions:
1. Mix the Batter:
In a large bowl, whisk together the flour, sugar, and salt. In a separate bowl, beat the eggs, then add the milk, melted butter, and vanilla. Gradually add the wet mix to the dry ingredients, whisking until smooth and lump-free. Let the batter rest for 15–20 minutes—this helps make tender crepes.
2. Cook the Crepes:
Heat a non-stick pan over medium heat and lightly butter the surface. Pour about 1/4 cup of batter into the pan and swirl it around quickly to create a thin, even layer. Cook until the edges lift and the bottom is light golden, about 1–2 minutes. Flip and cook for another 30 seconds to 1 minute. Remove the crepe and place on a plate. Repeat with remaining batter, stacking crepes as you go.
3. Create the Spiderweb Design:
Melt chocolate chips in short bursts in the microwave, stirring until smooth. Transfer the melted chocolate to a squeeze bottle or piping bag with a fine tip. Pipe concentric circles on each crepe, starting from the center outward. Use a toothpick or knife tip to drag lines from the center to edges across the chocolate circles, making a spiderweb pattern.
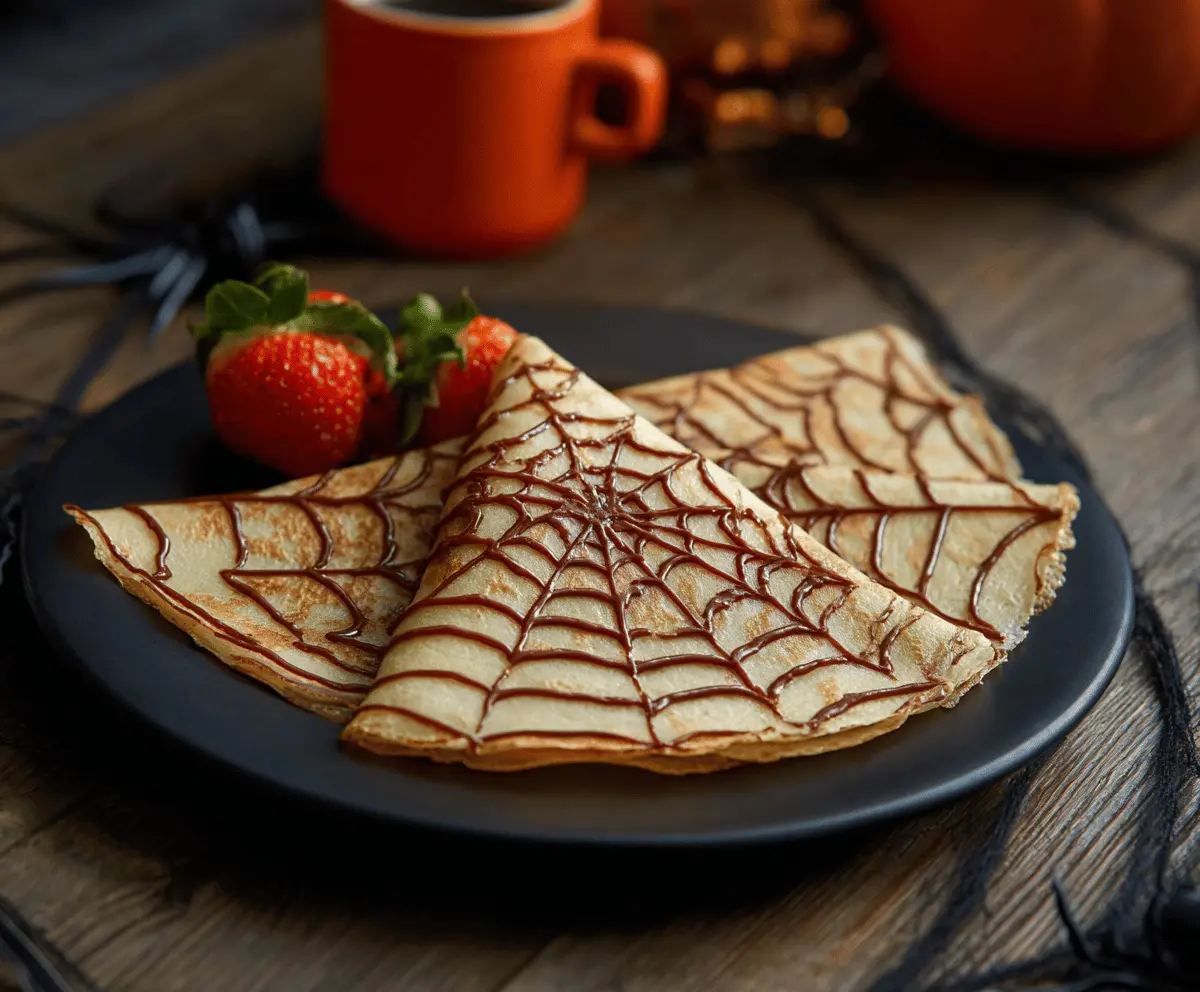
4. Serve:
Fold the decorated crepes into quarters and arrange on plates. Garnish with fresh strawberries or your favorite fruit and dust with powdered sugar if you like.
Can I Make the Crepe Batter Ahead of Time?
Yes! You can prepare the batter the night before and keep it covered in the fridge. Just give it a good stir before cooking, as some settling may occur.
What Can I Use Instead of Semi-Sweet Chocolate Chips?
You can use white chocolate, dark chocolate, or even chocolate spread like Nutella. Just make sure it’s melted smoothly for piping the spiderweb design.
How Do I Prevent Crepes from Sticking to the Pan?
Use a good non-stick pan and lightly butter the surface before each crepe. Make sure the pan is hot but not smoking to get perfect crepes without tearing.
Can I Freeze Cooked Crepes?
Absolutely! Freeze crepes layered between parchment paper in an airtight container for up to 2 months. Thaw in the fridge or at room temperature before decorating and serving.