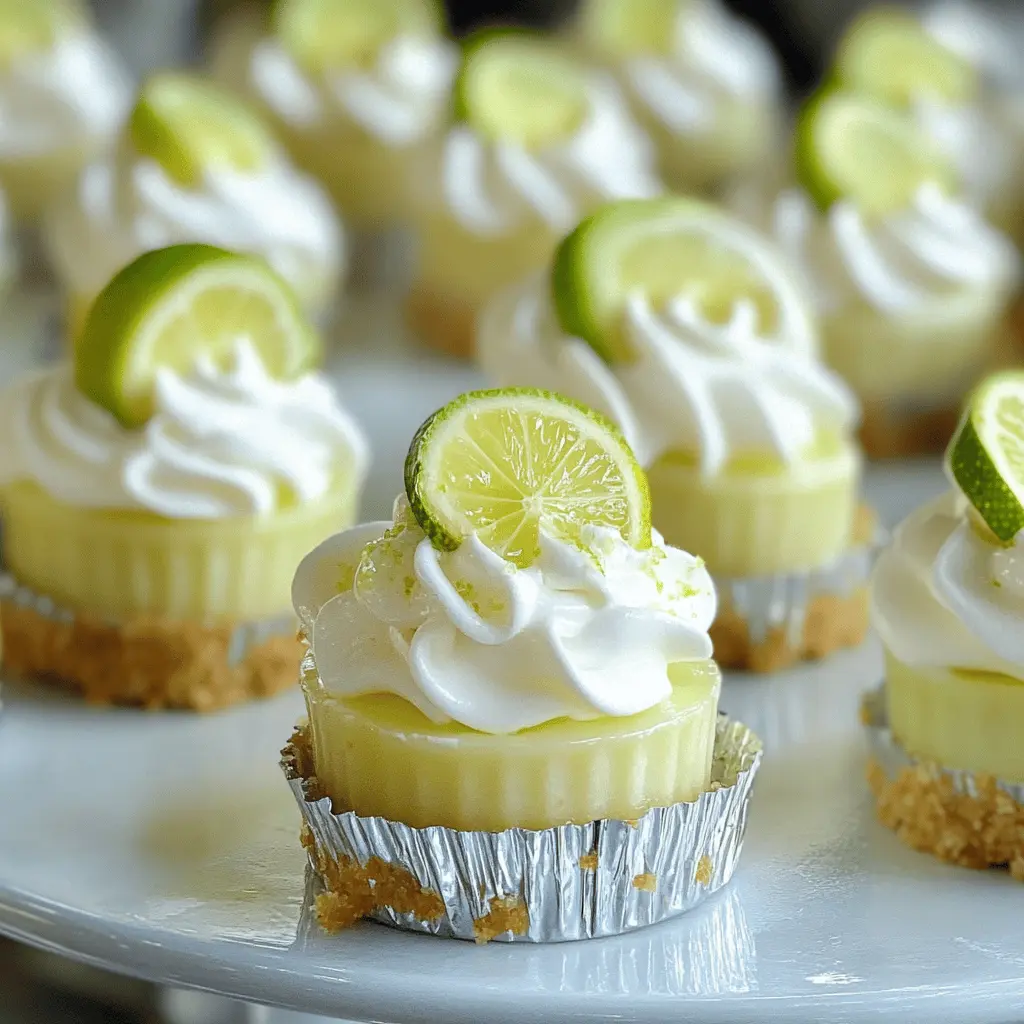
These cute no-bake mini key lime pies are a treat that packs a tangy punch! With a buttery crust and creamy lime filling, they’re perfect for a sunny day.
Making these is a breeze since you skip the baking part! I love serving them chilled; they always bring a smile. Plus, who doesn’t love mini desserts? They’re so cute! 😋
Key Ingredients & Substitutions
Graham Cracker Crumbs: This forms the base of your crust. If you don’t have graham crackers, you can use digestive biscuits or vanilla wafer crumbs instead, giving it a slightly different flavor.
Bake, Serve, Wear the Vibe 👕
Editor-picked tees our Oven To Fork readers love.


We may earn from qualifying purchases at no extra cost to you.
Butter: Unsalted butter keeps things balanced. If you prefer a dairy-free option, you can substitute with coconut oil or a vegan butter alternative, which adds a nice touch too!
Cream Cheese: Soften the cream cheese for easy mixing. If you’re looking for a lighter option, whipped cream cheese works well too. For a dairy-free version, use a plant-based cream cheese.
Key Lime Juice: Freshly squeezed key lime juice is best for flavor! If you can’t find key limes, regular lime juice will work, though it may be a bit less tart.
Whipping Cream: This adds a light touch to the topping. If you want a lower-calorie option, you can use light whipped topping instead, but homemade whipped cream has a fresher taste.
How Do I Make Sure My Crust is Perfectly Firm?
Getting your crust just right is key. First, mix graham cracker crumbs, sugar, and melted butter until it’s like damp sand. It should hold together when squeezed in your hand. Pressure is important—firmly pack the mixture into your cups, so it sets well in the fridge.
- Use a flat-bottomed glass or measuring cup to press it down firmly. This will give you a solid base.
- Let the crust chill in the refrigerator while you prepare the filling. This helps it firm up even more.
How to Make No-Bake Mini Key Lime Pies?
Ingredients You’ll Need:
For The Crust:
- 1 cup graham cracker crumbs
- 1/4 cup granulated sugar
- 1/3 cup unsalted butter, melted
For The Filling:
- 8 oz cream cheese, softened
- 1/2 cup sweetened condensed milk
- 1/4 cup fresh key lime juice
- Zest of 1 lime
For The Topping:
- 1 cup heavy whipping cream
- 2 tablespoons powdered sugar
- Lime slices or zest for garnish
How Much Time Will You Need?
This delightful recipe takes about 20 minutes to prepare and then needs at least 4 hours to chill in the refrigerator so the pies can set properly. A little bit of patience is the key to enjoying these yummy mini treats!
Step-by-Step Instructions:
1. Preparing the Crust:
Grab a mixing bowl and start by combining the graham cracker crumbs, granulated sugar, and melted butter. Use a fork to mix everything together until the crumbs are evenly coated with the butter. This will give your crust a nice buttery flavor!
2. Forming the Crust:
Next, it’s time to shape the crust. Take the crumb mixture and divide it evenly among mini dessert cups or muffin tins. Use the back of a spoon or your fingers to press it down firmly so it sticks together and forms a compact base. Pop these in the refrigerator while you move on to the filling.
3. Making the Filling:
In a clean mixing bowl, beat the softened cream cheese until it’s nice and smooth. Next, add the sweetened condensed milk, fresh key lime juice, and lime zest. Mix it all together until the filling is completely smooth, and you can’t see any lumps—this will create a deliciously creamy texture!
4. Filling the Crusts:
Once your crusts have chilled a bit, take them out of the fridge. Now, it’s time to spoon the key lime filling over each crust. Use a spatula to level it off so that each mini pie looks neat and even.
5. Chilling:
Cover the mini pies with plastic wrap or a lid and place them back in the refrigerator. Let them chill for at least 4 hours, or until they are set and firm. This step is important to get that perfect pie texture!
6. Preparing the Topping:
When the pies have chilled and are ready for decoration, whip the heavy cream in a mixing bowl until it starts to form soft peaks. Gradually add the powdered sugar while continuing to whip the cream until stiff peaks form. This will create a light and fluffy topping for your pies!
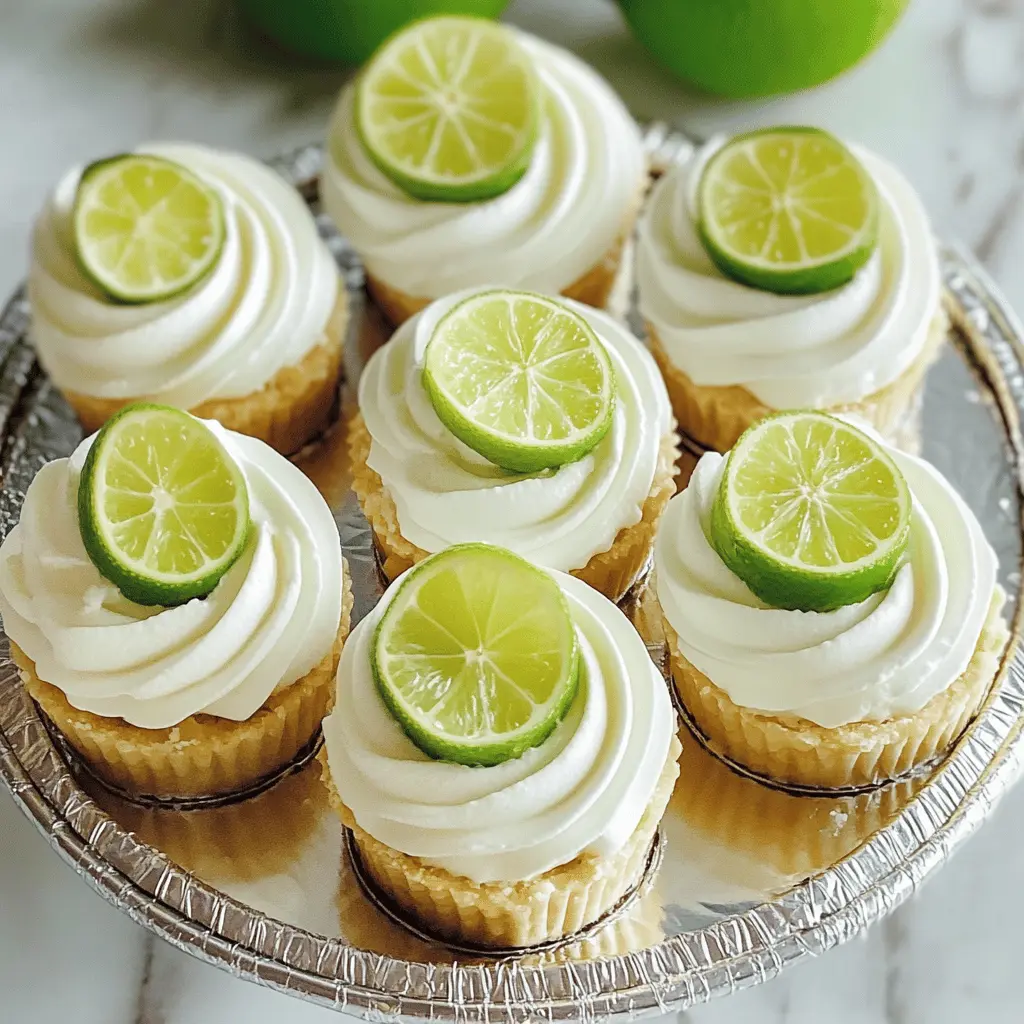
7. Serving:
Now that your mini pies are set, it’s time for the fun part! Top each mini pie with a generous dollop of the whipped cream. For an extra touch, garnish with a small slice of lime or a sprinkle of lime zest.
8. Enjoy:
Serve your refreshing no-bake mini key lime pies chilled and dive into the deliciousness! They are perfect for a warm day or any celebration that calls for something sweet and tangy. Enjoy every bite!
Can I Use Regular Limes Instead of Key Limes?
Absolutely! Regular limes can be used in place of key limes. The flavor will be a bit different, but still delicious. Just make sure to use the same amount of juice and zest to maintain the tartness in your pies!
How Can I Make Gluten-Free Mini Key Lime Pies?
To make these mini pies gluten-free, simply substitute the graham cracker crumbs with a gluten-free cookie crumb alternative, like almond flour or gluten-free graham cracker crumbs. This will keep the crust delicious while making it safe for those with gluten sensitivities!
What’s the Best Way to Store Leftover Mini Key Lime Pies?
Store any leftovers in an airtight container in the refrigerator for up to 3 days. Keep the whipped cream topping separate until you’re ready to serve to maintain its texture and freshness!
Can I Make the Filling Ahead of Time?
Yes! You can prepare the key lime filling a day in advance and keep it covered in the refrigerator. Just give it a good stir before you fill the crusts, and it’ll be just as creamy and tasty!