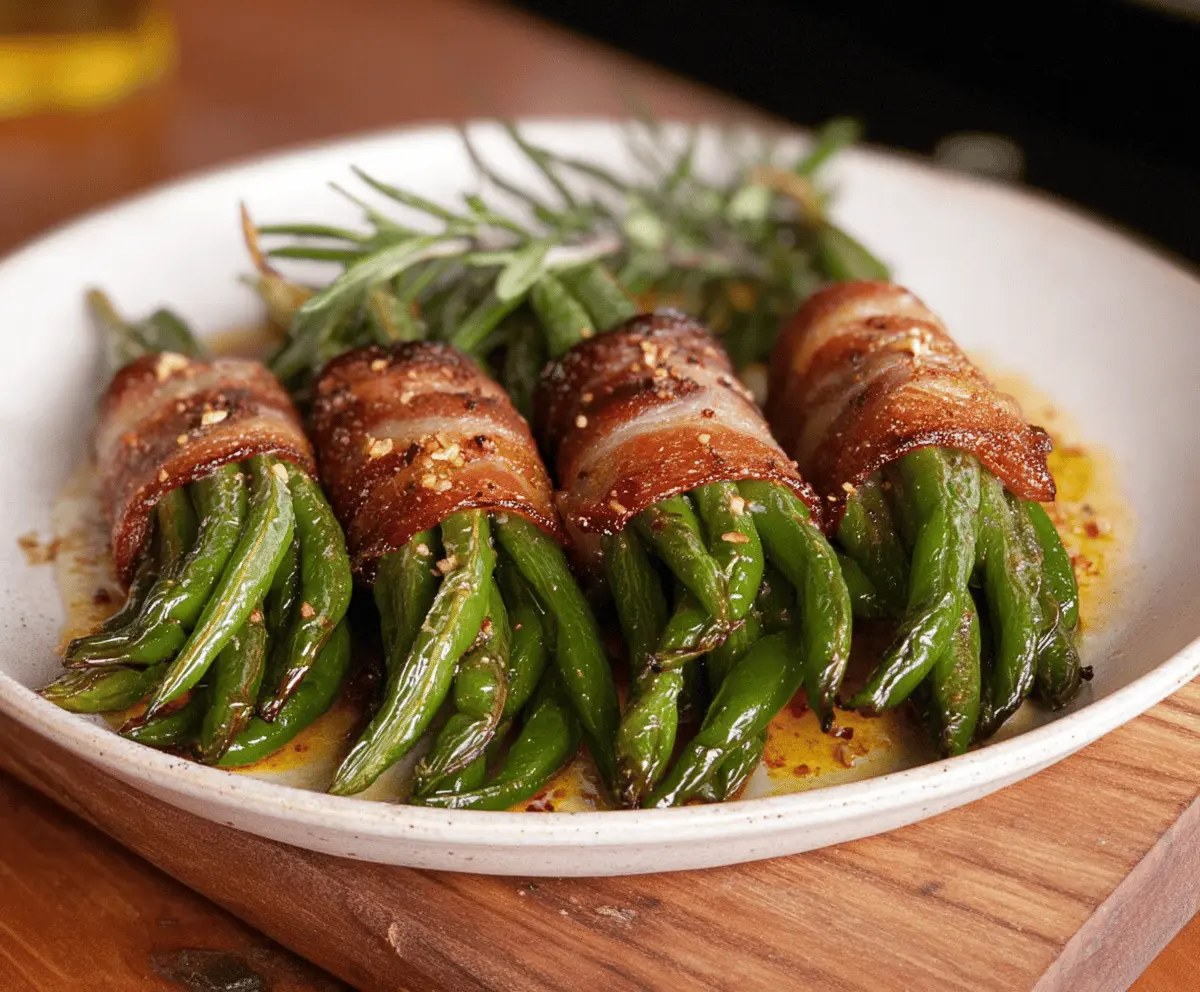
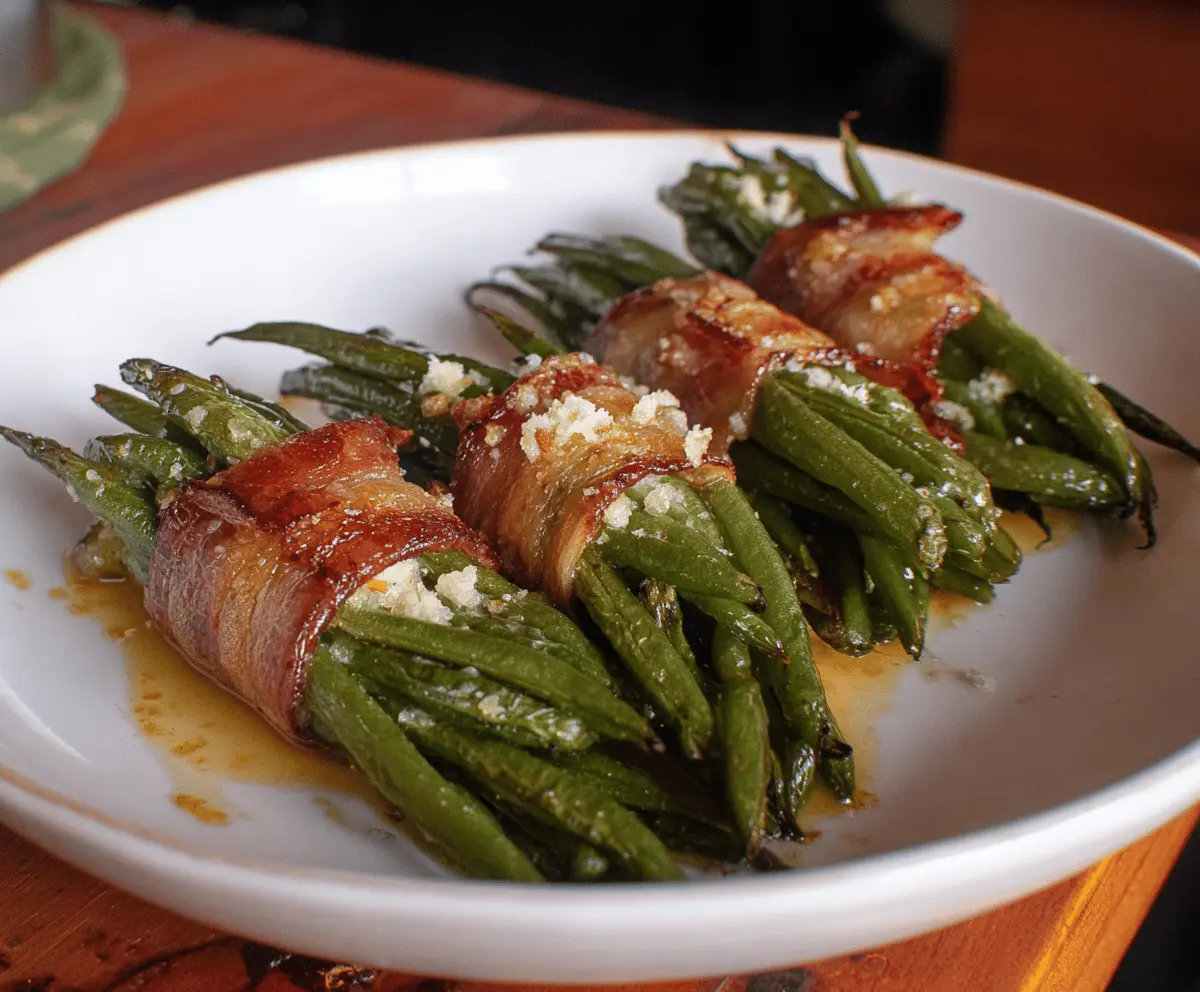
Green Bean Bundles are a simple and delicious side dish that brings together fresh green beans wrapped up in crispy bacon. The beans stay nice and tender with a bit of snap, while the bacon adds a salty, smoky flavor that makes these bundles a real treat. They’re perfect for adding a little something special to any meal without much fuss.
I love making these because they feel fancy but are actually super easy to put together. Sometimes I like to add a little brown sugar or garlic powder before wrapping the bacon around the green beans—it gives them a sweet and savory twist that everyone always asks about. It’s one of those recipes that’s quick, tasty, and looks like you spent way more time on it than you did.
These bundles go great alongside grilled chicken or roast dinners, and I find they’re a big hit at holiday meals or family get-togethers. I always serve them warm right out of the oven because that’s when the bacon is perfectly crisp and the green beans are just right. It’s one of those side dishes that disappears fast, so make plenty!
Bake, Serve, Wear the Vibe 👕
Editor-picked tees our Oven To Fork readers love.


We may earn from qualifying purchases at no extra cost to you.
Key Ingredients & Substitutions
Green Beans: Fresh green beans are best for a nice snap. If fresh aren’t available, you can use frozen, but thaw and dry them well before bundling to avoid sogginess.
Bacon: Bacon gives these bundles that smoky, crispy flavor. Turkey bacon works as a leaner substitute, though it won’t crisp quite the same. For a vegetarian version, consider thin roasted eggplant or zucchini strips.
Garlic & Red Pepper Flakes: These add a subtle kick and depth. If you want less spice, skip the red pepper flakes or reduce them. Garlic powder works too if you don’t have fresh garlic on hand.
How Can I Get Crispy Bacon Without Overcooking Green Beans?
The key is balancing baking time and temperature. Here’s what helps:
- Wrap bacon tightly around small bundles (6-8 beans) so it cooks evenly.
- Bake at 400°F to cook bacon well without drying green beans out.
- Check at 20 minutes; bacon should be crispy and beans tender but not mushy.
- If bacon isn’t crispy enough, broil for 1-2 minutes while watching closely so it doesn’t burn.
- Let bundles rest a few minutes after baking; bacon firms up as it cools.
These tips help you get that perfect combo of crispy bacon wrapping and bright green beans with a little bite. It’s all about patience and careful watching during cooking!
Equipment You’ll Need
- Baking sheet – to hold the bundles and catch bacon drippings for easy cleanup.
- Parchment paper or aluminum foil – lines the baking sheet to prevent sticking and speeds cleanup.
- Mixing bowl – for tossing green beans with oil, garlic, and spices evenly.
- Tongs or kitchen twine (optional) – helps handle bundles or secure bacon if needed.
- Oven mitts – essential for safely handling the hot baking tray.
Flavor Variations & Add-Ins
- Swap bacon for prosciutto for a slightly lighter, saltier flavor that crisps up nicely.
- Add sliced almonds or toasted pine nuts inside bundles for crunch and nutty notes.
- Mix in cherry tomatoes or sliced bell peppers with green beans for a pop of color and sweetness.
- Brush bundles with a little honey or maple syrup before baking for a sweet and smoky combo.
How to Make Green Bean Bundles
Ingredients You’ll Need:
- 1 lb fresh green beans, trimmed
- 8 slices of bacon
- 2 tablespoons olive oil
- 2 cloves garlic, minced
- 1 teaspoon red pepper flakes (optional, for a bit of heat)
- Salt and freshly ground black pepper, to taste
- Fresh rosemary sprigs for garnish (optional)
How Much Time Will You Need?
This recipe takes about 10 minutes to prepare and 20-25 minutes to bake. You might want a couple more minutes if you decide to broil for extra crispy bacon. Overall, plan for around 30 minutes total to enjoy these delicious bundles fresh and warm!
Step-by-Step Instructions:
1. Prepare the Oven and Beans:
Preheat your oven to 400°F (200°C). Rinse the green beans under cold water and trim their ends. In a large bowl, toss the green beans with olive oil, minced garlic, salt, pepper, and red pepper flakes if you like some heat. This coats them with flavor and helps them cook nicely.
2. Make the Bundles:
Take small handfuls of about 6 to 8 green beans and gather them into neat little bundles. Wrap one slice of bacon tightly around each bundle so it holds together. Place each bundle seam side down on a baking sheet lined with parchment paper or foil—this will help catch drips and make cleanup easy.
3. Bake and Finish:
Put the baking sheet in the oven and bake the bundles for 20 to 25 minutes. The bacon should be crispy and the green beans tender but still a little crisp. If you want the bacon extra crispy, broil the bundles for 1 to 2 minutes more—just watch carefully to avoid burning. Remove from oven and let them cool for a few minutes.
4. Serve:
Arrange the bundles on a serving plate and garnish with fresh rosemary sprigs if you like. Serve warm as a tasty side dish that’s sure to please!
Can I Use Frozen Green Beans Instead of Fresh?
Yes, you can! Just make sure to fully thaw and pat them dry to remove excess moisture before bundling and baking. This helps keep the bacon crispy and prevents sogginess.
How Should I Store Leftover Green Bean Bundles?
Store leftovers in an airtight container in the refrigerator for up to 3 days. Reheat gently in the oven at 350°F until warmed through to keep the bacon crisp.
Can I Prepare the Bundles Ahead of Time?
Absolutely! Assemble the green bean bundles a few hours ahead and keep them covered in the fridge. Bake just before serving for the best texture and flavor.
What Can I Use Instead of Bacon?
Prosciutto is a great alternative that crisps nicely. For a vegetarian option, consider wrapping bundles with thin strips of roasted eggplant or zucchini for a tasty twist.