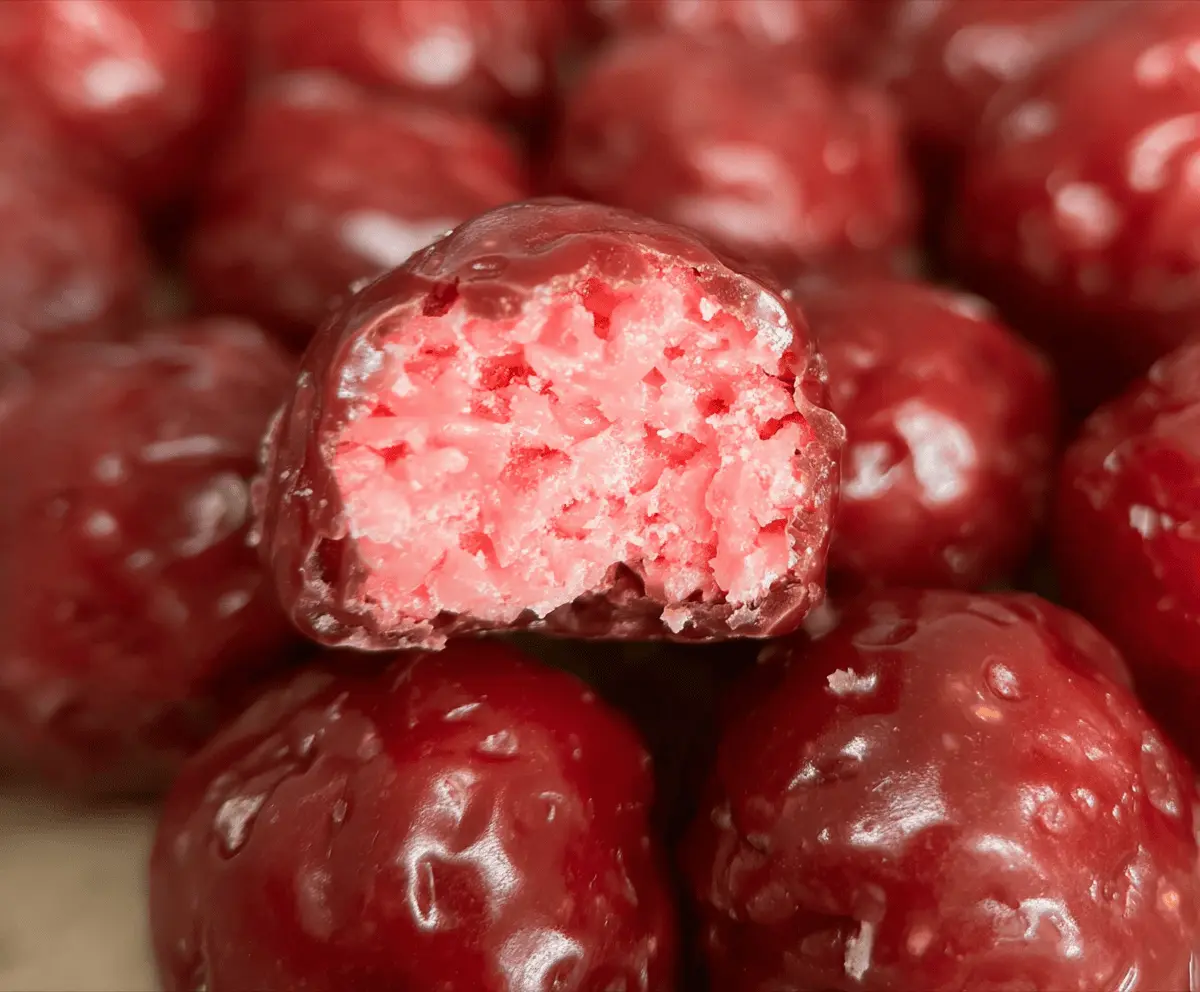
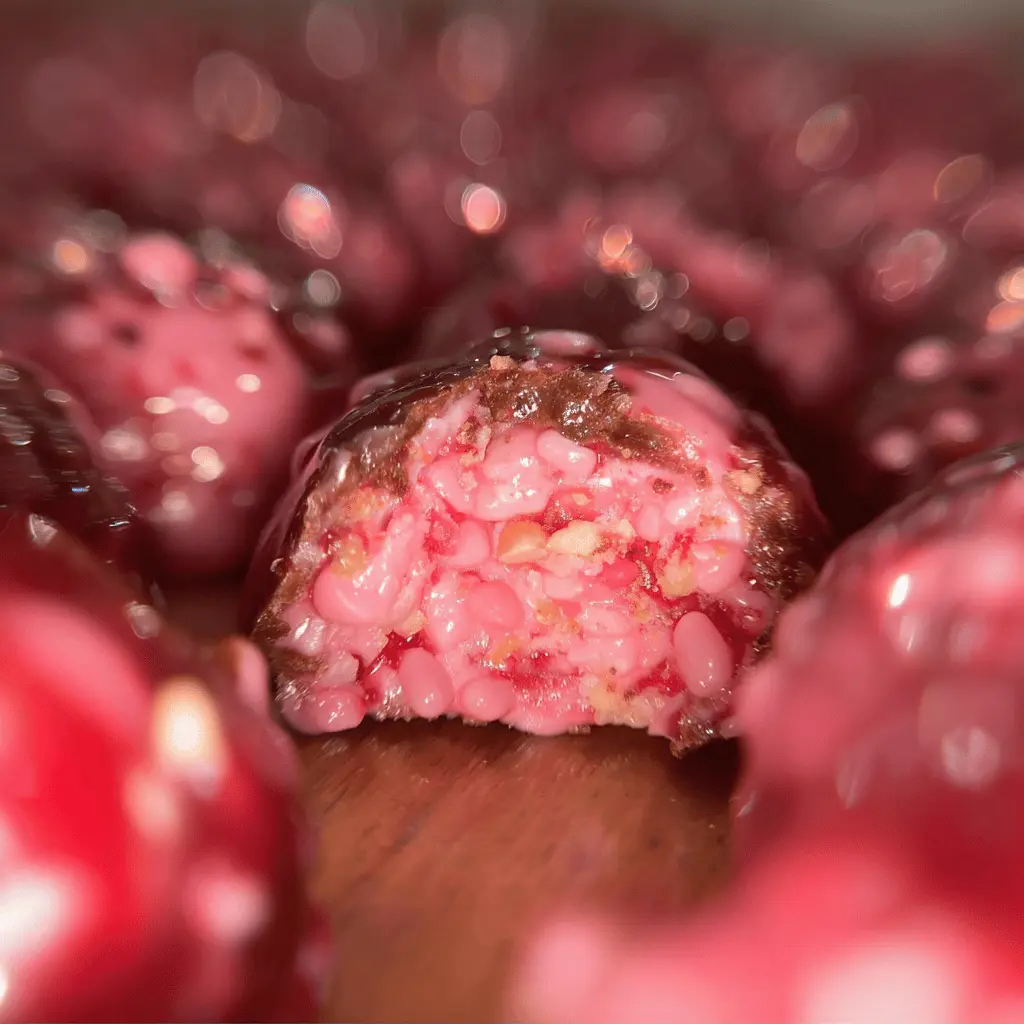
This Easy Homemade Cherry Mash Candy is a sweet treat that combines creamy chocolate and rich cherry flavor. It’s soft, chewy, and perfect for sharing—or keeping all to yourself!
Making these little bites of joy is a breeze. I love that they come together quickly, and the best part? You can adjust the cherry flavor to your liking. Yum! 🍒
Key Ingredients & Substitutions
Cream Cheese: This gives the candy its rich base. Make sure it’s softened for easy mixing. If you’re looking for a lighter option, you can use Neufchâtel cheese instead, which has less fat but a similar taste.
Bake, Serve, Wear the Vibe 👕
Editor-picked tees our Oven To Fork readers love.


We may earn from qualifying purchases at no extra cost to you.
Maraschino Cherries: These provide the sweet cherry flavor. If you want a natural option, try using freeze-dried cherries, which will also give a nice tartness. Just soak them in warm water first to soften.
Milk Chocolate Chips: They’re ideal for a smooth coating. If you’re aiming for a darker flavor, feel free to swap in semi-sweet or dark chocolate chips. Even white chocolate can make a fun variation!
Nuts: Chopped peanuts or pecans add a nice crunch. If you’d like, you can skip the nuts entirely for a nut-free version or substitute with sunflower seeds for a similar crunch.
How Do You Make Sure the Candy Coating is Perfect?
Coating your cherry logs in chocolate is where it can get a bit tricky! Aim for a smooth and even coating to make your candies look delicious. Here are some tips:
- Ensure your chocolate is melted gently, without burning. Microwave slowly, stirring often.
- Tap off any excess chocolate after dipping so that they don’t pool at the bottom.
- Work quickly! The colder your logs are, the easier they will be to coat since they won’t melt the chocolate right away.
- Let the coated candies sit on the parchment paper until they set completely for a crisp finish!
Easy Homemade Cherry Mash Candy
Ingredients You’ll Need:
- 1 package (8 oz) cream cheese, softened
- 2 cups powdered sugar
- 1 teaspoon vanilla extract
- 1/2 cup maraschino cherries, chopped (plus some juice)
- 3 cups milk chocolate chips
- 1 cup chopped nuts (such as peanuts or pecans)
How Much Time Will You Need?
This recipe requires about 30 minutes of active prep time, plus at least 1 hour to freeze the candy logs. After dipping them in chocolate, allow some additional time for the chocolate to set. Overall, you can expect around 2 hours before the candy is ready to serve!
Step-by-Step Instructions:
1. Mix the Cream Cheese Mixture:
Start by placing the softened cream cheese in a mixing bowl. Using an electric mixer, beat it until smooth and creamy. Gradually add in the powdered sugar while continuing to mix until everything is well combined and no lumps remain.
2. Add Cherry Flavor:
Next, stir in the vanilla extract and chopped maraschino cherries. Don’t forget to include a tablespoon or two of the cherry juice—it helps to flavor and moisten the mixture beautifully.
3. Shape the Candy:
Now it’s time to get a little hands-on! Using your hands, roll the cherry cream cheese mixture into small logs or balls. Place them on a parchment-lined baking sheet for easy transport to the freezer.
4. Freeze for Firmness:
Put the baking sheet with the candy logs in the freezer. Let them freeze for at least 1 hour, or until they are nice and firm. This step is important for easy dipping later!
5. Prepare the Chocolate Coating:
While your logs are freezing, melt the milk chocolate chips! In a microwave-safe bowl, heat them in 30-second intervals, stirring each time until smooth and well melted.
6. Combine Nuts with Chocolate:
Once the chocolate is melted, stir the chopped nuts into the chocolate. This will add an extra layer of crunch to your candy!
7. Dip the Candy Logs:
Take the cherry logs out of the freezer and dip each one into the chocolate-nut mixture, ensuring they are completely coated. Shake off any excess chocolate and place them back on the parchment paper.
8. Let the Chocolate Set:
Finally, refrigerate the coated candies until the chocolate is set. This usually takes about 30 minutes or so. Once set, your delicious homemade Cherry Mash Candies are ready to enjoy!
9. Serve and Enjoy:
Keep the candies stored in the refrigerator until you’re ready to serve. Enjoy the sweet, creamy goodness—perfect for sharing with friends and family!
Frequently Asked Questions (FAQ)
Can I Use Low-Fat Cream Cheese for This Recipe?
Absolutely! Low-fat cream cheese can be used as a substitute, but keep in mind the texture might be slightly different. It will still hold up well in the candy mixture, and the flavor will remain delicious!
How Should I Store Leftover Cherry Mash Candy?
Store any leftover candies in an airtight container in the refrigerator for up to one week. If you want to keep them fresher for longer, you can freeze them—just ensure they are wrapped tightly to prevent freezer burn!
Can I Make These Candies Without Nuts?
Yes, you can enjoy your Cherry Mash Candy without the nuts! Just dip the logs in chocolate as instructed, and omit the nuts from the coating. Alternatively, you can substitute with sunflower seeds for a nutty crunch, if desired.
Can I Use Other Fruits Instead of Cherries?
You can definitely experiment! Try using crushed strawberries or raspberries in place of the cherries for a different fruit flavor. Just adjust the amount of fruit and juice to maintain the right consistency in the mixture.