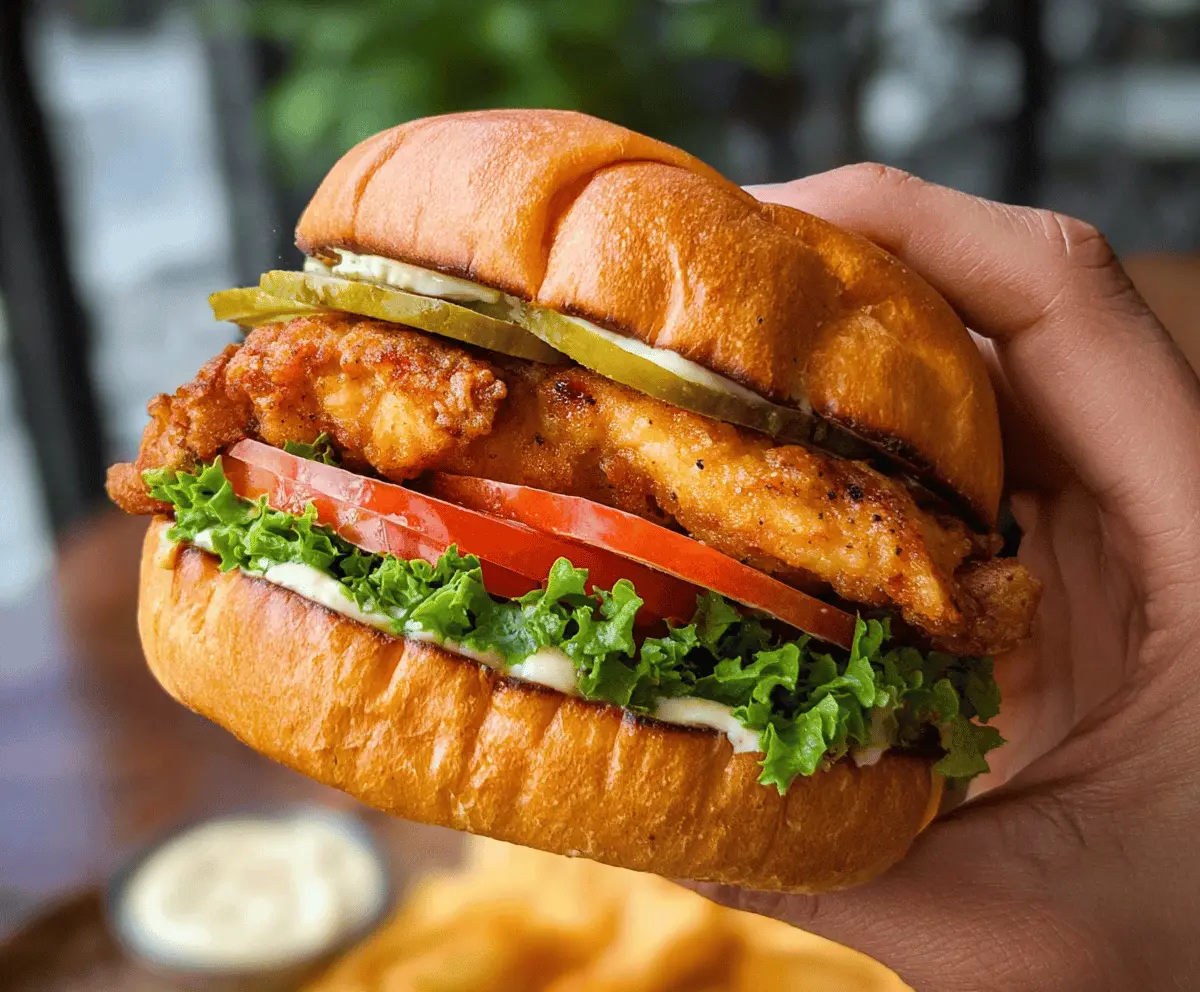
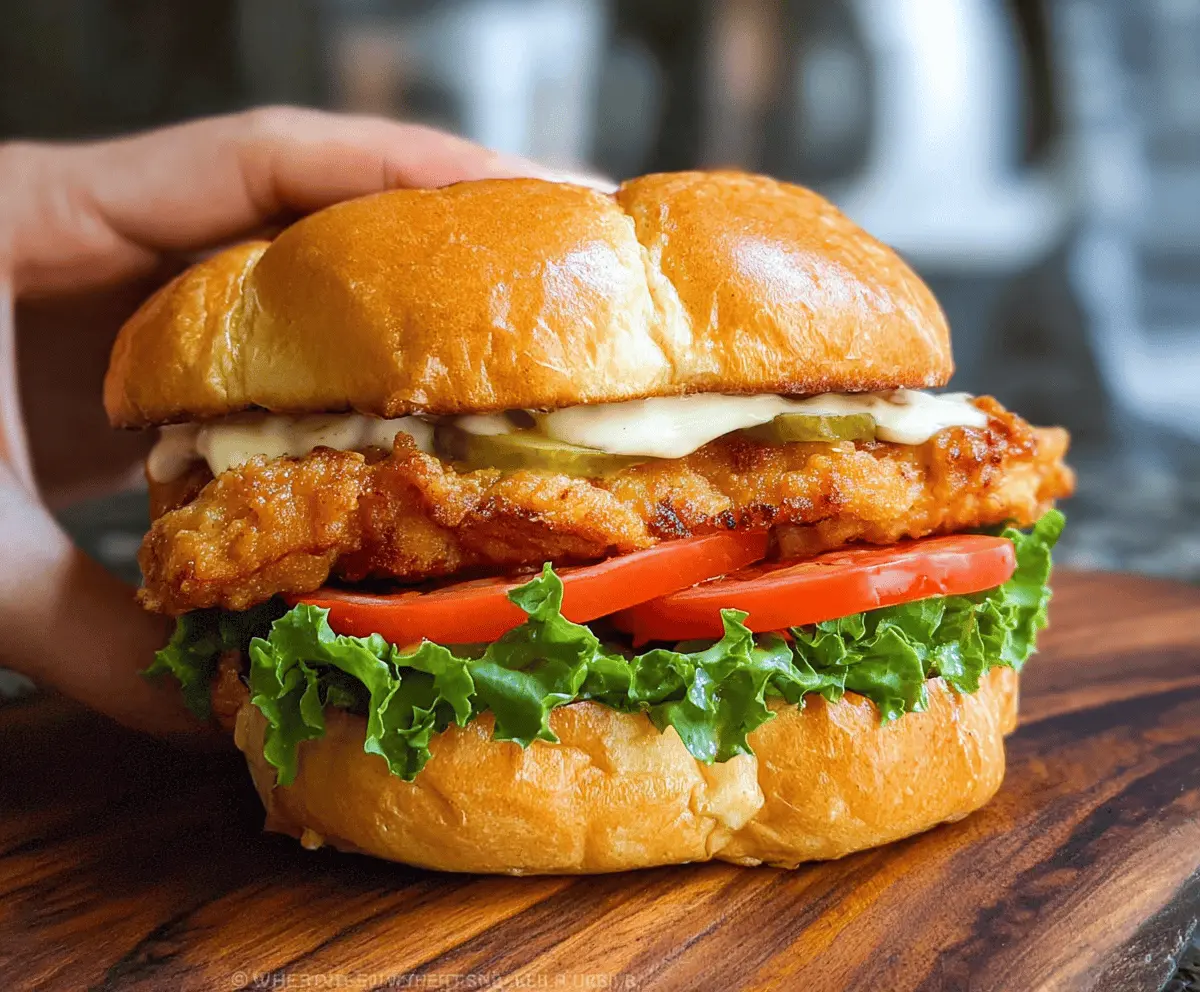
This Easy Crispy Chicken Sandwich is perfect for a quick and tasty meal! With a crunchy coating and juicy chicken, it’s a real crowd-pleaser. Just top it with your favorite sauce!
Key Ingredients & Substitutions
Chicken Breasts: Using boneless, skinless breast ensures a quick cook and tender bite. If you prefer a different cut, chicken thighs are another juicy option that holds up well too.
Bake, Serve, Wear the Vibe 👕
Editor-picked tees our Oven To Fork readers love.


We may earn from qualifying purchases at no extra cost to you.
Buttermilk: Buttermilk makes the chicken super tender. If you don’t have any, you can make a quick substitute by mixing regular milk with a tablespoon of vinegar or lemon juice and letting it sit for 5-10 minutes.
Flour and Seasonings: The seasoned flour is key for that crunchy coating. If you’re looking for a gluten-free option, try using a gluten-free flour blend, or cornstarch for extra crispiness!
Hot Sauce: A teaspoon adds a nice kick, but feel free to leave it out if you prefer a milder flavor or use a different flavor of hot sauce that you like.
Buns: Brioche buns are my favorite for their soft texture. You can swap with whole wheat or even lettuce wraps for a lighter option!
How Do I Fry Chicken Perfectly Without It Becoming Greasy?
Frying can be tricky, but with a few tips, you can achieve that perfect crispy coating! The first step is ensuring your oil is hot enough—around 350°F (175°C). Here’s how to get it right:
- Use a heavy pan to retain heat. A cast-iron skillet works great!
- Fry a few pieces at a time. Crowding the pan can lower the oil temperature, causing soggy chicken.
- Keep an eye on cooking time. Each side needs about 4 to 5 minutes to reach golden brown.
- After frying, place the chicken on a wire rack to let excess oil drip off. This helps keep that crispy texture!
Following these tips will help you serve chicken that’s crunchy and delicious, not greasy! Enjoy making your sandwich!
Easy Crispy Chicken Sandwich
Ingredients You’ll Need:
For the Chicken:
- 2 boneless, skinless chicken breasts (pounded to about 1/2 inch thickness)
- 1 cup buttermilk
- 1 teaspoon hot sauce (optional)
For the Coating:
- 1 1/4 cups all-purpose flour
- 1 teaspoon paprika
- 1 teaspoon garlic powder
- 1 teaspoon onion powder
- 1/2 teaspoon salt
- 1/2 teaspoon black pepper
For Frying:
- Vegetable oil for frying (about 2 cups)
For the Sandwich:
- 4 sandwich buns (brioche or soft hamburger buns work well)
- Lettuce leaves (green leaf lettuce)
- 2 medium tomatoes, sliced
- Dill pickle slices
- Mayonnaise or sandwich sauce as preferred
How Much Time Will You Need?
This recipe takes about 15 minutes of prep time and 20 minutes of cooking time, plus at least 30 minutes for marinating the chicken. In total, plan for around 1 hour to have everything ready to enjoy!
Step-by-Step Instructions:
1. Prepare the Chicken:
Start by placing the chicken breasts between two sheets of plastic wrap. Use a meat mallet or rolling pin to pound them to about 1/2 inch thickness. This ensures they cook evenly!
2. Marinate the Chicken:
In a medium bowl, mix the buttermilk and hot sauce (if using). Add the chicken breasts, ensuring they are well coated. Cover and let them marinate in the refrigerator for at least 30 minutes (or up to 4 hours is even better for flavor!).
3. Prepare the Coating:
In a shallow dish, combine the flour, paprika, garlic powder, onion powder, salt, and black pepper. Mix this well; it’s going to give your chicken that flavorful crunch!
4. Heat the Oil:
In a large skillet or deep fryer, heat about 1 to 2 inches of vegetable oil to 350°F (175°C). You’ll know it’s ready when a small amount of flour sizzles when dropped in!
5. Dredge the Chicken:
Remove one chicken breast from the buttermilk, letting any excess drip off. Dredge it thoroughly in the seasoned flour mixture, pressing it on to ensure a thick coating. Shake off any extra flour.
6. Fry the Chicken:
Carefully place the coated chicken breast into the hot oil. Fry it for about 4 to 5 minutes on each side until it’s golden brown and cooked through (internal temperature should reach 165°F or 74°C). Remember, don’t overcrowd the pan; you can cook in batches!
7. Drain the Chicken:
Once cooked, transfer the fried chicken to a wire rack or paper towels to drain any excess oil, keeping them crispy!
8. Toast the Buns:
While the chicken cools slightly, lightly toast the sandwich buns. This adds extra flavor and prevents them from getting soggy later.
9. Assemble the Sandwich:
On the bottom bun, spread mayonnaise (or your preferred sauce). Layer it with pickle slices, green leaf lettuce, and tomato slices.
10. Finish the Sandwich:
Place the crispy fried chicken on top, then add some mayo to the top bun before placing it over the chicken.
11. Serve & Enjoy:
Serve the sandwich immediately while it’s hot and crispy. Enjoy your delicious, crunchy Easy Crispy Chicken Sandwich!
Happy cooking, and enjoy every bite! 🍔
FAQ for Easy Crispy Chicken Sandwich
Can I Use Frozen Chicken for This Recipe?
No, it’s best to use fresh chicken for this recipe. If you have frozen chicken, make sure to fully thaw it in the refrigerator before using. This helps ensure even cooking and a juicy result!
How Can I Make This Sandwich Spicier?
If you want a kick of heat, try adding chili powder or cayenne pepper to your seasoned flour mixture. You can also use a spicier hot sauce in the buttermilk marinade.
What Are Some Good Substitutes for Buttermilk?
If you don’t have buttermilk on hand, you can easily make a substitute by mixing 1 cup of milk (whole or low-fat) with 1 tablespoon of white vinegar or lemon juice. Let it sit for 5-10 minutes to thicken slightly.
How Should I Store Leftover Chicken Sandwiches?
Store any leftover chicken separately in an airtight container in the fridge for up to 3 days. To keep the buns from getting soggy, store them separately. Reheat the chicken in the oven or air fryer to retain its crispiness before assembling again!