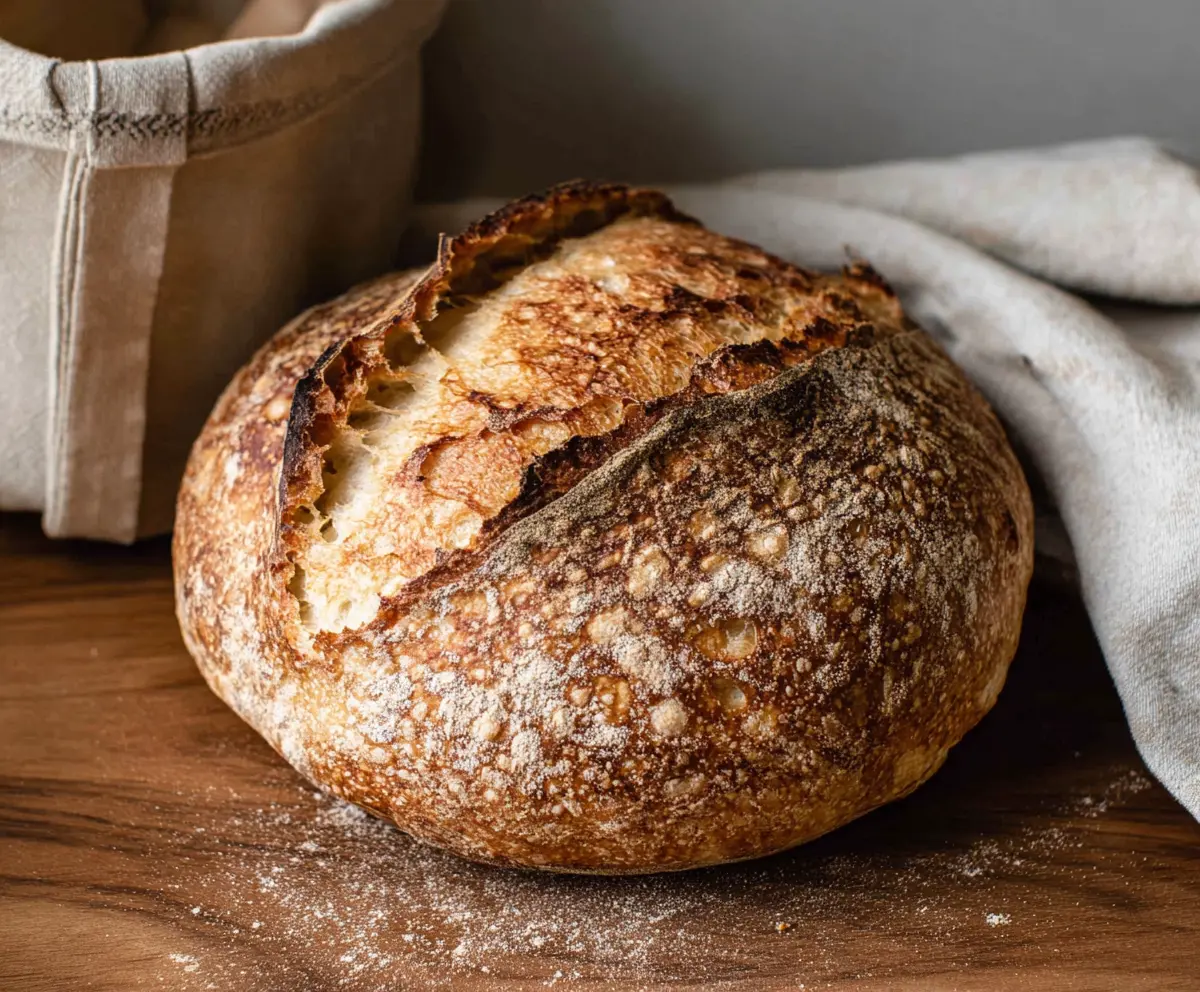
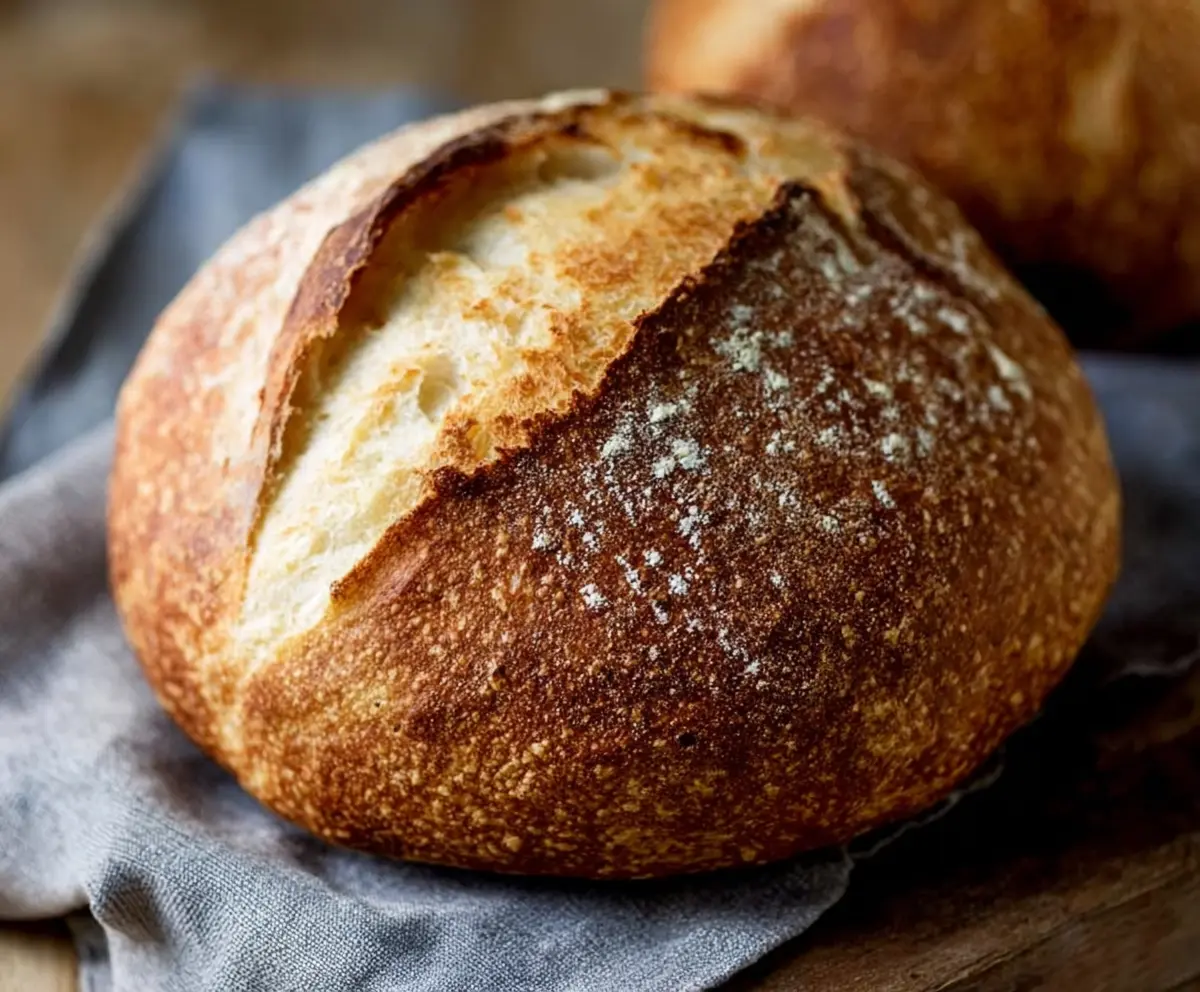
This Best Ever Sourdough Bread Recipe is all about making a crusty, chewy loaf with that perfect tangy flavor we love in sourdough. It combines simple ingredients like flour, water, salt, and a healthy starter that brings life to the dough. The step-by-step guide makes it easy to follow, even if you’re new to baking bread at home.
I really enjoy this recipe because it breaks down the process into manageable parts, so you don’t feel overwhelmed. I like to give the dough plenty of time to rest and rise—that’s when all the magic happens and develops the flavor and texture. Plus, scoring the top before baking is one of my favorite little rituals; it’s like creating your own signature on the bread!
My favorite way to enjoy this sourdough is just fresh from the oven with a bit of butter or alongside soups and salads. It’s such a rewarding feeling to slice into a loaf that you’ve made yourself, especially when the crust is crackly, and the inside is soft and airy. Trust me, once you try this recipe, you’ll want to bake it again and again for breakfast, lunch, or dinner.
Bake, Serve, Wear the Vibe 👕
Editor-picked tees our Oven To Fork readers love.


We may earn from qualifying purchases at no extra cost to you.
Key Ingredients & Substitutions
Bread Flour: This gives sourdough its strong structure and chewy texture. If you don’t have bread flour, all-purpose flour works fine but expect a slightly softer crumb.
Water: Lukewarm water helps activate the starter. Use filtered or bottled water if your tap water is very chlorinated, as chlorine can hurt the starter.
Sourdough Starter: It’s the heart of the bread, packed with natural yeast and bacteria. If you’re new, you can use a store-bought starter or make your own at home with flour and water over several days.
Salt: Adds flavor and strengthens gluten. Don’t skip it! You can experiment with sea salt or kosher salt, but adjust amounts slightly since they vary in saltiness.
How Do You Successfully Perform Stretch and Folds During Bulk Fermentation?
Stretch and folds help develop gluten strength without heavy kneading, improve dough structure, and trap gas for a better rise. Here’s how I do it:
- Wet your hand to prevent sticking.
- Reach under one side of the dough, gently lift, and stretch it upward without tearing.
- Fold the stretched part over the top of the dough.
- Rotate the bowl and repeat this 3-4 times around the dough.
- Do this every 30 minutes during the first 2 hours of bulk fermentation.
It’s okay if the dough feels sticky or loose at first—it will strengthen as you go. This technique creates a light, open crumb and a chewy bite that’s perfect for sourdough.
Equipment You’ll Need
- Dutch oven with lid – Holds heat and steam for a crispy crust and perfect oven spring.
- Mixing bowl – Big enough to mix and ferment your dough comfortably.
- Banneton or proofing basket – Helps shape the dough and lets it rise with a nice pattern.
- Lame or sharp knife – For scoring the dough so it can expand while baking.
- Kitchen scale – Essential for accurate measurements of flour, water, and starter.
- Dough scraper – Great for handling sticky dough and cleaning surfaces.
Flavor Variations & Add-Ins
- Add 1/2 cup chopped olives or sun-dried tomatoes for a Mediterranean twist that pairs well with soups.
- Mix in 1/3 cup toasted seeds like sunflower or sesame for extra crunch and nutrition.
- Swap 100g of bread flour for whole wheat for a nuttier flavor and more fiber.
- Try folding in fresh herbs like rosemary or thyme during the stretch and folds to add a fragrant touch.
Best Ever Sourdough Bread Recipe (Step-by-Step)
Ingredients You’ll Need:
- 500g (4 cups) bread flour or unbleached all-purpose flour
- 350g (1 1/2 cups) water, lukewarm (about 75°F/24°C)
- 100g (1/2 cup) active sourdough starter (fed and bubbly)
- 10g (2 tsp) salt
How Much Time Will You Need?
This recipe takes about 6-8 hours total, including preparation, fermentation, proofing, and baking. Most of the time is hands-off, with resting and rising stages. Chilling overnight in the refrigerator is optional but adds great flavor and flexibility.
Step-by-Step Instructions:
1. Feed Your Starter
Make sure your sourdough starter is active and bubbly by feeding it 4 to 6 hours before you begin or the night before. It should double in size and have a pleasant, tangy aroma.
2. Mix Dough
In a large bowl, combine the flour and lukewarm water. Stir or knead lightly until all the flour is moistened but not fully mixed. Cover and let the dough rest (autolyse) for 30 to 45 minutes. This helps the flour absorb water and start gluten development.
3. Add Starter and Salt
Add the active sourdough starter and salt to the dough. Mix thoroughly by folding and squeezing the dough with your hands until it is sticky and uniform.
4. Bulk Fermentation with Stretch and Folds
Cover the bowl with a damp cloth or plastic wrap. Let the dough ferment at room temperature (about 70–75°F/21–24°C) for 4 to 5 hours. During the first 2 hours, perform a series of stretch and folds every 30 minutes by pulling the dough gently upwards and folding it over itself. This strengthens gluten and improves bread structure.
5. Shape the Dough
Turn the dough onto a lightly floured surface. Shape it into a tight, round loaf by folding the edges into the center and pulling the dough toward you to create tension on the surface. Place it seam-side up into a well-floured proofing basket (banneton) or a bowl lined with a floured towel.
6. Proof
Cover and let the dough proof for 2 to 4 hours at room temperature until puffy. Alternatively, refrigerate it overnight (8–12 hours) for additional flavor development.
7. Preheat Oven and Dutch Oven
Place your Dutch oven with its lid inside the oven and preheat it to 500°F (260°C) for at least 30 minutes to ensure it’s super hot for baking.
8. Score and Bake
Carefully invert the dough onto a piece of parchment paper. Using a sharp blade or lame, score the top of the loaf to allow it to expand during baking. Place the loaf and parchment into the hot Dutch oven, cover with the lid, and bake for 20 minutes.
9. Remove Lid and Finish Baking
Lower the oven temperature to 450°F (230°C), remove the lid, and bake the bread uncovered for another 20 to 25 minutes until the crust is deeply golden and crisp.
10. Cool Completely
Transfer the bread onto a wire rack and let it cool completely for at least one hour before slicing. This sets the crumb and improves texture.
Enjoy your delicious, crusty, and tangy homemade sourdough bread fresh, toasted, or with your favorite toppings!
Can I Use Frozen Sourdough Starter?
Yes! Just make sure to thaw it completely in the fridge and then feed it a couple of times until it’s bubbly and active before using it in the recipe.
How Should I Store Leftover Sourdough Bread?
Keep your sourdough wrapped loosely in a clean kitchen towel or paper bag at room temperature for 1-2 days. For longer storage, slice and freeze it in an airtight bag — toast slices straight from the freezer for best freshness.
Can I Make This Bread Without a Dutch Oven?
Absolutely! Use a heavy baking stone or tray and create steam by placing a pan of water in the oven or spraying water on the oven walls before baking. This helps create a crispy crust similar to the Dutch oven method.
What’s the Best Way to Score My Loaf?
Use a sharp blade or bread lame and make swift, confident cuts at a shallow angle. Scoring lets the dough expand during baking and creates that signature crackly pattern on top.