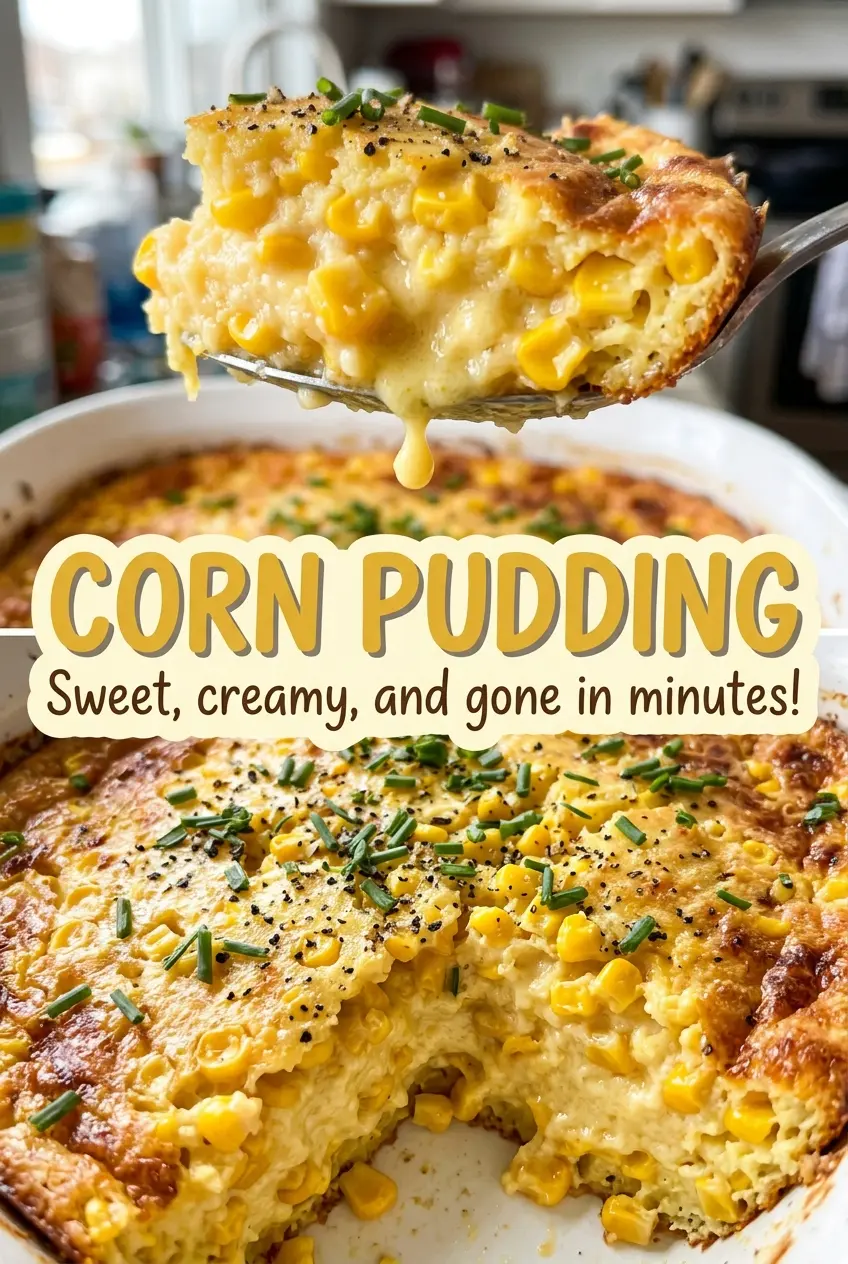
As the dish bakes, the edges set before the middle does, and that’s exactly what you want to see. Corn pudding should be soft and spoonable, not cut into neat squares like cornbread. I learned to stop judging it by whether the center looks completely firm; a little movement there means the eggs can finish setting as the pudding rests.
This corn pudding brings together whole kernels and cream-style corn, so each bite has both tender pops of corn and a smooth, creamy base. Flour gives the mixture just enough body without turning it into a bread-like bake, while eggs help it hold together. The result is gently sweet and rich, with a tender middle that’s easy to serve by the spoonful.
Letting the melted butter cool slightly before it goes into the eggs is a small pause worth taking. The mixture bakes up into a soft, golden-topped side with plenty of corn in every scoop.
Kitchen Note
Bake, Serve, Wear the Vibe 👕
Editor-picked tees our Oven To Fork readers love.



We may earn from qualifying purchases at no extra cost to you.
Let the melted butter cool slightly before whisking it into the egg mixture. If it’s piping hot, it can start cooking the eggs before the pudding ever reaches the oven.
Save this corn pudding for a cozy, spoonable side with tender kernels and a creamy center.
Why Corn Pudding Should Be Spoonable, Not Sliceable
Corn pudding sits in a different place on the table from cornbread or a firm casserole. It’s a custardy bake: eggs and milk make a soft base, while the corn gives it substance. When it’s right, it holds together well enough to scoop, but the texture stays tender instead of dry or crumbly.
That distinction matters when you’re deciding whether it needs more time. A pudding that looks perfectly rigid in the baking dish is likely to be firmer after it rests, and the texture can edge toward dry. The whole-kernel corn also gives the spoonfuls some bite, so the center doesn’t need to feel solid to be ready. Think soft set, not a clean slice. That’s the balance that lets the creamy corn base and the kernels come through together.
The flour helps the custard feel cohesive without making it dense. It isn’t there to turn the dish into a loaf. Keep that in mind if you’re tempted to add more flour because the uncooked mixture looks loose; the eggs and the oven do the setting.
What the Two Kinds of Corn Bring to the Dish

- Whole-kernel corn — The kernels give the pudding its distinct bites of sweet corn. Canned corn is a dependable, easy option; drain it well so its canning liquid doesn’t add extra moisture. Thawed frozen kernels can stand in for the drained kernels, measured by volume after thawing and draining.
- Cream-style corn — This is the smooth, saucy part of the corn mixture, and it contributes body as well as corn flavor. Whole kernels alone won’t give the same creamy texture, so keep the cream-style corn in the mix.
- Eggs and whole milk — Together they form the tender custard that holds the corn in place. Whole milk gives the richest result; 2% milk works if that’s what you have, though the pudding will be a little less rich. The eggs are harder to replace without changing the set and texture.
- All-purpose flour — Flour helps bind the custard, and an ordinary store-brand bag is fine here. For a gluten-free version, use a cup-for-cup gluten-free flour blend in the same measure; the finished texture may be a touch different from the original.
- Unsalted butter — Butter adds richness and is used both to grease the dish and to enrich the batter. Unsalted butter lets the kosher salt stay in control; there’s no need to seek out a specialty brand.
Mixing and Baking Corn Pudding Without Guesswork
Grease the Dish and Cool the Butter
Heat the oven to 350°F and grease a 9×13-inch baking dish with 1 tablespoon of butter. Melt the remaining butter and set it aside to cool slightly while you start the batter. This gives the butter a little time to lose its heat, so it blends smoothly into the eggs later. Don’t skip greasing the corners and sides of the dish, where the pudding is most likely to cling.
Whisk the Base Before Folding in the Corn
In a large bowl, whisk together the flour, sugar, and salt so the dry ingredients are evenly distributed. Add the eggs and milk, then whisk until the mixture looks smooth, with no pockets of flour. Whisk in the cooled melted butter. Fold in the drained whole-kernel corn and cream-style corn gently, stopping once both kinds are spread through the batter.
Bake Until the Center Has a Soft Set
Pour the mixture into the prepared dish and bake for 45 to 55 minutes. The surface should look set, while the center keeps a slight jiggle rather than seeming firm all the way through. Check the center with an instant-read thermometer; it should reach 160°F. If it needs more time, keep baking and check again instead of relying only on the color of the top.
Give It a Short Rest Before Serving
Take the dish out of the oven and let the pudding rest for 10 minutes before serving. The center settles during this pause, making it easier to scoop without losing its soft texture. Serve from the baking dish with a large spoon; trying to cut it into crisp-edged squares works against the creamy consistency.
Three Useful Ways to Adapt Corn Pudding
Make It Gluten-Free
Swap the all-purpose flour for a cup-for-cup gluten-free flour blend, using the same measure. The blend keeps the pudding cohesive, though the custard may set with a slightly different texture depending on the blend.
Dial Back the Sweetness
Leave out the granulated sugar for a less-sweet, more savory-leaning pudding. The corn still gives the dish its natural sweetness, while the texture stays close to the original.
Use Frozen Kernels Instead
Thaw frozen whole-kernel corn and drain it well before measuring the same volume as the drained canned kernels. Keep the cream-style corn, which supplies the smooth texture that frozen kernels don’t provide on their own.
Storage and Reheating
- Refrigerator: Cover and refrigerate leftovers for 3 to 4 days. The chilled pudding will be firmer than it was warm.
- Freezer: Freeze cooled portions in an airtight container for up to 2 months. Thaw in the refrigerator; the custard may release a little moisture or become less smooth.
- Reheating: Warm covered in a low oven until hot throughout, or microwave individual portions at medium power in short bursts. High heat can make the edges firm before the center warms.
Questions That Come Up While Making Corn Pudding
Corn Pudding
Ingredients
Equipment
Method
- Heat the oven to 350°F.
- Grease a 9x13-inch baking dish with 1 tablespoon of the butter.
- Melt the remaining 5 tablespoons butter.
- Set it aside to cool slightly.
- In a large bowl, whisk together the flour, sugar, and salt.
- Whisk in the eggs and milk until smooth.
- Whisk in the melted butter.
- Fold in the drained whole-kernel corn and cream-style corn.
- Pour the mixture into the prepared baking dish.
- Bake for 45 to 55 minutes, until the center is set with a slight jiggle and reaches 160°F when checked with an instant-read thermometer.
- Let the corn pudding rest for 10 minutes before serving.