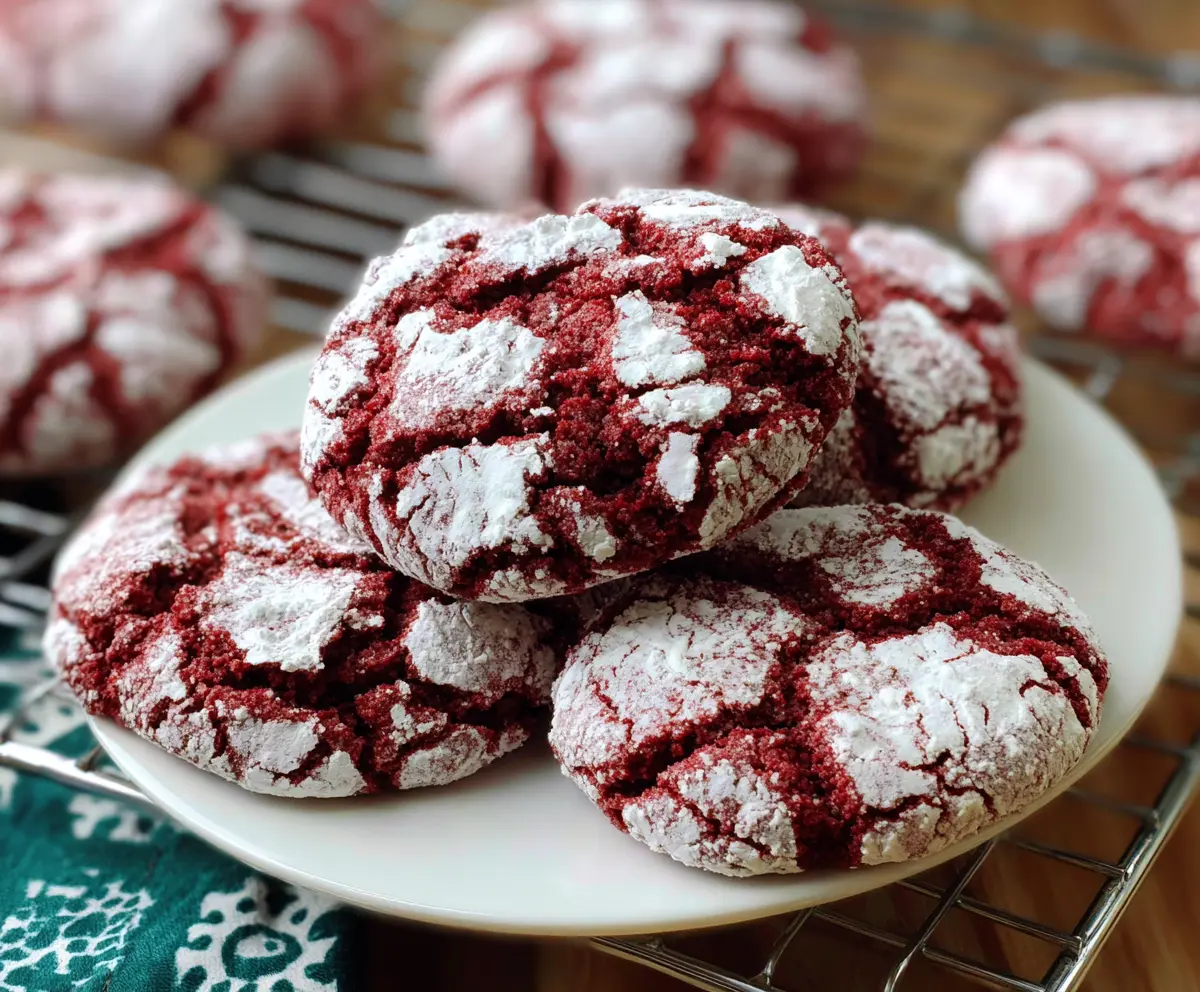
Red Velvet Crinkle Cookies are soft, chewy, and packed with that classic red velvet flavor you know and love. The cookies have a beautiful deep red color contrasted with a snowy coating of powdered sugar that cracks and crinkles as they bake, giving them a fun and festive look. They’re a sweet treat with just the right amount of cocoa, making them perfect whether you’re craving something chocolaty or something special for a holiday or party.
I love making these cookies because they’re easy to mix up, and the powdered sugar roll is such a satisfying step—it feels like you’re giving each cookie a little snowy jacket. One tip I always follow is to chill the dough before baking; it helps the cookies hold their shape and gives a great texture. Plus, they smell amazing while baking, filling the kitchen with that warm, cozy aroma of cocoa and vanilla.
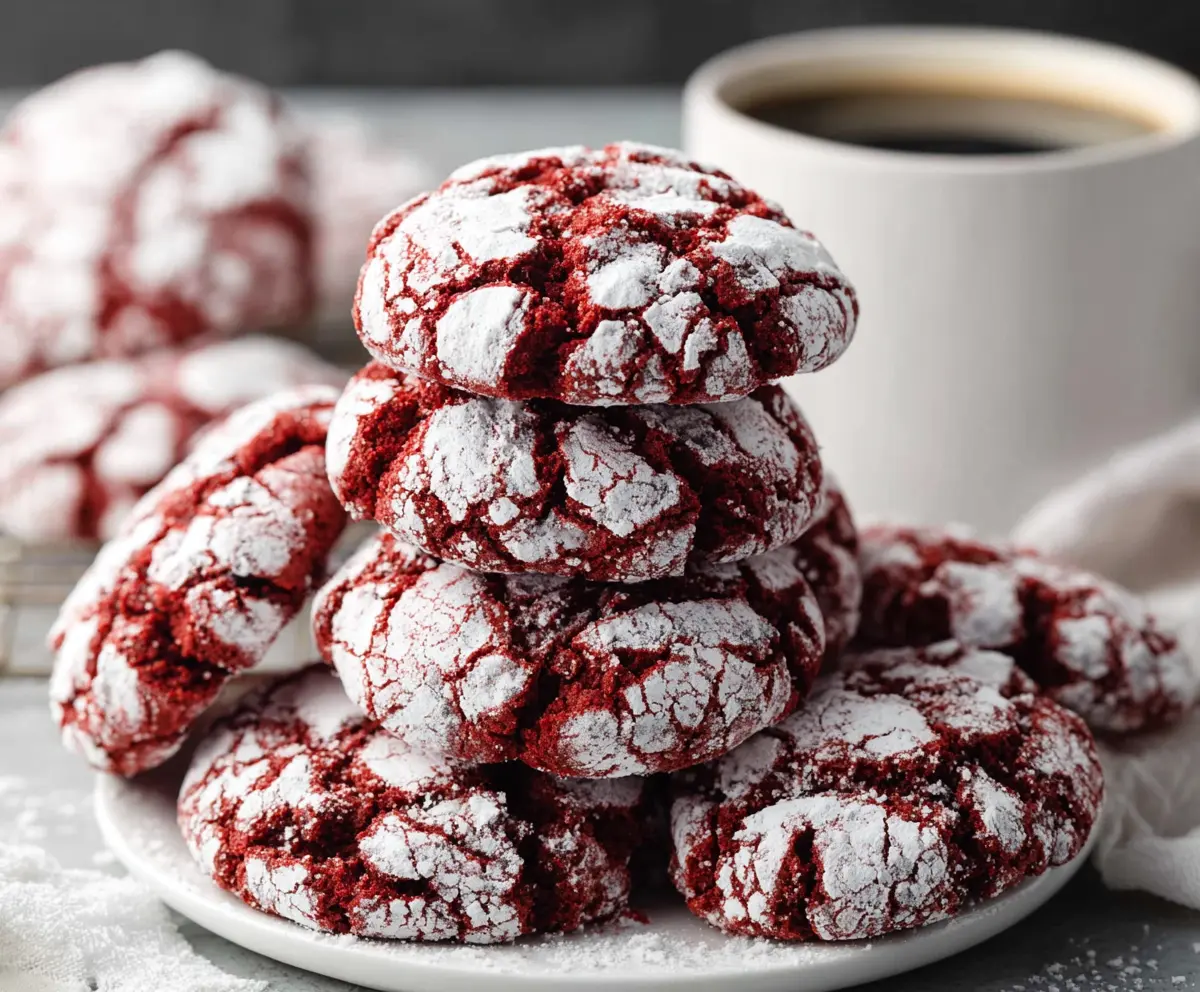
These cookies are great for sharing with friends or family because they look impressive but are super simple to make. I often serve them with a glass of cold milk or a cup of hot cocoa, especially on chilly evenings. Red Velvet Crinkle Cookies always bring a bit of joy to any cookie tray and make great gifts, too—you can’t go wrong with a plate of these cheerful little treats!
Bake, Serve, Wear the Vibe 👕
Editor-picked tees our Oven To Fork readers love.


We may earn from qualifying purchases at no extra cost to you.
Key Ingredients & Substitutions
All-purpose flour: This gives the cookies their structure. You can swap in gluten-free flour blends if needed—just pick one meant for baking to keep texture.
Cocoa powder: Unsweetened cocoa gives that subtle chocolate flavor. Dutch-processed cocoa works well too, but your cookies might be a bit darker.
Butter: Using softened unsalted butter helps the dough cream well, making cookies tender. For a dairy-free version, try vegan butter or coconut oil.
Buttermilk: Adds moisture and a mild tang to balance sweetness. If you don’t have buttermilk, mix 2 tbsp milk with 1 tsp vinegar or lemon juice and let it sit 5 mins.
Red food coloring: Liquid or gel works, but gel gives a richer color with less product. Natural alternatives include beet juice or powder, although color may vary.
Powdered sugar: Rolling the dough balls in powdered sugar creates that signature crinkle effect and a sweet coating. Don’t skip or substitute with granulated sugar.
How Do I Get Perfect Crinkles and Soft Texture?
The chilled dough is key. It firms up the fat so cookies don’t spread too much, keeping their round shape and allowing cracks to form on the surface.
- Chill the dough for at least 2 hours or overnight.
- When rolling, fully coat dough balls in powdered sugar—this contrast highlights the cracks.
- Bake just until the edges set but the cookie center still looks soft. Overbaking dries them out.
Also, creaming butter and sugar well traps air, contributing to a light, tender crumb. Finally, be gentle when mixing flour to avoid tough cookies.
Equipment You’ll Need
- Baking sheet – A flat surface ensures your cookies spread evenly and bake up nice and soft.
- Parchment paper or silicone baking mat – Prevents sticking and makes cleanup easy.
- Mixing bowls – For combining dry and wet ingredients separately to keep things tidy.
- Electric mixer or hand whisk – Makes creaming butter and sugar simple and smooth.
- Measuring cups and spoons – Accurate measurements help your cookies turn out perfect every time.
- Spoon or small scoop – Helps portion out dough evenly for consistent cookie size.
- Wire cooling rack – Lets cookies cool evenly so they don’t get soggy on the bottom.
Flavor Variations & Add-Ins
- Add mini white chocolate chips for extra sweetness and creamy bites that complement the cocoa flavor.
- Stir in chopped pecans or walnuts for a nice crunch and a bit of nuttiness in each cookie.
- Mix in a teaspoon of instant coffee powder or espresso for a deeper, richer chocolate taste.
- Replace the red food coloring with a teaspoon of natural beet powder for a subtle, earthy red tint and less artificial coloring.
Red Velvet Crinkle Cookies
Ingredients You’ll Need:
Dry Ingredients:
- 1 ¾ cups (220g) all-purpose flour
- 2 tablespoons unsweetened cocoa powder
- ½ teaspoon baking powder
- ½ teaspoon baking soda
- ¼ teaspoon salt
Wet Ingredients:
- ½ cup (115g) unsalted butter, softened
- 1 cup (200g) granulated sugar
- 1 large egg
- 1 teaspoon vanilla extract
- 1 teaspoon white vinegar
- 2 tablespoons buttermilk
- 2 tablespoons red food coloring (liquid or gel)
For Rolling:
- ½ cup powdered sugar
How Much Time Will You Need?
This recipe takes about 15 minutes to prepare, plus at least 2 hours for chilling the dough, and 10-12 minutes to bake each batch. Allow some extra time for cooling before serving. Total active and resting time is around 2.5 to 3 hours.
Step-by-Step Instructions:
1. Prepare the Oven and Dry Ingredients:
Preheat your oven to 350°F (175°C). Line baking sheets with parchment paper or a silicone mat to prevent sticking. In a medium bowl, whisk together the flour, cocoa powder, baking powder, baking soda, and salt. Set aside.
2. Cream Butter and Sugar, then Add Wet Ingredients:
In a large bowl, use an electric mixer to cream together the softened butter and granulated sugar until light and fluffy, about 2-3 minutes. Beat in the egg, vanilla extract, and white vinegar. Stir in the buttermilk and red food coloring, mixing until well combined and evenly colored.
3. Combine Dry and Wet Ingredients, Then Chill:
Gradually add the dry ingredients to the wet mixture. Mix just until everything is combined—the dough should be soft and a little sticky. Cover the dough with plastic wrap and chill it in the refrigerator for at least 2 hours, or overnight, to help it set and make it easier to handle.
4. Shape, Coat, and Bake the Cookies:
Once chilled, scoop tablespoon-sized portions of dough and roll each into a ball. Roll each ball generously in powdered sugar to coat fully. Place the coated dough balls on the prepared baking sheets, spacing them about 2 inches apart to allow for spreading. Bake for 10-12 minutes, until the cookies puff up, crack, and are still soft to the touch.
5. Cool and Serve:
Let the cookies cool on the baking sheets for about 5 minutes so they set, then transfer them to a wire rack to cool completely. Enjoy your soft, chewy red velvet crinkle cookies with their beautiful cracked powdered sugar tops!
Can I Use Frozen Dough for These Cookies?
Yes! You can freeze the dough balls after rolling them but before coating with powdered sugar. When ready to bake, thaw them in the fridge overnight, then roll in powdered sugar and bake as usual.
What Can I Substitute for Buttermilk?
If you don’t have buttermilk, mix 2 tablespoons of milk with 1 teaspoon of white vinegar or lemon juice and let it sit for 5 minutes. This makes a great buttermilk substitute that works perfectly in the recipe.
How Should I Store Leftover Cookies?
Store leftovers in an airtight container at room temperature for up to 4 days. For longer storage, freeze the baked cookies in a sealed container or freezer bag for up to 3 months. Thaw at room temperature before enjoying.
Can I Make These Cookies Without Red Food Coloring?
Yes! You can omit the food coloring for a subtle chocolate crinkle cookie. Or try natural alternatives like beet powder for a gentle red hue, though the color might be less vibrant.


