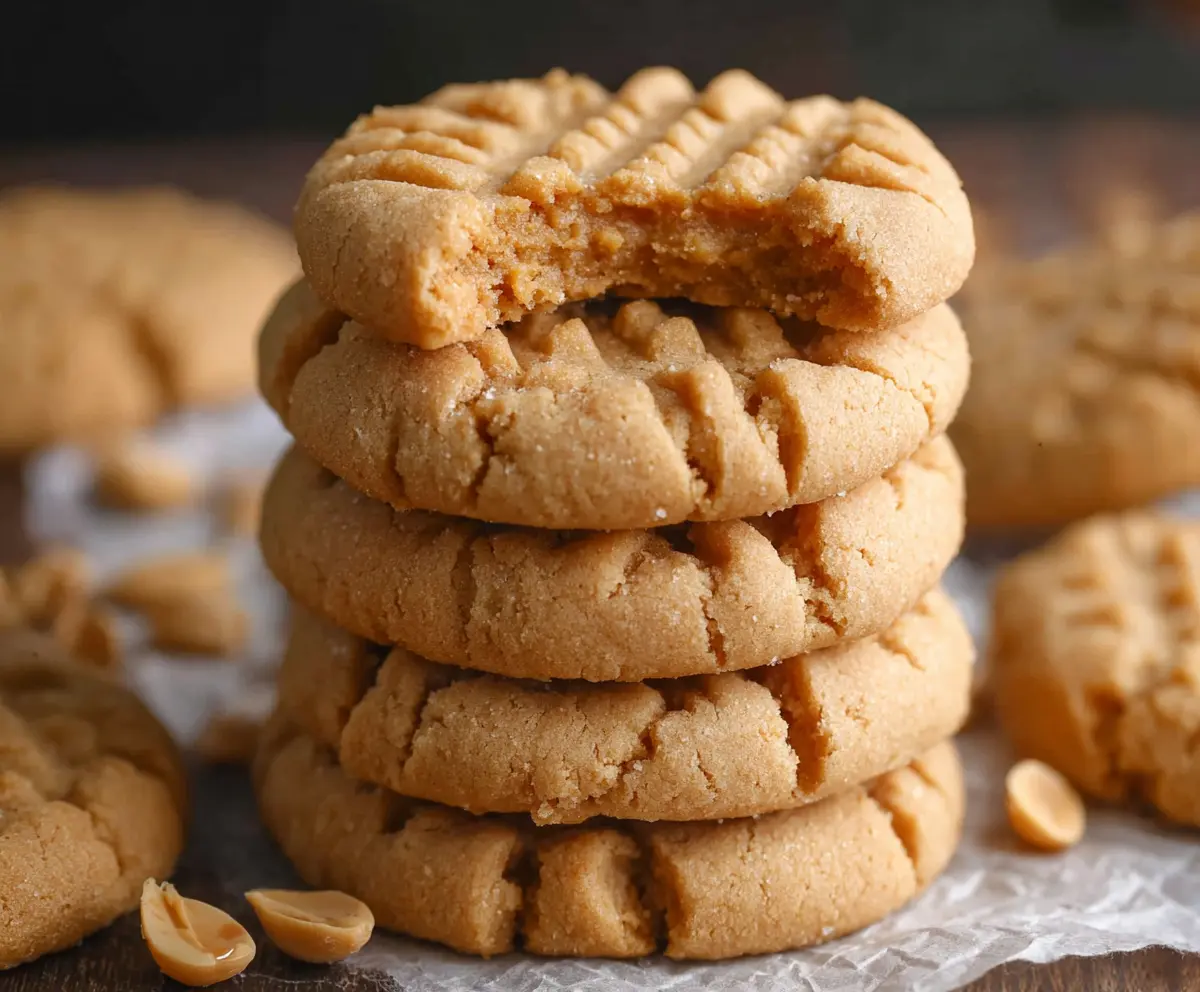
Peanut butter cookies are a classic treat that’s soft, chewy, and packed with that rich, nutty peanut butter flavor everyone loves. With a slightly crisp edge and a tender center, these cookies bring a perfect balance of sweet and salty that feels just right every time. The little crisscross pattern on top is as fun to make as it is satisfying to snack on.
I always find that making peanut butter cookies fills the kitchen with the most comforting smell, and it’s hard to resist sneaking a warm one straight from the oven. I like to use crunchy peanut butter for a bit of extra texture, but smooth works just as well. A little tip I’ve learned is not to overbake them—just when the edges start to brown, they’re ready to come out, so the center stays soft and chewy.
These cookies are perfect for sharing at family gatherings, packing in lunchboxes, or just enjoying with a glass of cold milk after a busy day. Whenever I make them, I feel like I’m making a small moment a little happier, and that’s the best reason to bake peanut butter cookies again and again.
Bake, Serve, Wear the Vibe 👕
Editor-picked tees our Oven To Fork readers love.


We may earn from qualifying purchases at no extra cost to you.
Key Ingredients & Substitutions
Peanut Butter: Creamy peanut butter works best here for smooth texture. If you like a bit of crunch, feel free to use chunky peanut butter. Make sure it’s natural or unsweetened if you want to cut sugar in the recipe.
Sugar: Granulated sugar gives these cookies a nice crisp edge. You can swap half for brown sugar for a chewier cookie with a slight caramel flavor.
Egg: The egg helps bind the cookie dough and adds moisture. For egg-free baking, try using a flax egg (1 tbsp ground flax + 3 tbsp water), but expect a slight difference in texture.
Baking Soda: This helps the cookies rise and get a lighter texture. Don’t skip it, or your cookies might turn out very dense.
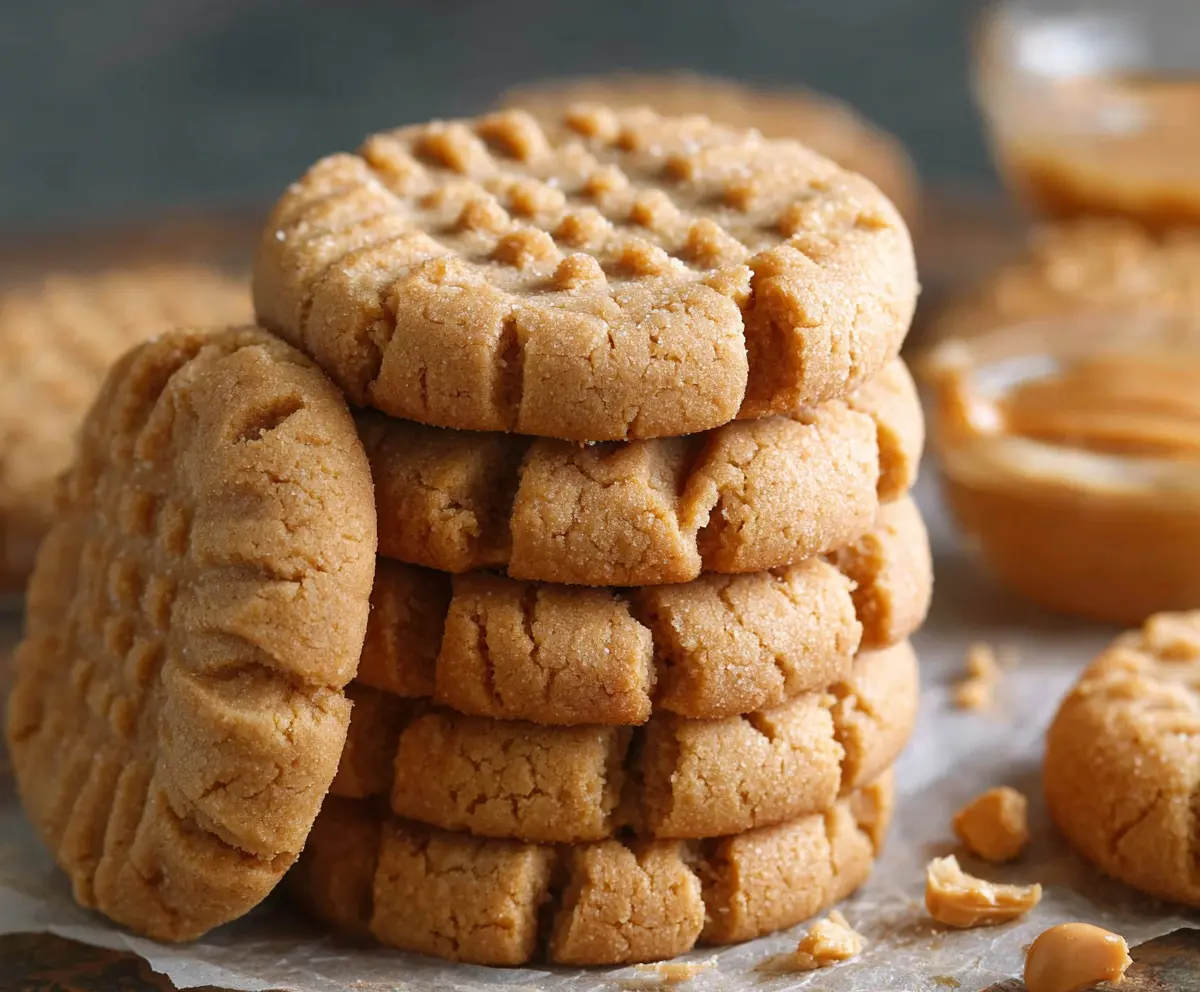
How Do You Get That Perfect Crisscross Pattern on Peanut Butter Cookies?
Making the fork pattern is easy and classic. Here are some tips to get it just right:
- After rolling the dough into balls, gently press down once with a fork.
- Rotate the cookie 90 degrees and press down again to create the crisscross.
- Don’t press too hard—you want to flatten the dough slightly, not squish it completely.
- If your fork sticks, dip it in sugar or dip it in water to prevent sticking.
- This pattern helps cookies bake evenly and makes them look traditional.
Equipment You’ll Need
- Baking sheet – a flat, rimmed sheet helps cookies bake evenly without spreading too much.
- Parchment paper – stops cookies from sticking and makes cleanup quick and easy.
- Mixing bowl – you’ll need a large bowl to stir all your ingredients together smoothly.
- Spoon or spatula – for mixing the dough without overworking it.
- Fork – to create the classic crisscross pattern on top of each cookie.
- Cooling rack – allows cookies to cool evenly and keep their texture crisp outside and soft inside.
Flavor Variations & Add-Ins
- Use chunky peanut butter to add extra crunch and texture to your cookies.
- Stir in chocolate chips for a sweet twist that pairs perfectly with peanut butter.
- Add a pinch of cinnamon or chili powder for a warm or spicy flavor boost.
- Mix in chopped peanuts to enhance the nutty flavor and add a bit more bite.
Classic Peanut Butter Cookies
Ingredients You’ll Need:
- 1 cup creamy peanut butter
- 1 cup granulated sugar
- 1 large egg
- 1 teaspoon vanilla extract
- 1/2 teaspoon baking soda
- 1/4 teaspoon salt (optional)
How Much Time Will You Need?
This recipe takes about 10 minutes to prepare and around 10-12 minutes for baking. Add about 5 minutes cooling time, so you’ll have fresh, warm peanut butter cookies ready in under 30 minutes total. Quick and easy!
Step-by-Step Instructions:
1. Get Ready:
Preheat your oven to 350°F (175°C). Line a baking sheet with parchment paper so your cookies won’t stick and cleanup is a breeze.
2. Mix Your Dough:
In a large bowl, stir together the peanut butter and sugar until smooth and fully combined. Add the egg and vanilla extract, mixing well. Then, stir in the baking soda and salt if you’re using it, making sure everything is evenly mixed.
3. Shape the Cookies:
Roll the dough into 1-inch balls and space them about 2 inches apart on your prepared baking sheet. Take a fork and gently press down on each ball twice—first one way, then the other—to make the classic crisscross marks on top.
4. Bake and Cool:
Bake your cookies for 10 to 12 minutes. Look for edges that are set and just starting to turn golden, but keep the center soft. Let cookies cool on the baking sheet for 5 minutes—they’ll firm up nicely—before moving them to a wire rack to cool completely.
Enjoy your soft, chewy peanut butter cookies, perfectly marked with that traditional fork pattern and full of rich peanut butter flavor!
Can I Use Natural Peanut Butter Instead of Regular Peanut Butter?
Yes, you can use natural peanut butter, but make sure to stir it well before measuring since the oils tend to separate. The texture might be a little softer, so chill the dough briefly if it feels too sticky.
How Should I Store Peanut Butter Cookies?
Store your cookies in an airtight container at room temperature for up to 5 days. You can also freeze them for longer storage—just thaw at room temperature before enjoying.
Can I Make These Cookies Gluten-Free?
This recipe doesn’t call for flour, so it’s naturally gluten-free! Just check your peanut butter and other ingredients to ensure they’re labeled gluten-free if you have sensitivities.
What If I Don’t Have a Fork to Make the Crisscross Pattern?
No worries! You can gently press down the dough balls with the bottom of a glass or your fingers to flatten them slightly. The cookies will still bake well and taste delicious.


