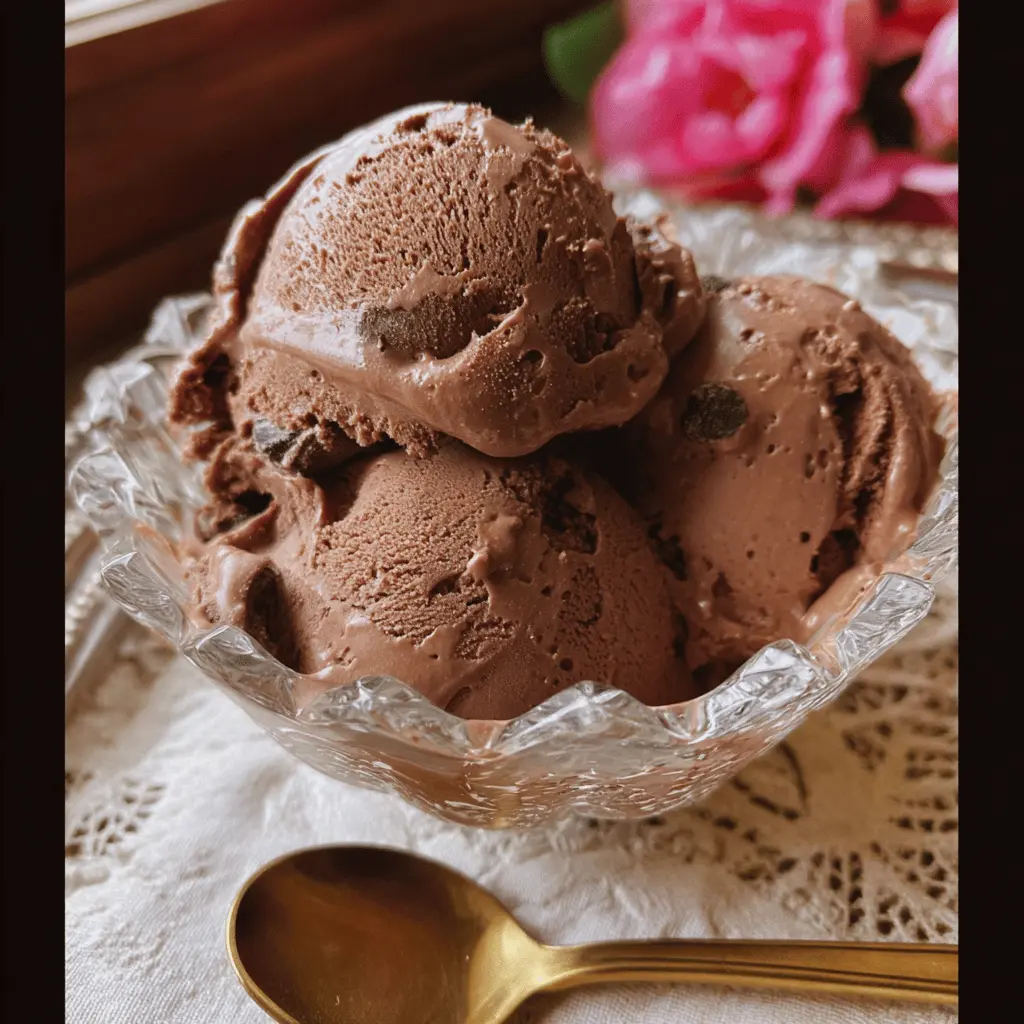
This easy homemade chocolate custard ice cream is rich, creamy, and perfect for chocolate lovers. It combines milk, cream, eggs, and cocoa for a delightful treat!
I love making this ice cream because it’s a fun activity! Taking a scoop on a hot day feels like having a little moment of happiness. Who can resist that chocolatey goodness? 🍦
Key Ingredients & Substitutions
Whole Milk: Whole milk is essential for creamy texture. If you’re looking for a lighter option, you can use 2% milk, but the result won’t be as rich.
Bake, Serve, Wear the Vibe 👕
Editor-picked tees our Oven To Fork readers love.


We may earn from qualifying purchases at no extra cost to you.
Heavy Cream: This ingredient adds that luxurious creaminess. You could substitute it with half-and-half, but again, the ice cream will be less creamy. Dairy-free versions can use coconut cream.
Granulated Sugar: Standard white sugar works well here, but you can also try brown sugar for a deeper flavor or coconut sugar for a healthier option—just expect some slight differences in sweetness.
Bittersweet or Semisweet Chocolate: For the best flavor, I recommend high-quality chocolate. If you prefer a dairy-free option, opt for dark chocolate that meets your needs.
Vanilla Extract: Always use pure vanilla extract for the best flavor. I find imitation vanilla lacks depth. If you’re out, a bit of vanilla bean paste works too!
How Do I Prevent My Custard from Scrambling?
The key concern here is making sure your egg yolks don’t cook too quickly, leading to scrambled eggs. Here’s how to do it safely:
- Always whisk the egg yolks first to ensure even consistency.
- When tempering the yolks, pour the hot mixture in slowly while whisking. This gradually raises the temperature of the eggs.
- After combining, cook the custard on low heat. Stir consistently to avoid hot spots that can cause scrambling.
By following these tips, your custard will be smooth and creamy, perfect for ice cream! Enjoy the process of making your treats at home! 🍦
Easy Homemade Chocolate Custard Ice Cream
Ingredients You’ll Need:
- 2 cups whole milk
- 1 cup heavy cream
- 3/4 cup granulated sugar
- 1/2 cup unsweetened cocoa powder
- 4 large egg yolks
- 4 oz bittersweet or semisweet chocolate, finely chopped
- 1 teaspoon vanilla extract
- Pinch of salt
- Optional: chocolate curls or shavings for garnish
How Much Time Will You Need?
This recipe takes about 15 minutes of prep time, plus at least 4 hours to chill the custard and 2 hours to freeze after churning. Overall, you’re looking at around 6 hours to prepare, chill, and freeze before you can dig in!
Step-by-Step Instructions:
1. Combine the Milk and Cream:
In a medium saucepan, combine the whole milk, heavy cream, sugar, cocoa powder, and a pinch of salt. Whisk everything together well to dissolve the cocoa and sugar. Heat the mixture over medium heat until it’s hot but not boiling. Make sure to stir occasionally to prevent the mixture from sticking or burning.
2. Whisk the Egg Yolks:
While your milk mixture is heating, whisk the egg yolks in a separate bowl until they are smooth and creamy. This step will ensure your ice cream is silky and rich!
3. Temper the Egg Yolks:
Now, slowly pour about 1/2 cup of the hot chocolate mixture into the egg yolks while whisking constantly. This process of tempering helps to gently raise the temperature of the yolks without scrambling them.
4. Mix Everything Together:
Pour the tempered egg yolk mixture back into the saucepan with the rest of the chocolate mixture. This is where the magic happens! Stir everything together.
5. Cook the Custard:
Cook this mixture over low heat, stirring constantly with a wooden spoon or a heatproof spatula. Keep cooking until the custard thickens enough to coat the back of the spoon. This usually takes about 5-10 minutes. Make sure it doesn’t boil!
6. Melt in the Chocolate:
Once thickened, remove the saucepan from the heat. Stir in the finely chopped chocolate until it melts completely and the custard is nice and smooth.
7. Add Vanilla:
Now, stir in the vanilla extract for that yummy flavor that pairs perfectly with chocolate.
8. Strain the Custard:
Pour your custard through a fine-mesh sieve into a clean bowl to catch any cooked egg bits or lumps. We want our ice cream as smooth as possible!
9. Chill the Custard:
Cover the bowl with plastic wrap, pressing it directly onto the surface of the custard to avoid a skin from forming. Chill the custard in the refrigerator for at least 4 hours or until it’s completely cold.
10. Churn the Ice Cream:
Once fully chilled, pour the custard into your ice cream maker. Churn it according to the manufacturer’s instructions until the ice cream reaches a soft-serve consistency.
11. Freeze the Ice Cream:
Transfer the churned ice cream to a freezer-safe container. Cover it well and freeze for at least 2 hours to firm up before serving.
12. Serve and Enjoy:
Scoop the ice cream into serving dishes and garnish with chocolate curls or shavings if desired (because you deserve it!). Enjoy your rich, creamy homemade chocolate custard ice cream!
Bon appétit! 🍦✨
Frequently Asked Questions (FAQ)
Can I Use Different Types of Milk in This Recipe?
Yes, you can! While whole milk provides the best creaminess, you can substitute it with 2% milk or even almond milk for a lighter or dairy-free option. Just note that the texture will be less creamy!
How Long Can I Store Homemade Ice Cream?
Your chocolate custard ice cream can be stored in the freezer for up to 2-3 weeks. Be sure to keep it in an airtight container to prevent ice crystals from forming.
Can I Make This Recipe Without Eggs?
Absolutely! You can use an egg-free ice cream base, such as a mixture of condensed milk and heavy cream, or look for a specific egg-free chocolate custard ice cream recipe. Just keep in mind that the texture might differ slightly!
What Can I Use Instead of Cocoa Powder?
If you’re looking for a change, try using Dutch-processed cocoa powder for a deeper flavor or even chocolate syrup as a substitute. Just adjust the sugar in the recipe accordingly, as syrups can add sweetness.
If you have any more questions, feel free to ask. Enjoy your ice cream making adventure!


