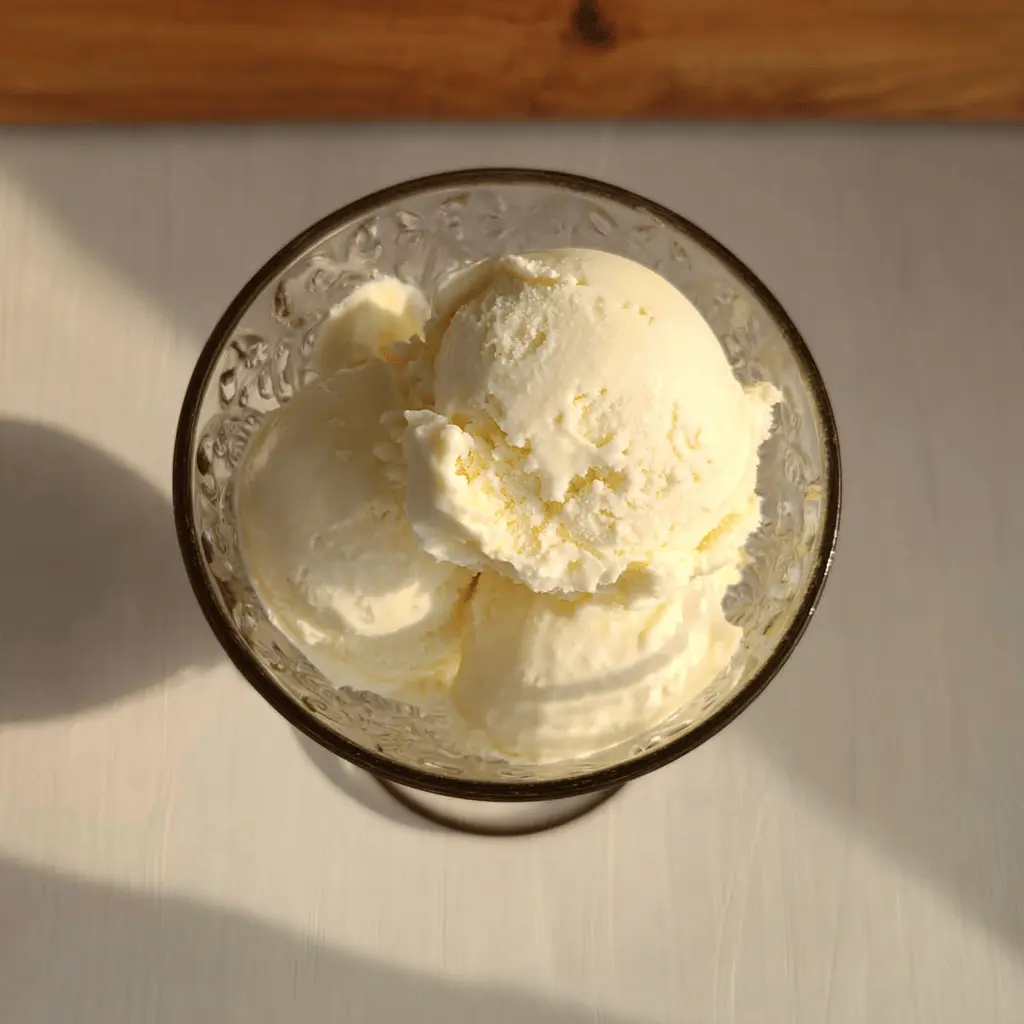
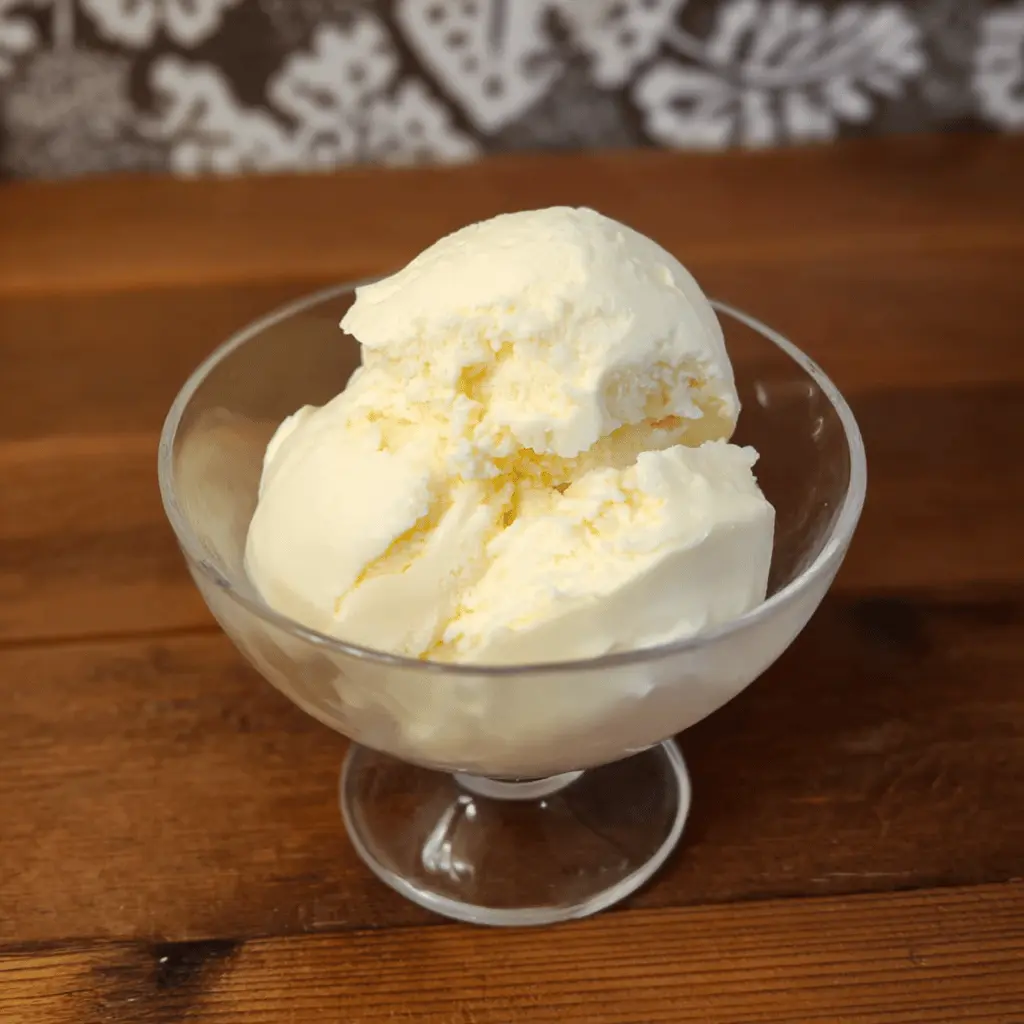
This easy homemade vanilla ice cream is creamy and sweet, perfect for hot days or just when you want a treat! With just a few simple ingredients, you’ll have a delightful dessert.
Making this ice cream feels like magic! I love throwing everything together and watching it turn into a delicious scoopable delight. Serve it with your favorite toppings!
Key Ingredients & Substitutions
Heavy Cream: This is crucial for a rich and creamy texture. If you’re looking for a lighter option, half-and-half can work, but the ice cream won’t be as creamy.
Bake, Serve, Wear the Vibe 👕
Editor-picked tees our Oven To Fork readers love.


We may earn from qualifying purchases at no extra cost to you.
Whole Milk: This helps balance the fat in the heavy cream. If you’re lactose intolerant, try using almond milk or oat milk, but keep in mind the flavor and texture will change slightly.
Granulated Sugar: It sweetens the ice cream. If you want a healthier alternative, you could use honey or maple syrup, but it may affect the ice cream’s texture.
Vanilla Extract: This adds that delicious classic vanilla flavor. For an even bolder taste, consider using vanilla bean paste or scraping a vanilla bean pod into the mixture.
Salt: Just a pinch enhances all the flavors. Don’t skip it; it balances the sweetness and adds depth!
What’s the Best Way to Ensure Creamy Ice Cream?
The key to creamy ice cream lies in churning and freezing. Proper churning incorporates air, making the ice cream light and fluffy. Follow these tips:
- Ensure all ingredients are well mixed before churning to avoid grainy texture.
- Keep your ice cream maker’s bowl frozen at least 24 hours before use.
- Don’t over-churn! Stop when it’s soft-serve consistency to avoid ice crystals.
- Freeze the ice cream in an airtight container to prevent ice from forming on top.
Easy Homemade Vanilla Ice Cream
Ingredients You’ll Need:
- 2 cups heavy cream
- 1 cup whole milk
- 3/4 cup granulated sugar
- 2 teaspoons pure vanilla extract
- Pinch of salt
How Much Time Will You Need?
This ice cream recipe takes about 10 minutes to prepare and then roughly 20-25 minutes to churn in the ice cream maker. After that, you’ll need to freeze it for at least 3-4 hours to get that perfect scoopable texture. All in all, you can have homemade vanilla ice cream ready in just a little over 4 hours!
Step-by-Step Instructions:
1. Mix the Ingredients:
Start by gathering a mixing bowl. Pour in the 2 cups of heavy cream, 1 cup of whole milk, and 3/4 cup of granulated sugar. Add the 2 teaspoons of pure vanilla extract and a pinch of salt. Using a whisk, mix everything together until the sugar is fully dissolved and the mixture feels smooth.
2. Churn the Mixture:
Once your mixture is well combined, pour it into the ice cream maker. Follow the manufacturer’s instructions and churn it for about 20-25 minutes. You’ll know it’s done when it has a soft-serve consistency and looks fluffy!
3. Freeze to Firm Up:
Now it’s time to transfer your soft ice cream into an airtight container. Make sure to spread it out evenly in the container, and cover it tightly. Place it in the freezer for at least 3-4 hours, so it can harden completely.
4. Serve and Enjoy:
Once fully frozen, take your ice cream out of the freezer. If it’s too hard, let it sit out for a few minutes to soften slightly for easy scooping. Serve in chilled bowls or glasses, and enjoy a scoop of your delicious homemade vanilla ice cream!
FAQ for Easy Homemade Vanilla Ice Cream
Can I Use Low-Fat Milk Instead of Whole Milk?
While you can use low-fat milk, it will result in a less creamy texture. For the best flavor and consistency, whole milk is recommended. If you’re looking for a dairy-free option, almond or coconut milk can work, but the final product will differ in taste and creaminess.
What If I Don’t Have an Ice Cream Maker?
No worries! You can still make ice cream without one. Simply pour the mixture into a shallow dish, freeze it for about 45 minutes, then stir vigorously with a fork to break up ice crystals. Repeat this process every 30 minutes until it reaches the desired consistency, which may take a few hours.
How Long Can I Store Homemade Ice Cream?
Your homemade vanilla ice cream can be stored in an airtight container in the freezer for up to 2-3 weeks. For best quality, try to eat it within the first week, as it’s freshest then!
Can I Customize the Flavor?
Absolutely! You can mix in your favorite flavors by adding ingredients like crushed cookies, fudge, or fruit during the last few minutes of churning. Just be sure not to overdo it so that the base doesn’t become too diluted!