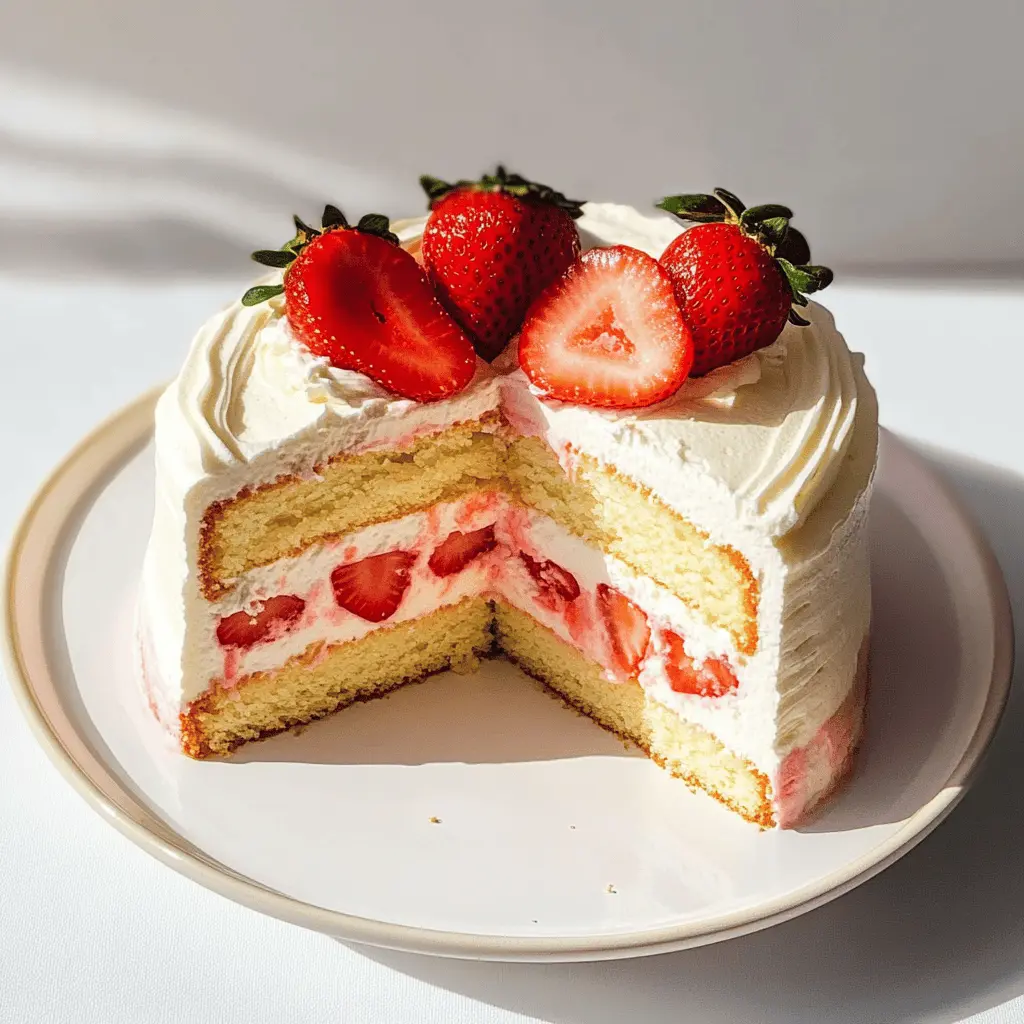
This Strawberry Shortcake Layer Sponge Cake is a fluffy delight, packed with fresh strawberries and whipped cream. It’s perfect for celebrations or just a sweet treat!
I mean, who can resist that soft sponge and juicy berries? I love serving it chilled on warm days. It’s like a summer party in every slice! 🍓✨
Key Ingredients & Substitutions
All-Purpose Flour: This is the backbone of your sponge cake. If you need a gluten-free option, you can use a gluten-free flour blend. My go-to brand works well without affecting the texture much!
Bake, Serve, Wear the Vibe 👕
Editor-picked tees our Oven To Fork readers love.


We may earn from qualifying purchases at no extra cost to you.
Butter: Unsalted butter is best for controlling salt levels in baking. You can substitute with margarine if you’re looking for a dairy-free option, but the taste won’t be quite the same.
Sugar: Granulated sugar gives sweetness and structure. For a healthier twist, you could use coconut sugar or even honey (but adjust the liquid in your recipe!). I prefer the classic sweetness of regular sugar in baked goods.
Heavy Cream: Essential for the whipped cream frosting, it provides richness. If you want a lighter version, use a whipping cream with lower fat, but it may not whip as stiffly. I love the richness heavy cream brings!
How Do I Ensure My Sponge Cake is Light and Fluffy?
The technique for making a light and airy sponge cake starts with creaming the butter and sugar. Creaming incorporates air, which helps the cake rise. Make sure your butter is softened; it should be pliable but not melted.
- Preheat your oven as stated. Greasing the pans is crucial for easy release.
- Cream together butter and sugar on medium speed until fluffy, about 3-5 minutes.
- When adding eggs, make sure they are at room temperature. This helps them emulsify better.
- Alternate wet and dry ingredients carefully to avoid overmixing, which can lead to a dense cake.
How to Make Strawberry Shortcake Layer Sponge Cake?
Ingredients You’ll Need:
For the Sponge Cake:
- 1 ½ cups all-purpose flour
- 1 ½ tsp baking powder
- ½ tsp salt
- ½ cup unsalted butter, softened
- 1 cup granulated sugar
- 3 large eggs
- 1 tsp vanilla extract
- ½ cup milk
For the Strawberry Filling:
- 2 cups fresh strawberries, hulled and sliced
- ¼ cup granulated sugar (adjust to taste)
For the Whipped Cream Frosting:
- 2 cups heavy whipping cream
- ½ cup powdered sugar
- 1 tsp vanilla extract
For Garnish:
- Fresh strawberries, halved
- Additional whipped cream, optional
How Much Time Will You Need?
This delicious Strawberry Shortcake Layer Sponge Cake will take about 1 hour for preparation and baking, plus an additional 30 minutes for chilling before serving. So, set aside about 1 hour and 30 minutes in total to create this sweet treat!
Step-by-Step Instructions:
1. Prepare the Sponge Cake:
First, preheat your oven to 350°F (175°C) and grease and flour two 9-inch round cake pans. In a mixing bowl, sift together the flour, baking powder, and salt, and set it aside. Next, in another bowl, cream the softened butter and granulated sugar together until it’s light and fluffy. Add the eggs one at a time, mixing well after each addition, then stir in the vanilla extract. Now, slowly add the dry ingredients to the wet mixture alternating with the milk. Mix until just combined. Divide the batter evenly between the prepared pans and smooth the tops. Bake for 25-30 minutes, or until a toothpick inserted in the center comes out clean. Once done, let the cakes cool in the pans for 10 minutes before transferring them to a wire rack to cool completely.
2. Prepare the Strawberry Filling:
While the cakes are cooling, it’s time to make the strawberry filling. In a bowl, combine the sliced strawberries with sugar and toss them gently to coat. Let them sit for about 15-20 minutes to release their juicy goodness.
3. Make the Whipped Cream Frosting:
Now, let’s make the whipped cream frosting! In a large bowl, beat the heavy cream, powdered sugar, and vanilla extract together on medium-high speed until stiff peaks form. This will be the creamy goodness that holds everything together!
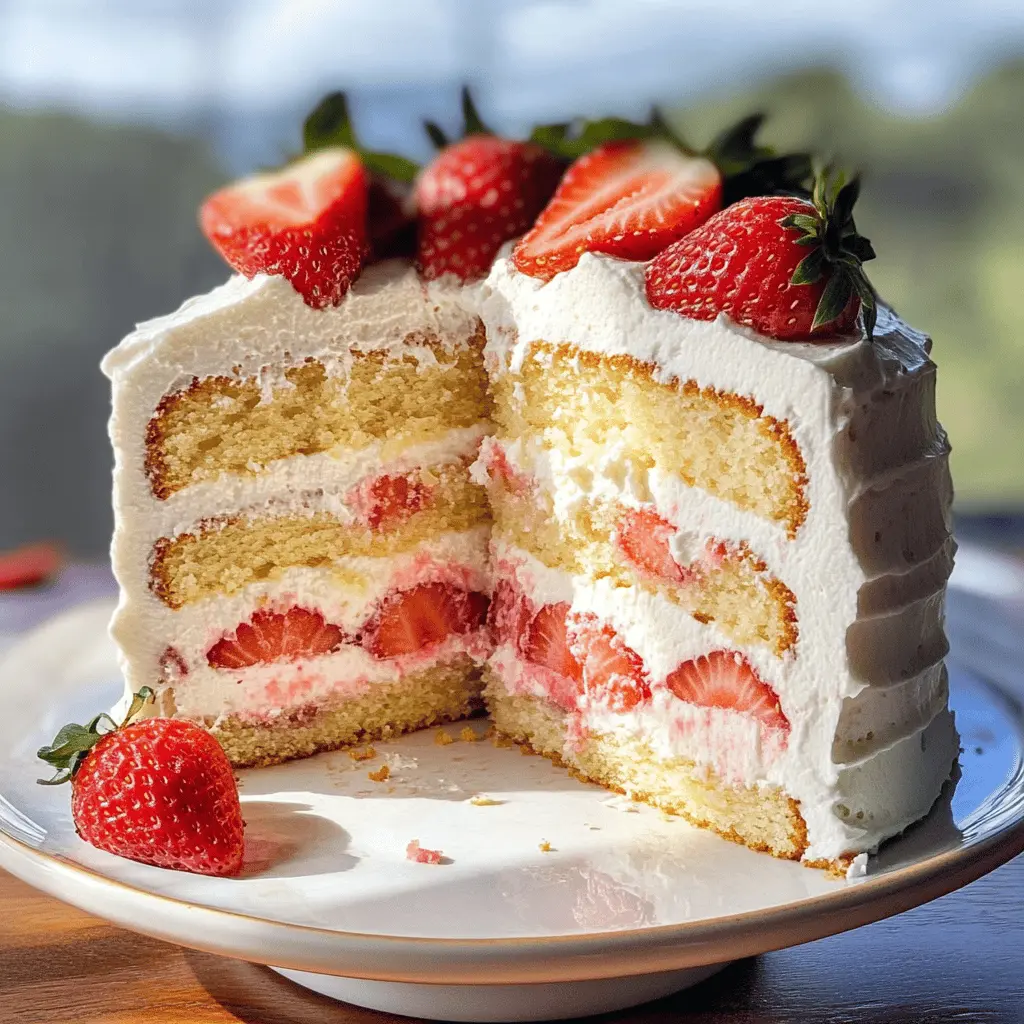
4. Assemble the Cake:
When your sponge cakes are completely cool, place one layer on a serving plate. Spread a layer of whipped cream over the top, then add half of the sugared strawberries along with some of their juices. Place the second cake layer on top and repeat the process with another layer of whipped cream and the remaining strawberries. Now, frost the top and sides of the entire cake with the remaining whipped cream.
5. Decorate:
To make your cake look extra special, garnish the top with halved fresh strawberries and add any additional whipped cream if you like. It’s all about the presentation!
6. Serve:
Finally, it’s time to enjoy your creation! Refrigerate the cake for at least 30 minutes before serving to let the layers set beautifully. Slice it up and enjoy every bite of your Strawberry Shortcake Layer Sponge Cake! Yum!
Can I Use Frozen Strawberries Instead of Fresh?
Yes, you can use frozen strawberries, but it’s important to thaw them first. Drain any excess liquid before mixing with sugar to avoid a soggy filling. Just be aware that frozen strawberries may be softer than fresh ones, leading to a less firm texture in your filling.
Can I Substitute the All-Purpose Flour?
Absolutely! You can use cake flour for a lighter sponge cake or a gluten-free all-purpose blend if you need a gluten-free option. When using a gluten-free flour, make sure it includes xanthan gum or add it separately for better texture.
How Should I Store Leftovers?
Store any leftover cake in an airtight container in the refrigerator. It’s best enjoyed within 2-3 days, as the whipped cream may start to separate over time. For longer storage, consider freezing individual slices wrapped tightly in plastic wrap and foil. Thaw in the fridge when you’re ready to enjoy!
Can I Make the Cake Layers in Advance?
Yes! You can bake the sponge cake layers a day in advance. Allow them to cool completely, wrap them tightly in plastic wrap, and store in the refrigerator. Assembling the cake the next day will save you prep time and keep the layers fresh!


